


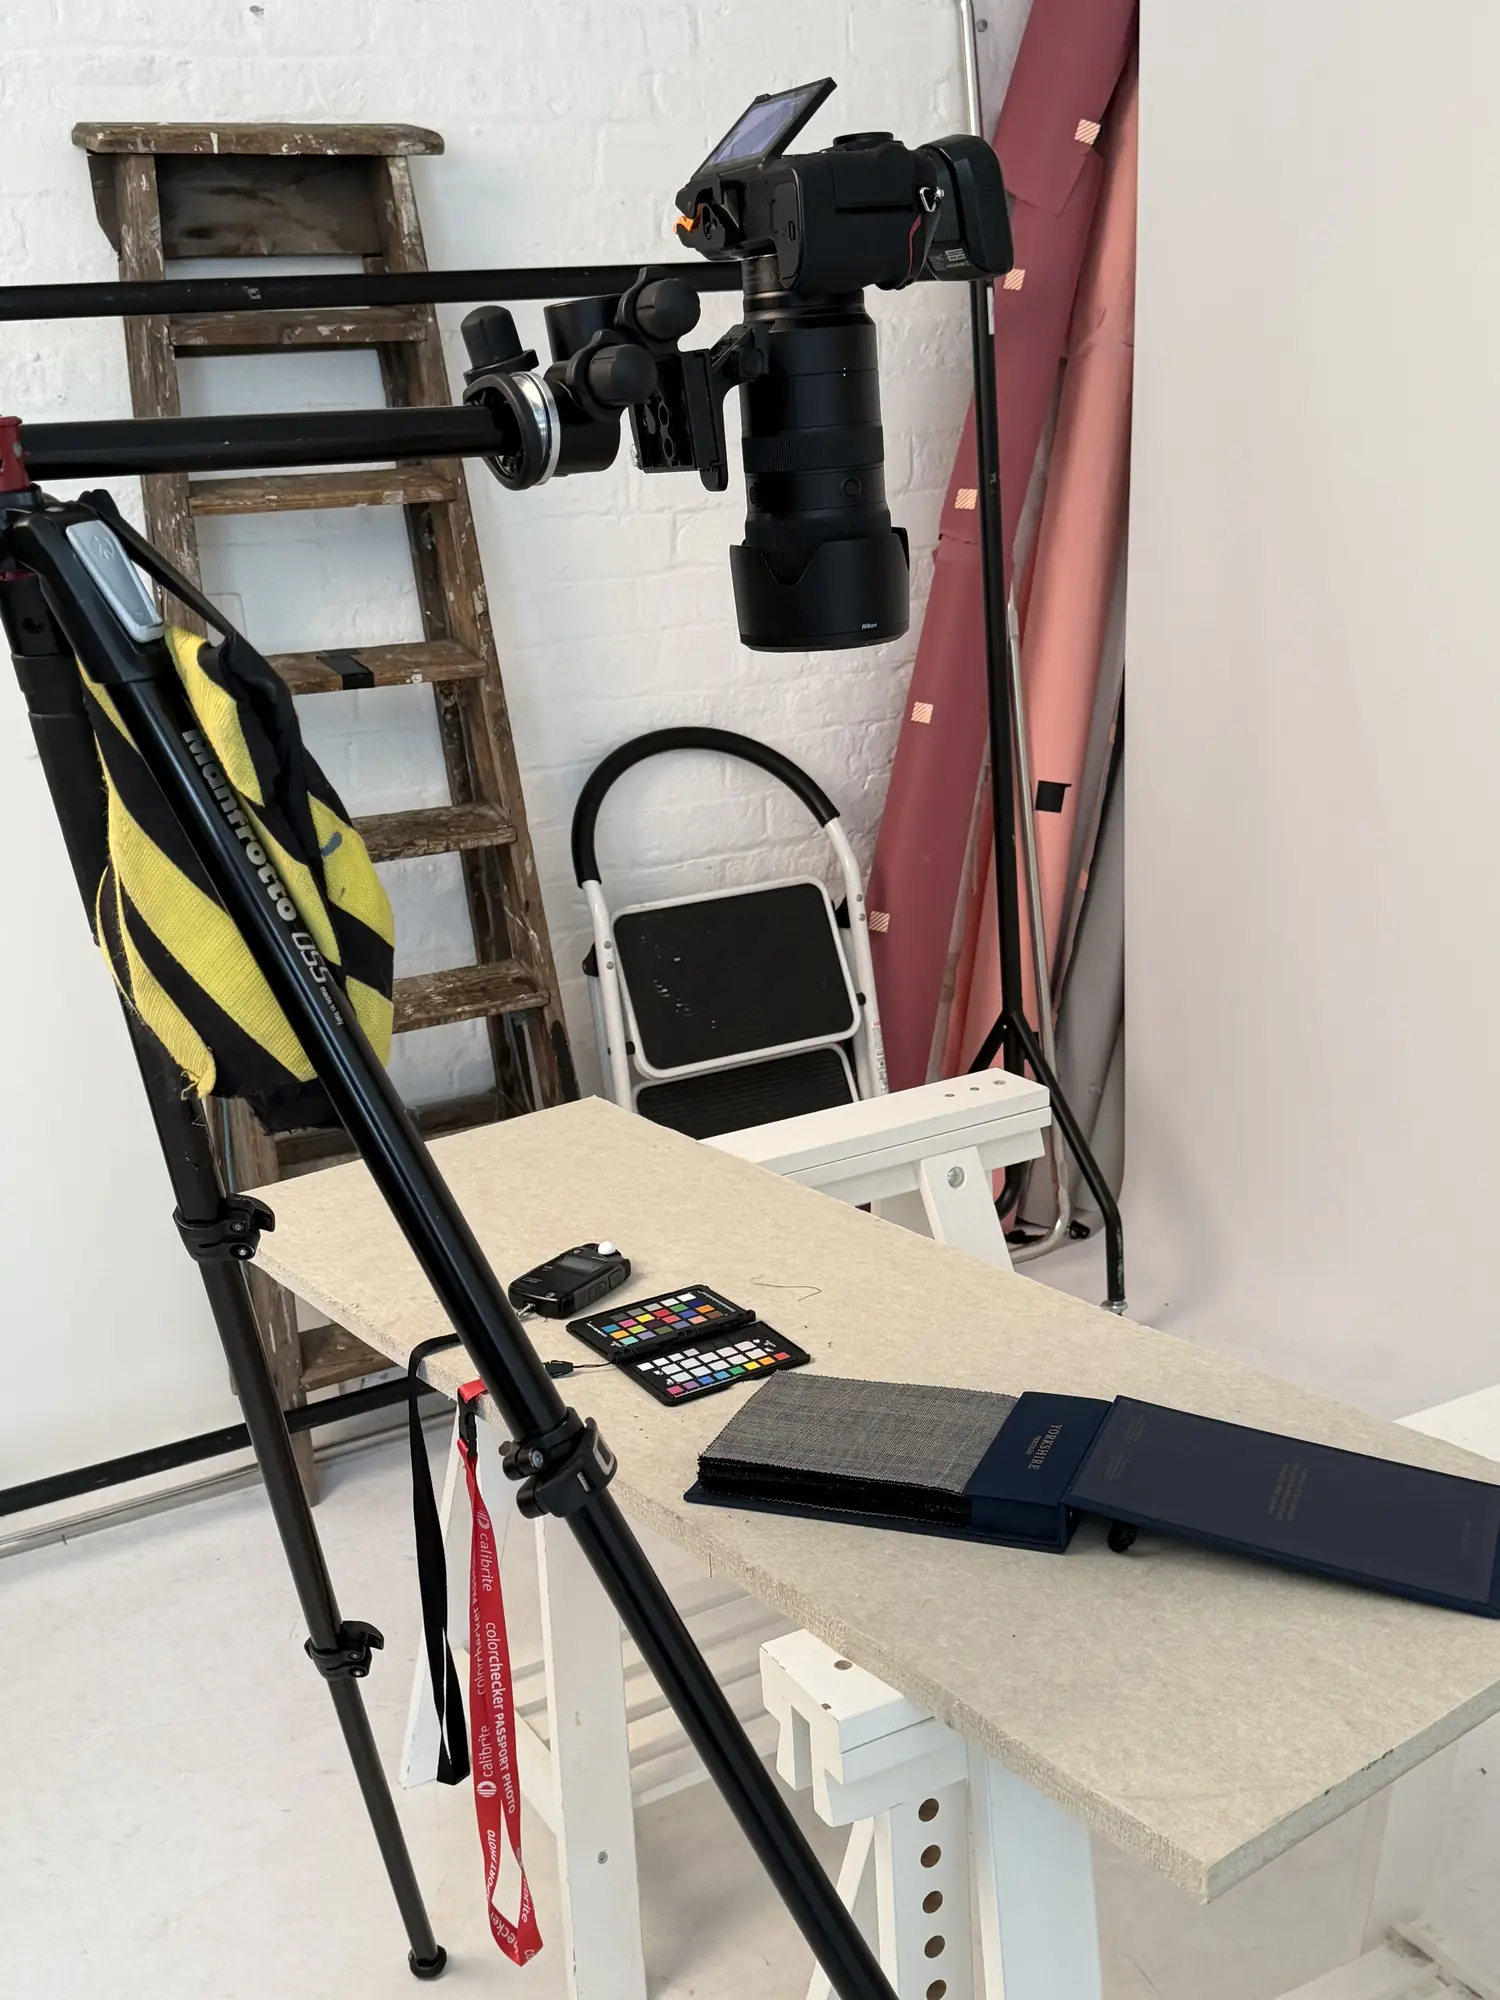
Most product photographs answer a practical question: what is it, what colour is it, how big is it. Lifestyle images answer a different one. They show the product in a life somebody might actually be living, so the person looking can picture it on their own kitchen counter or in their own bag.
Lifestyle product photography is not a replacement for the clean packshot, and the packshot is not a replacement for it. Most good product pages use both: the packshot for clarity, the lifestyle shot for desire. This guide covers the four shots we think every small brand should have, and how to plan a shoot that actually produces them. The same thinking applies on a phone at your kitchen table and on a full day in our studio in Leeds.
What lifestyle product photography is for
A lifestyle image puts the product in a believable scene: a mug on a windowsill, a bottle in someone’s hand, a jacket on a real shoulder. The scene has one job, which is to feel true while keeping the product itself instantly readable. When the context starts to compete with the product, the picture stops selling.
These images tend to earn their keep in a few specific places. On a product page they sit above the fold and set the mood before the buyer scrolls to the detail shots. In paid ads and social posts they stop the scroll in a way a clinical white-background shot rarely does. In lookbooks and email campaigns a run of scenes tells a bigger story than a single frame can.
Categories that are bought on feel, such as beauty, homewares, clothing, accessories and food, tend to see the biggest lift in engagement from this style, because the buyer is already imagining a scene before they click add to basket. If you are still weighing up which style you need, our piece on lifestyle versus packshot photography goes through where each one is worth the spend.
The four shots every small brand needs
You do not need thirty images from a lifestyle session. You need four that do different jobs, and then variations of those four for different platforms.
1. The hero
This is the mood-setter. One product, one scene, enough space around it to crop for a banner. It goes at the top of the product page and leads the ad campaign. Protect this shot above everything else on the day.
2. The in-use close-up
Hands pouring, opening, applying, wearing. It shows function and answers the quiet question of how the thing actually works. These frames tend to perform well on Instagram because they read at a glance on a small screen.
3. The scale reference
A hand holding the product, or the product next to something everyone knows the size of. Shoppers misjudge size constantly, and it is one of the most common reasons for a return that nobody thinks to fix with a photograph. Shoot one in every set, even when it feels unnecessary.
4. Packaging in context
The box, the pouch, the tissue paper, shown as the customer will meet it. It builds trust before purchase and gives you unboxing-style content for social without a second shoot.
If you want a fuller checklist of what to capture beyond these four, our brand photography shot list is a good starting point, and there are ten commercial photography examples on the blog if you want to see the range of what brands actually commission.
How to plan a lifestyle photography shoot
A shoot without a brief drifts. You end up with beautiful frames that do not sell the product, because nobody agreed in advance what good looked like. Treating lifestyle as its own creative job, rather than something bolted onto the end of a packshot session, is what separates usable assets from a folder of pretty files nobody uses.
Work through it in this order. Write a one-page brief: the goal (ad, hero image, social), the mood, and the single feature each shot must sell. Draft the shot list using the four above. Cast your models, and be relaxed about it. Friends, staff, or a local customer who genuinely resembles your buyer often photograph more naturally than agency talent. Then decide on the venue. A studio gives you controllable light and backdrops quickly. A real location, a café or a garden or a bedroom, adds authenticity but costs setup time.
Keep the shot list to six scenes at most for a half-day session. Ambition kills pacing, and a rushed tenth scene is rarely better than a well-lit fourth one.
Lighting and camera choices that get results
Natural light gives skin and fabric a warmth that is hard to fake, and it is free. The trade-off is consistency. Cloud over Leeds changes minute to minute, so matching light across a forty-item catalogue shot over several sessions is difficult in practice. Studio flash or continuous LED panels cost more up front but repeat exactly, which matters if you are shooting the same product line every season.
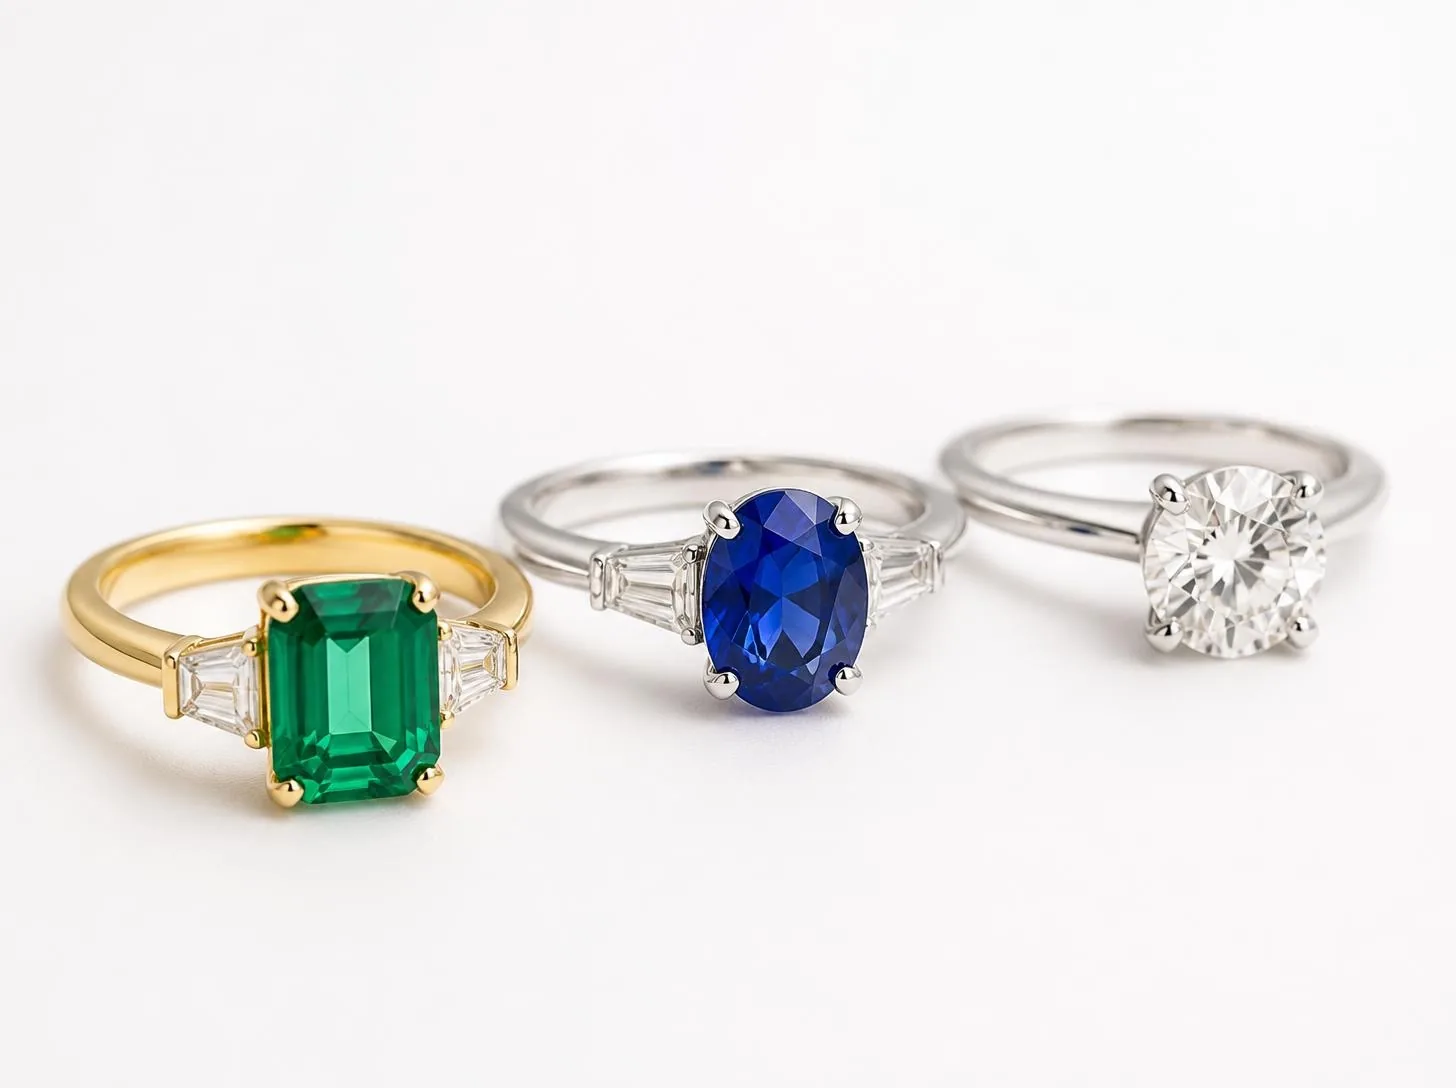
Kit depends on what you are photographing. For tabletop and homewares, a mirrorless body with a 50mm or 85mm lens gives natural compression without distortion. For jewellery and small detail, a macro lens, and a tilt-shift where the budget allows, controls the plane of focus precisely. For clothing on models, a 24–70mm zoom covers full-length and close crop without a lens change mid-session.
Resolution and accurate colour are not vanity metrics here. If your product has visible texture, grain, weave or finish, buyers want to inspect it, and that scrutiny is linked to fewer returns. Phone shooters are not locked out either. A tripod, a £15 clip-on diffuser and the phone’s RAW or Pro mode will outperform a handheld snap every time. For the lighting principles themselves, our guide to lighting for packshots covers the same thinking we use on lifestyle sets.
Styling a scene without burying the product
Every prop needs a reason to be there. A coffee cup beside a skincare bottle tells a morning-routine story. Three unrelated ornaments just compete for attention. The rule that works on every shoot: if removing a prop does not change the story, remove it.
Surfaces and palette do more of the work than most people expect. Choose a surface texture, linen or timber or stone, that matches your brand’s actual positioning rather than whatever looks nice in the moment. Keep the colour palette to two or three tones so the product’s own colour still reads as the focus. Leave real negative space around the product rather than filling every corner. And shoot wide enough to crop later, because you will want 16:9 for a banner, 1:1 for a grid and 4:5 for stories from the same setup. Our post on the best angles for product photography goes into camera height and viewpoint in more detail.
A workflow for the day itself
A good shot list still needs discipline, or you will burn the session on the first two scenes and rush the rest.
Set your base exposure first. With studio flash, start around f/8 for depth of field on tabletop work. In natural light, meter off the product rather than the background so the window does not blow out. On a phone, lock focus and exposure with a tap-and-hold before every frame and use the volume button as the shutter to avoid screen shake.
Direct models loosely rather than literally. Ask for an action, pour the coffee and do not look at the camera, rather than a pose. It reads far more naturally in the final frame. Pace the session at roughly twenty minutes per scene including relight and reset, with a five-minute review after every second scene to catch focus or styling errors while the set is still standing. This is why we shoot tethered into Capture One: a crooked label is obvious on a large screen and nearly invisible on the back of a camera.
Back up files on set, not after you have packed up. If time runs short, protect the hero and the scale reference first. Everything else is negotiable. Those two are not.
Editing and exporting lifestyle images
The priorities, in order, are exposure, colour accuracy, honest skin tones and preserved texture. Over-processing is the fastest way to make a lifestyle image feel fake. Oversharpened skin or crushed shadows break the illusion of real life that the whole shot depends on.
Apply one colour grade across the full shoot so the catalogue does not look like five photographers worked on it. Export at 2000px on the long edge for product pages, with separate 1080×1080 and 1080×1350 crops for social. Name files by scene rather than sequence, so a colleague can find the kitchen hero without opening every file. Keep the raw archive separate from the web exports, because you will want to re-crop for a new platform eventually. If you need several context variations from one clean product shot, AI-assisted scene tools can speed up iteration for small teams without the budget for multiple sessions.
When a studio is worth it, and when it is not
If you are testing an idea or need one social post, a north-facing window, a phone on a tripod and an afternoon will get you a long way. We would rather say that than sell you a day you do not need.
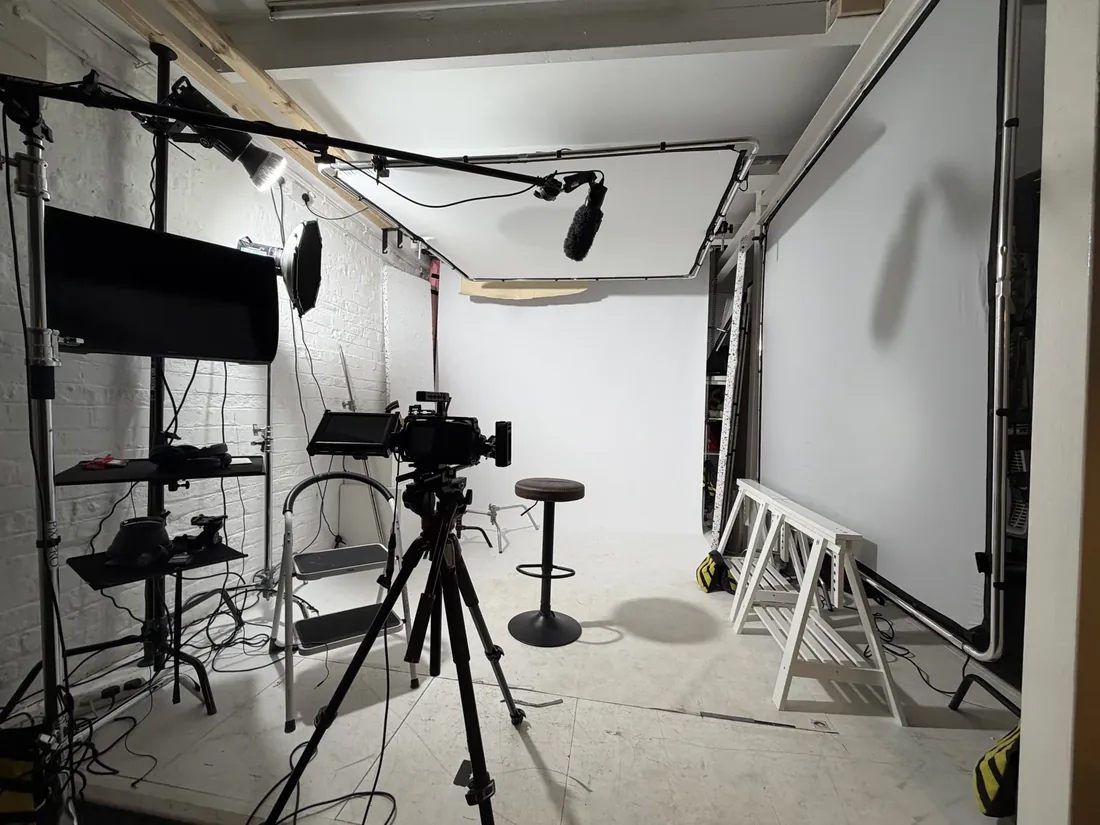
A studio starts to pay for itself when you need a consistent catalogue across many products, when a single campaign image has to look right with no room for a reshoot, or when work shot now has to match work shot six months ago. Our product photography days in Leeds run from a written brief agreed before the camera comes out, and you are welcome to sit with us at the screen while we shoot. If you would rather run the shoot yourself with our lights and space, studio hire is the middle road. For a broader campaign that mixes product with people or location, our commercial photography page covers what that looks like. And once the images are done, teams juggling weekly social output alongside the photography sometimes hand the publishing side to a tool like SocialGrove.
What goes wrong on most small-brand shoots
The most common mistake is not bad lighting. It is shooting without deciding what the image needs to sell. Teams shoot first and work out the message in the edit, which almost never works. Two rules fix most of it: agree the single feature each shot must communicate before the set is built, and always capture a scale reference. Beyond that, experiment freely. A simple one-page brief protects you far more than expensive kit ever will.
Frequently Asked Questions
What is the difference between lifestyle and packshot photography?
A packshot isolates the product on a plain background for accuracy. A lifestyle image places it in a real scene so the buyer can imagine using it. Most product pages use both.
Do I need a professional camera for lifestyle product photography?
Not always. A phone on a tripod, window light and RAW or Pro mode will produce usable social content. A dedicated camera and lens give you more control when you need a full, consistent catalogue.
How many shots do I need from one session?
A focused list of five or six scenes built around the hero, the in-use close-up, the scale reference and packaging in context will cover most product pages, ads and social needs from a single half-day.
When should I hire a studio instead of shooting it myself?
When you need consistent lighting across many products, a single campaign image that has to be right first time, or new work that must match an existing range. Quick tests and one-off posts are usually better served at home first.
How do I stop lifestyle photos looking over-processed?
Prioritise natural exposure, accurate colour and honest skin tones, and apply one consistent grade across the whole batch rather than heavy retouching frame by frame.
Where is the studio and how do I book?
Dock Street Studio is at Unit 9, 30–38 Dock Street, Leeds LS10 1JF, in central Leeds near Leeds Dock and a short walk from the train station, with onsite parking. Book online, email hello@dockstreetstudioleeds.co.uk, or call 0113 4400102. You can read what previous clients have said on our reviews page.
Book your lifestyle product shoot in Leeds
Bring us the product and the brief, or bring us the product and we will help you write the brief. Either way you leave with the four shots that do the work. Book online, email hello@dockstreetstudioleeds.co.uk, or call 0113 4400102.
Written by Mark Wheelwright
Commercial photographer & studio owner, Leeds | ISO Photographic Ltd
Dock Street Studio, Unit 9, 30–38 Dock Street, Leeds LS10 1JF
18+ years’ experience | 900+ projects | 300+ five-star reviews | 1M+ shutter count
dockstreetstudioleeds.co.uk
Shot, written and built by the Dock Street team
Every guide on this blog comes from the team at Dock Street Studio — Mark behind the camera with 18+ years' experience, Nicole on styling and lighting, Beya on video and bookings and Austin keeping the site fast and findable. If you'd rather have us do it than read about it, book a session or explore our photography services in Leeds.