


A clean white background looks like the easiest thing in photography. You put something white behind the subject and press the button. In practice it’s the brief that catches people out most often, because the white you see in the finished file comes from the lighting, not from the material.
Good white background photography means lighting the backdrop separately and exposing the subject properly. Paper, vinyl and lightboxes all help, but none of them turns pure white unaided. This guide walks through how we approach it at our studio in Leeds, and where a simple setup at home will do the job perfectly well.
In short:
- Light the background separately, roughly 1 to 1.5 stops brighter than the subject.
- Meter and lock the subject exposure first, then bring the background up to meet it.
- Replace marked paper rather than retouching around it.
- Shoot a grey card frame at the start of every session so colour stays consistent.
- White isn’t always right. Pale subjects often separate better on grey or black.
In this guide
- Which white backdrop to use, and when
- Why white is a lighting job
- Setting up for products and portraits
- Buying a backdrop or hiring a studio
- Looking after backdrops and taming reflections
- How we keep white consistent at Dock Street
- When white is the right choice, and when it isn’t
- Hiring us, or the room, for a shoot on white
- Frequently asked questions
- Sources
Which white backdrop to use, and when
The right material depends on what you’re shooting and how often the set gets reset. Suppliers stock a wide range, and this white backgrounds collection gives a fair idea of what’s out there. Most studio work comes down to five options.
- Background paper rolls down into a smooth curve that hides the join between wall and floor. It’s easy to control, but it marks the moment someone walks on it.
- White vinyl is tougher and wipes clean, so it suits food, drink and anything sticky. Choose matte, because gloss throws hotspots.
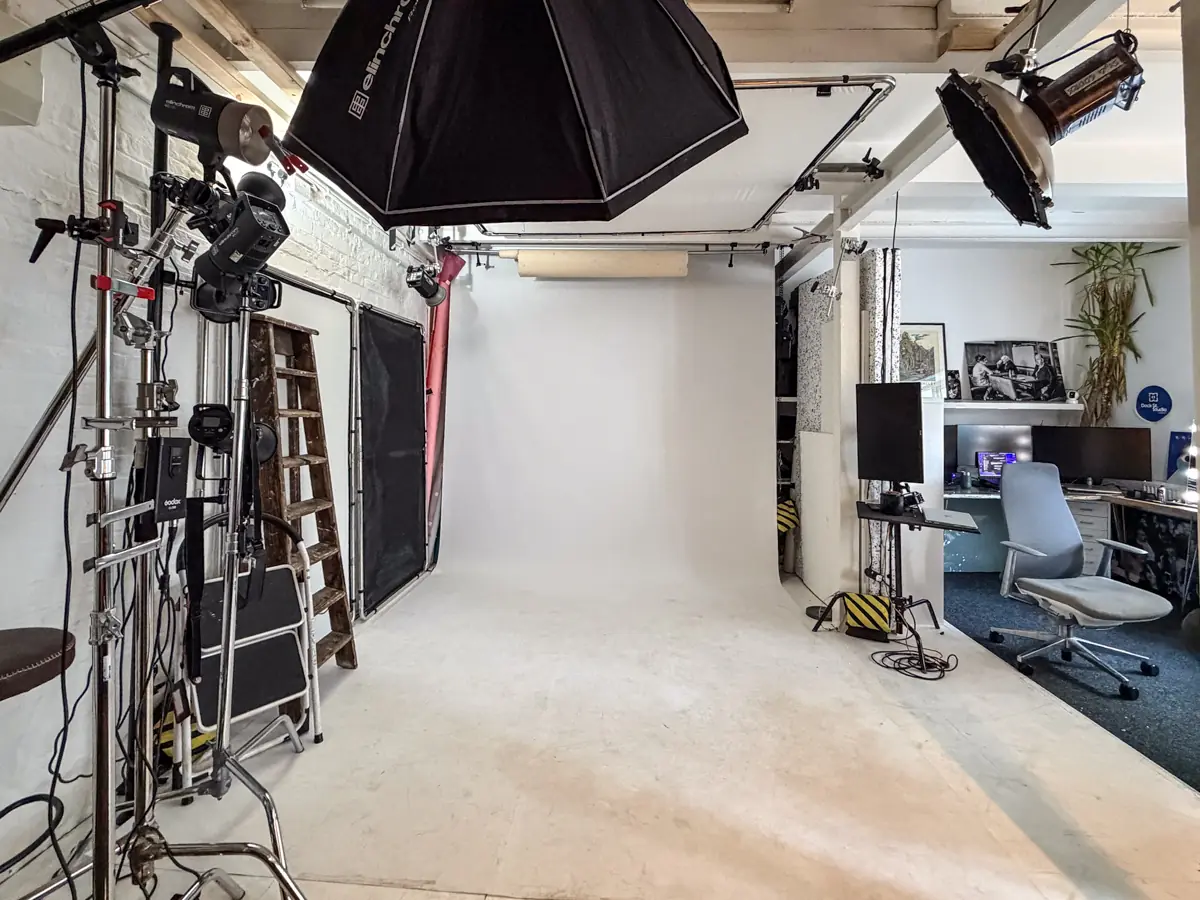
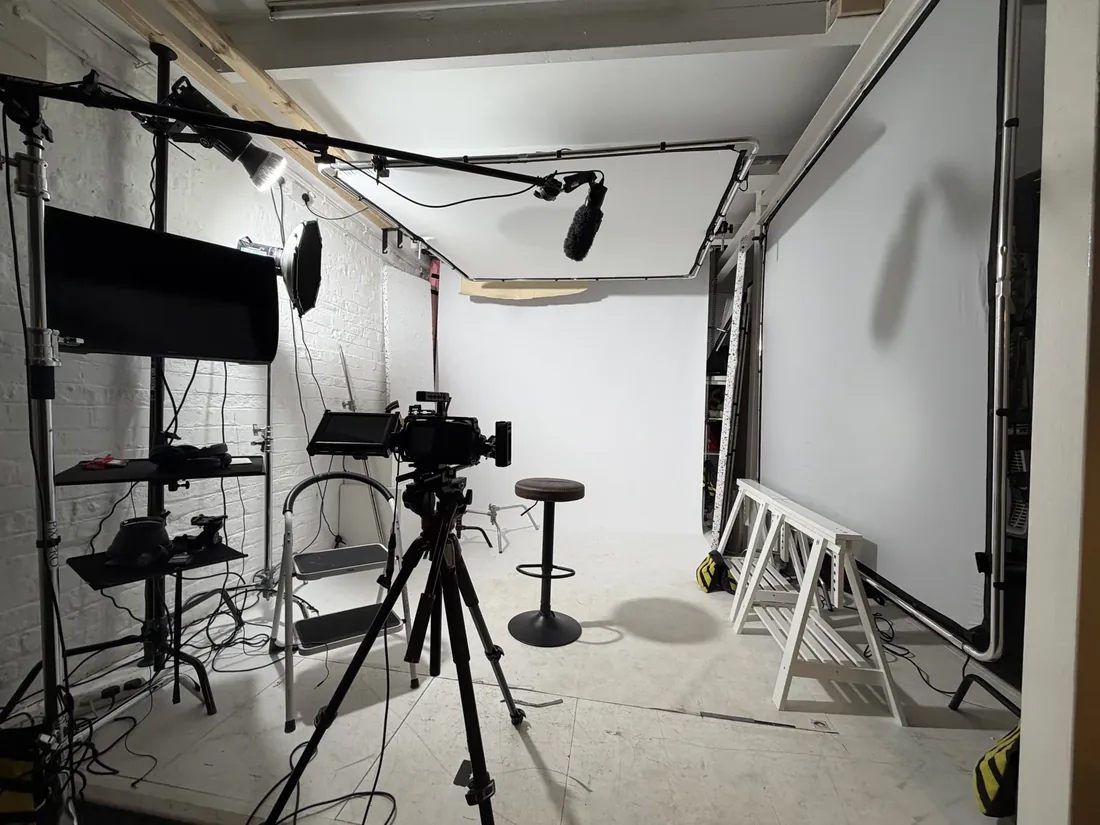
- An infinity cove, or cyclorama, is a fixed curved wall built into the studio. It’s what full-length and fashion work generally needs, and it’s what we use at Dock Street.
- Fabric and collapsible backgrounds pack small and travel well. They’re a sensible choice on location, though creases need watching.
- Lightboxes and light tents give small products soft, even light without a full studio.
Size matters more than most people expect. A headshot only needs a couple of metres of width. Full-length or group work needs a wider roll and enough height to clear heads with room to spare.
Studio paper typically comes in rolls about 2.7 metres wide and 11 metres long, so you can cut away the used section several times before changing the roll. Budget for wastage on product runs, though. Every scuff means cutting and pulling down fresh paper, and forty products will get through more of it than a single portrait session ever would.
White background photography is a lighting job
White isn’t a property of the paper you buy. The same backdrop can photograph as pure white, grey or blotchy depending on where the lights sit and how you meter. It’s a point made well in these lighting insights from a professional studio, and it matches what we see every week.
- Meter and expose for the subject first. Lock that exposure before you touch the background lights.
- Light the background with its own lights, aiming for roughly 1 to 1.5 stops brighter than the subject. If your product is pale as well, this guidance on photographing white objects is worth a read.
- Use two background lights, one either side, so the brightness doesn’t fall away at the edges.
- Keep some distance between subject and background where the room allows. Too close and light spills back, softening the edges you need for a clean cut-out.
- Use flags or barn doors to stop light wrapping round the subject or bouncing into shiny surfaces.
- Check the histogram and highlight warnings on the background itself, not just the overall exposure.
- Match colour temperature across every light and shoot RAW. Mixed light gives colour casts that are slow to fix afterwards.
Treat that 1 to 1.5 stops as a starting point, not a law. Push much further and the light eats into the subject’s edges. Fall short and the white reads as grey in the final file, and a background the colour of a Leeds sky in February isn’t what anyone ordered.
Setting up for products and portraits
A small product on a table and a full-length portrait need different rigs, but the exposure logic stays the same throughout.
Small products: lightbox or table sweep
- Build or buy a lightbox from matte board or foam core, with diffusion material over the open sides. Adobe’s DIY lightbox guide covers the build.
- Set the camera to manual, shoot RAW, and take a custom white balance from a grey card inside the box.
- Light from both sides through the diffusion, take a test frame and check the background reads as flat white on the histogram.
- Lock the exposure, then shoot the whole range without changing settings between products.
If those product shots are headed for a website you’re building yourself, this web design tutorial covers that side of things.
Portraits and full-length: the studio sweep
- Stand your subject at least a metre or two in front of the backdrop. It reduces spill and keeps edges crisp.
- Place key and fill lights for the subject, then add two background lights aimed at the backdrop and kept out of the subject’s light.
- Meter the subject and lock that exposure. Raise the background lights until the backdrop reads bright white without changing the subject reading.
- Take a test shot, check the grey card, and zoom to 100% on the edges to make sure hair and shoulders aren’t dissolving into the background.
Shoot that grey card frame at the start of every session, so you have one consistent reference to correct against later. Nikon’s white balance guidance is a good primer on why it matters.
When it goes wrong
An uneven background usually means the two background lights aren’t matched in power or distance. Lost outlines on pale subjects point to a background that’s too close, or too bright for the key light. Reflections on glossy products generally need a change of modifier angle, not more light.
Buying a backdrop or hiring a studio
Both decisions come down to the same question. Will this setup give you the same clean result on shoot three as it did on shoot one?
- Check for a true matte finish. Gloss paper and gloss vinyl both throw hotspots under studio lights.
- Check roll width and length against your largest subject, and whether the surface wipes clean if you’re shooting food or drink.
- Factor in replacement. Paper wears out faster, while vinyl costs more up front.
- Ask about room size. Studio guidelines from the Institute of Medical Illustrators give 4 m × 4 m as the minimum room size, and 5 m × 4 m if half-body views are needed.
- Ask whether the background can be lit independently. A room with one set of lights can’t take the backdrop to white without overexposing the subject.
- Look for a fixed sweep or background rails, enough power points, and somewhere to rig softboxes.
Paper suits occasional use and tight budgets. Vinyl suits busy sets that need wiping between shots. A fixed cove suits regular full-length or fashion work.
If you only shoot a handful of small products a year, a lightbox at home will do the job, and we’d rather tell you that than sell you a day you don’t need. Studio time earns its keep when the range is large, the subject is a person, or the results have to match last month’s.
Looking after backdrops and taming reflections
Store paper rolls upright, away from damp and away from feet. One crease shows up under hard light and spoils the sweep. Vinyl wipes down with a damp cloth and mild cleaner, which is why it survives sets that paper can’t.
- Replace paper as soon as creases or scuffs appear in frame. Don’t try to crop or retouch around them.
- For glossy products, cross-polarisation (a polarising gel on the lights and a polariser on the lens) cuts glare on glass, plastic and varnished surfaces. It does far less on bare metal.
- Tenting a reflective subject inside a lightbox softens reflections before they reach the sensor.
- Fix lighting problems in camera first. Retouching is for small marks, not for rescuing a badly lit background.
How we keep white consistent at Dock Street
Every shoot starts with a planning conversation and a shot list. It cuts down on retakes and keeps the lighting consistent across a product run or a day of headshots. Before anyone arrives, we check the cove for marks, make sure cables and rigging are safe, and fire test frames until the background reads as pure white.
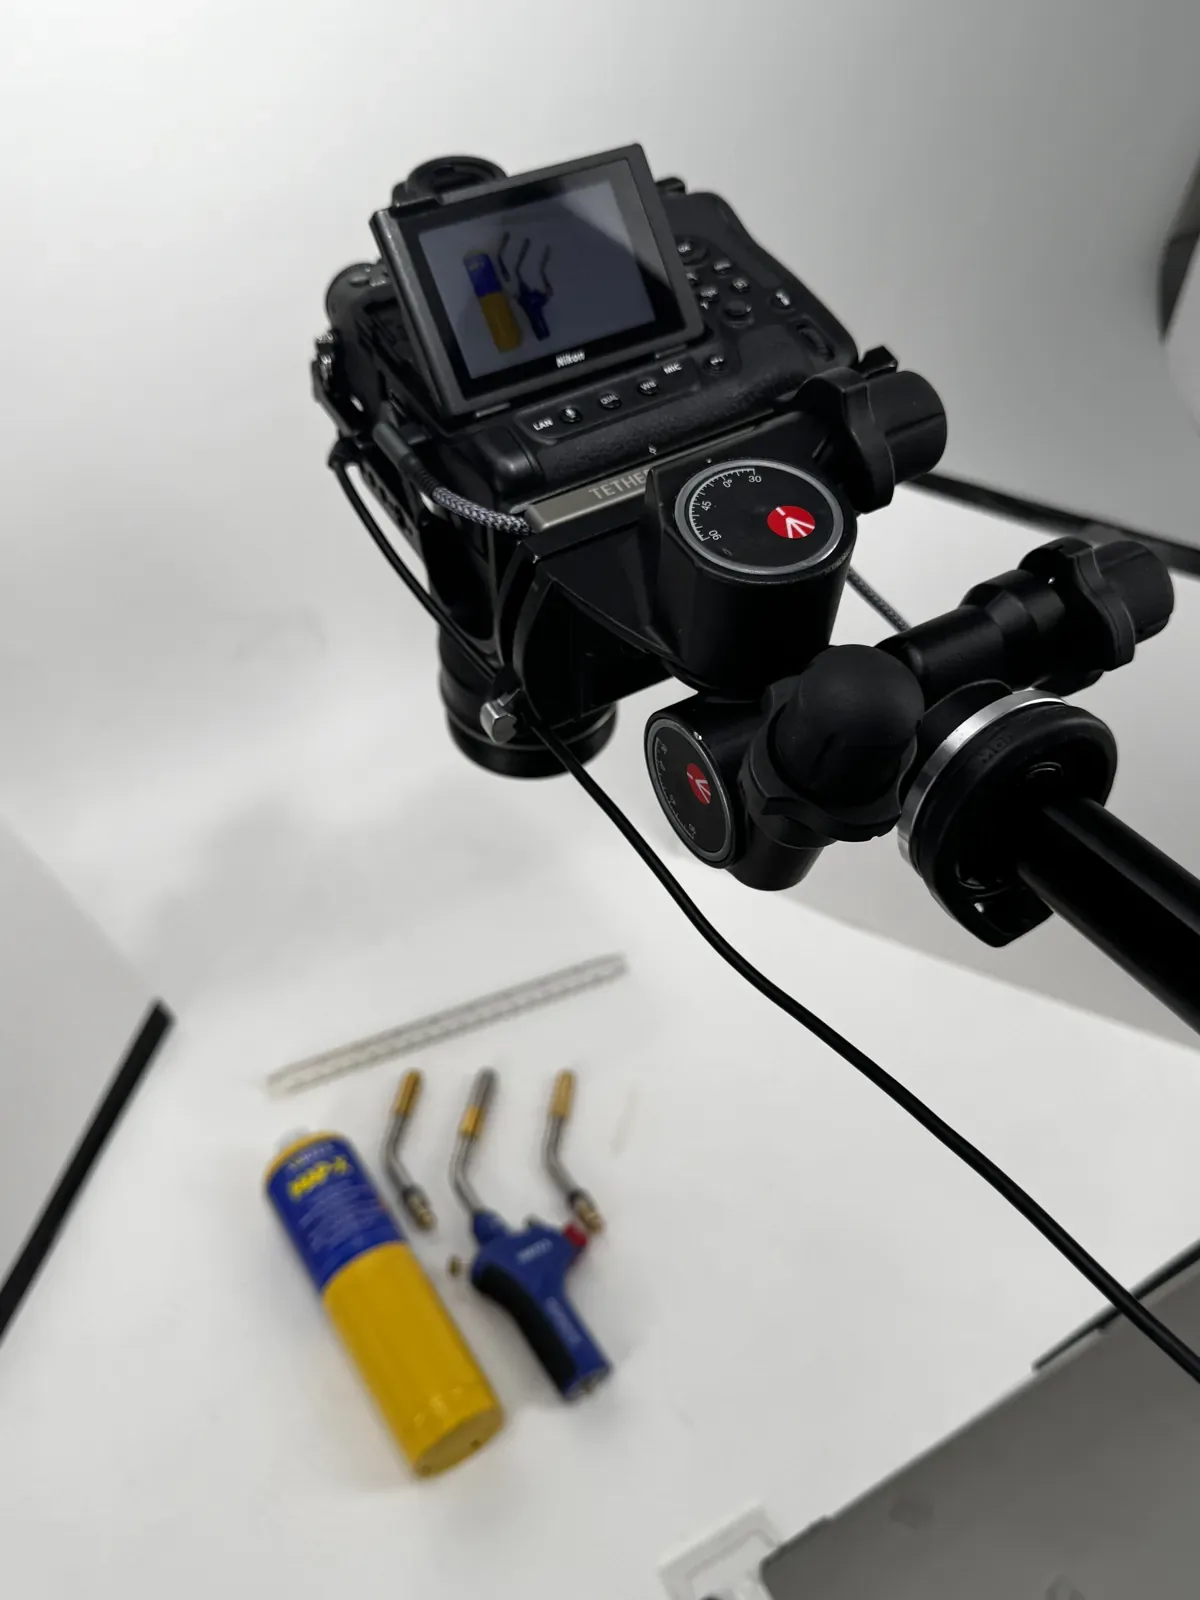
We shoot tethered into Capture One, so you see each frame on a large screen as it’s taken. If a white is drifting grey or an edge is getting lost, we catch it on set and not in the edit.
Getting the backdrop right before the subject steps in front of it saves far more time than fixing it afterwards in retouching. — Mark
It’s the same routine behind the larger jobs. We photographed the entire Arctic Hayes catalogue this way, and we supply images to Screwfix to their listing standards, where consistency from the first product to the last is the whole job.
When white is the right choice, and when it isn’t
White works best when the brief calls for something neutral and free of distraction: e-commerce listings, casting headshots, catalogue and press work. It struggles when the subject’s own edges are close to white. A pale product, a white shirt or very fair hair will usually separate better on mid-grey or black.
Coloured or textured backdrops suit editorial and lifestyle work, where mood matters more than neutrality. It’s one reason many actor headshots are shot on grey or a muted colour. Whichever you pick, the priority is clean separation and sharp edges, not absolute whiteness for its own sake.
Hiring us, or the room, for a shoot on white
Product runs, headshots and full-length work all benefit from a space built around this exact problem: independent background lighting, a proper sweep and enough depth to separate subject from backdrop. Recreating that in a spare room usually means fighting mixed light and a background that won’t quite reach white.
You can use the studio in three ways. We can shoot your product photography for an e-commerce range, run a headshot session for LinkedIn or casting (headshots start from £95), or you can book studio hire and run your own lighting in our space.
Headshots are retouched and delivered within 48 hours. For product runs, we agree the turnaround with you at the planning stage, because four packshots and forty are different jobs. If you’d like to know what working with us is like first, our reviews are a fair place to start.
Frequently Asked Questions
What do photographers use for a white background?
Background paper, white vinyl, a fixed infinity cove, fabric or collapsible backdrops, or a lightbox for small products. Paper and vinyl give the most controllable sweep, while a cove suits full-length work.
How do I get a pure white background in my photos?
Light the background separately and set it roughly 1 to 1.5 stops brighter than the subject. Lock the subject exposure first, then raise the background lights until the backdrop reads as flat white on the histogram.
Are white backgrounds good for product photos and headshots?
For the most part, yes. They keep attention on the subject and suit online listings, catalogues and casting. They’re less suited to pale subjects, where a grey or darker backdrop gives cleaner separation.
Is a white background always the best choice?
No. White suits neutral briefs, but grey or black often separates pale subjects more clearly, and colour can suit a brand better. Clean edges matter more than pure white.
Can I shoot on a white background at home?
For small products, yes. A lightbox, two lights and a grey card will get you a long way. Full-length portraits and large product ranges are where a studio makes the difference.
Where is the studio and how do I book?
Dock Street Studio is at Unit 9, 30–38 Dock Street, Leeds LS10 1JF, in central Leeds near Leeds Dock and a short walk from Leeds train station, with parking onsite. Book online, email hello@dockstreetstudioleeds.co.uk, or call 0113 4400102.
Sources
- White backgrounds collection — AJ Supplies
- How to photograph white objects on white backgrounds for e-commerce — Essential Photo
- A DIY lightbox guide — Adobe
- IMI studio guidelines — Institute of Medical Illustrators
Related reading
- How to photograph reflective products
- Best lighting for packshots
- Best angles for product photography
- Product photoshoot planning guide
Book your shoot on white in Leeds
Bring us the range, the cast list or the brief, and we’ll plan the lighting around it before you arrive. Book online, email hello@dockstreetstudioleeds.co.uk, or call 0113 4400102.
Written by Mark Wheelwright
Commercial photographer & studio owner, Leeds | ISO Photographic Ltd
Dock Street Studio, Unit 9, 30–38 Dock Street, Leeds LS10 1JF
18+ years’ experience | 900+ projects | 300+ five-star reviews | 1M+ shutter count
dockstreetstudioleeds.co.uk
Shot, written and built by the Dock Street team
Every guide on this blog comes from the team at Dock Street Studio — Mark behind the camera with 18+ years' experience, Nicole on styling and lighting, Beya on video and bookings and Austin keeping the site fast and findable. If you'd rather have us do it than read about it, book a session or explore our photography services in Leeds.