


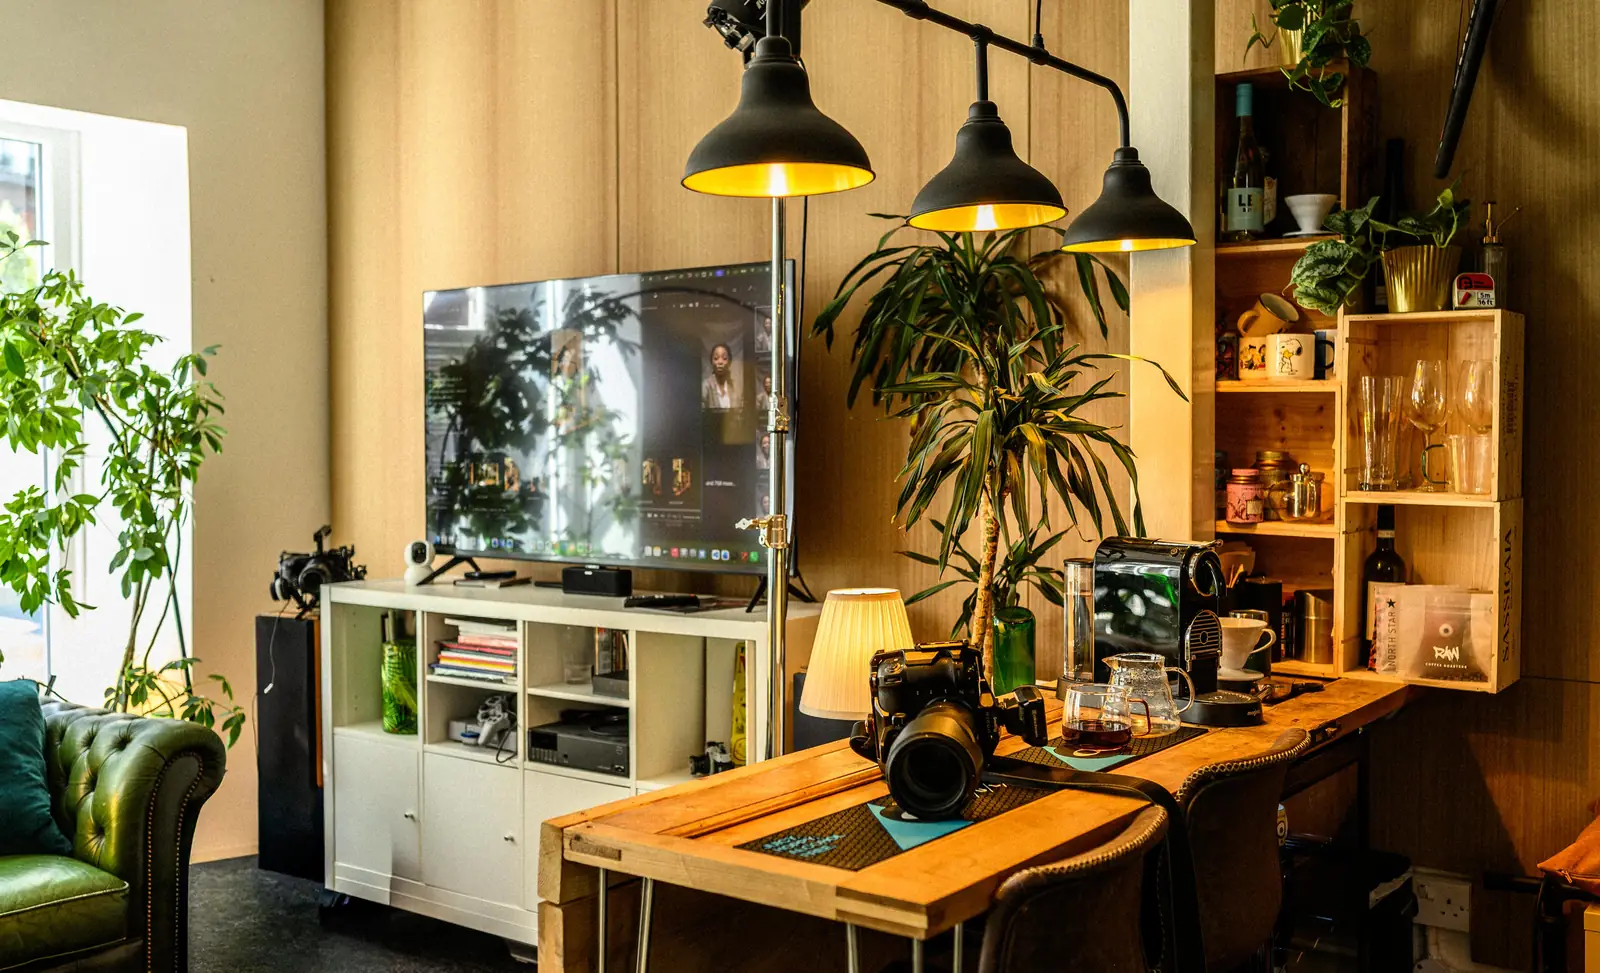
A polished chrome tap will happily reflect your camera, the ceiling, the studio door and every light in the room. A glossy perfume bottle shows a bright white streak exactly where you wanted the label. Which is why how to photograph reflective products has very little to do with finding a clever camera setting, and almost everything to do with controlling what the product can see.
It matters commercially, too. Reflective products often look expensive in the hand and cheap in a rushed photograph. Glass, metal, gloss packaging and shiny plastics can all look clean and dimensional — they just need a considered set and a bit of patience.
Start with the reflections, not the lights
The principle is simple: a mirror-finish product doesn't really have a surface of its own. What you're photographing is a record of the room around it.
So instead of putting a light in front of the product and hoping, we build the reflection we want the camera to see. On a polished kettle, a large white panel reflected down one side gives a soft highlight that describes the shape. A black card on the other side gives it a crisp edge and stops it dissolving into the background.
This surprises people. A product shoot can involve more card, tracing paper and black fabric than lights. That's normal. The lighting is only half the job — the set around the product is what makes the lighting useful.
Prepare the product properly
Shiny things are unforgiving. Dust, fingerprints, label bubbles and dried water spots barely register to the eye and then look enormous at full resolution.
Handle polished metal and glass with clean cotton gloves. Use a blower and a soft microfibre cloth before each frame. Check labels are straight and unscuffed, and look at seams, joins and any protective film that should have come off. Sorting all that before the camera comes out saves hours of retouching afterwards.
Bring more than one sample if you can. Bottles, jars and boxed products pick up marks during styling, and a spare means a creased label doesn't end the setup.
Build a controlled area inside the room
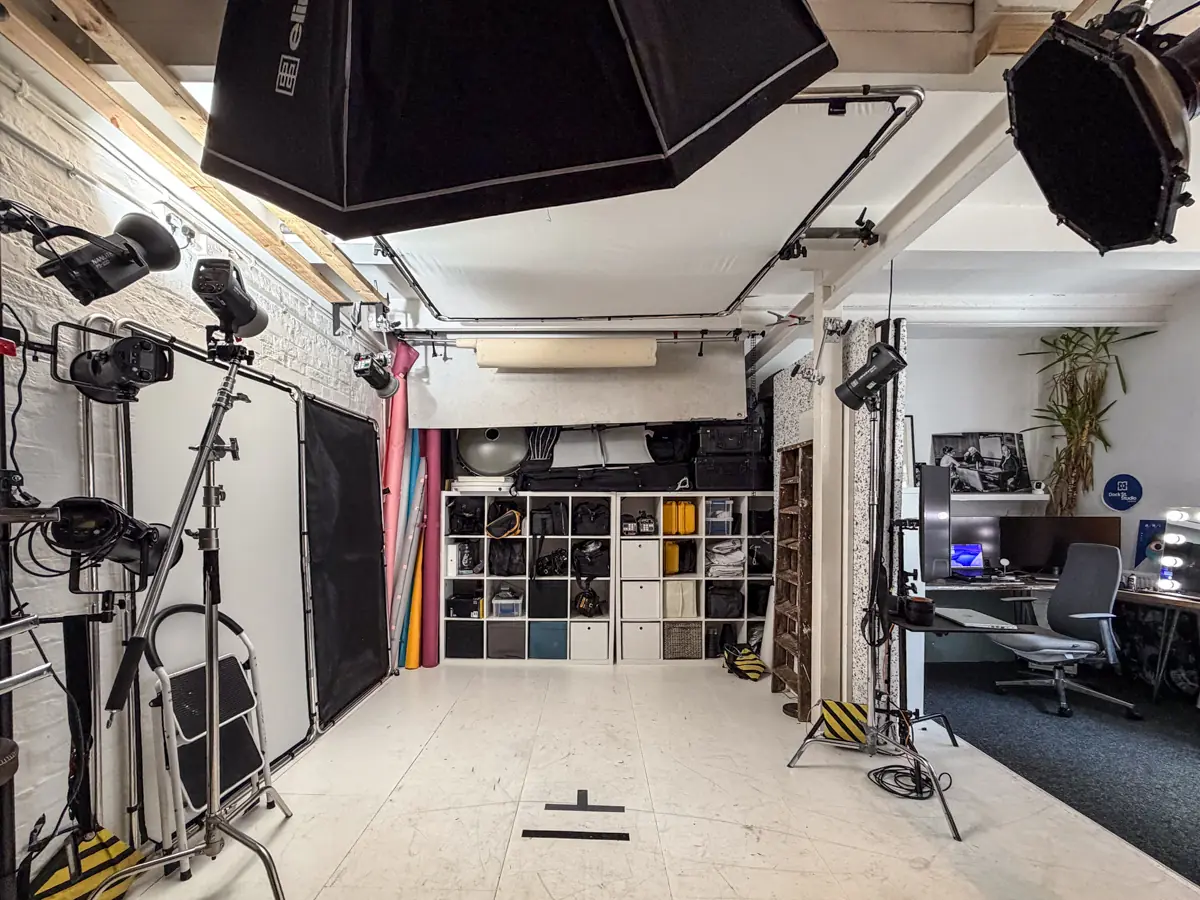
A large studio helps because it gives room to place lights and flags without crowding the product. But the product itself usually wants a smaller, controlled environment inside that space.
We'll often start with a simple sweep, then work with white foam board, black foam board and diffusion around the item. Think of those boards as things the product reflects rather than set dressing — their position changes the picture far more than the power setting does.
White cards give bright, broad reflections. Black cards give shadow lines and definition. Diffusion turns a small hard reflection into a smooth highlight. Move each one a few centimetres at a time and watch the product, not the light. If you can see a clean line on it with your own eye, the camera will see it too.

Bigger sources, smoother highlights
A small bare light makes a hard, bright dot. That can be exactly right for a deliberate sparkle on a piece of jewellery. It's rarely flattering on a stainless-steel appliance or a glossy cosmetics bottle.
For most commercial work we use a larger diffused source — a softbox, a light bounced into white board, or a head placed behind a sheet of diffusion. The larger the source looks relative to the product, the softer and broader the reflection.
There's a trade-off. Very soft light can leave a product looking flat, particularly if it's pale or brushed metal. That's when we bring in a controlled dark reflection along an edge. You need some contrast to show form.
Shooting reflective products on white
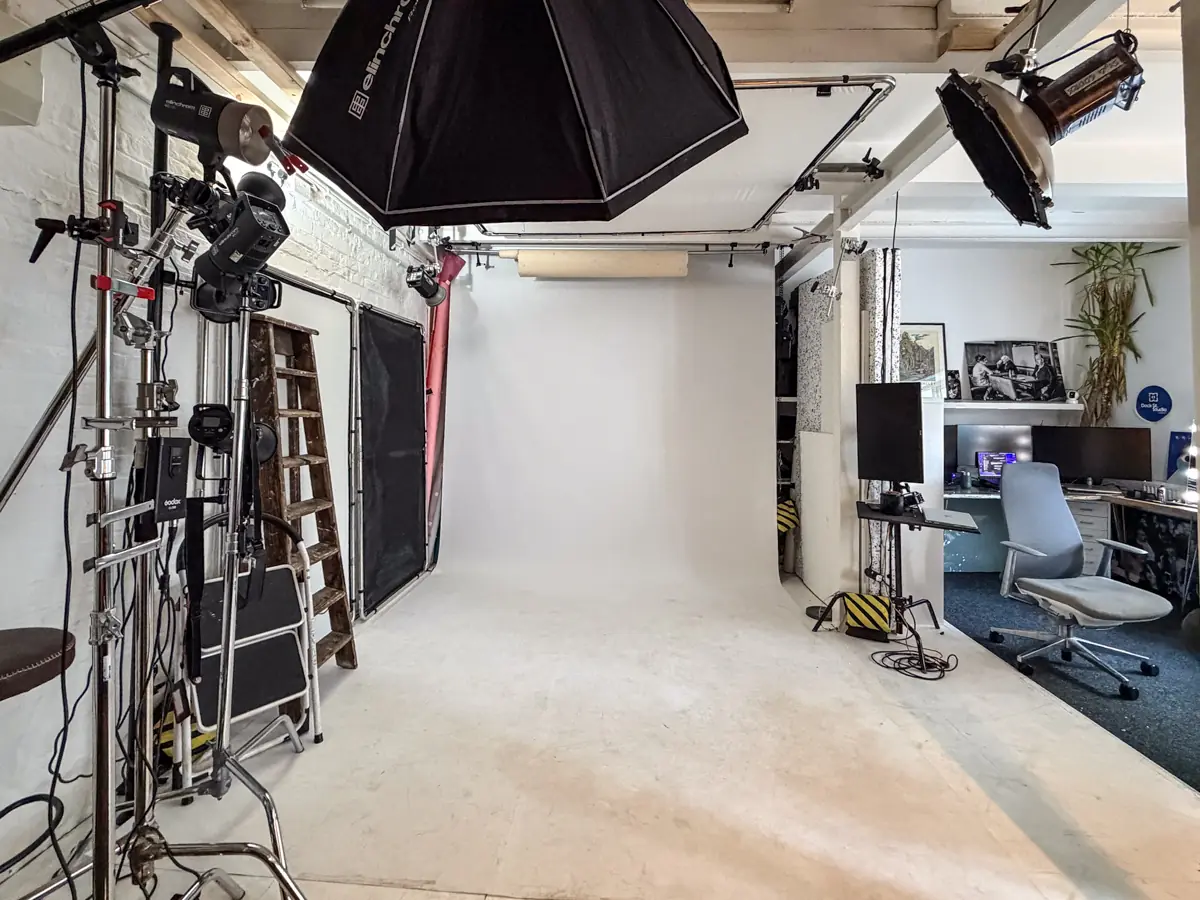
White-background shots are a staple for online shops and marketplaces, and they're not as easy as they look. Put a silver or white reflective product on an all-white set with light coming from everywhere and it loses its outline entirely.
The fix usually isn't a darker background. It's controlled contrast on the product itself — narrow black cards just outside the frame, one either side of a chrome object, so it stays bright overall but keeps definition around its curves.
Separate your background light from your product light, too. Light the sweep evenly enough to get the clean white you need, then shape the product with its own lights, reflectors and flags. When one light is doing both jobs, you lose control fast.
Agree the background standard before the shoot as well. Pure white gets requested by default, but a very light grey or soft off-white often keeps more real detail and sits better on a premium brand's site. It depends where the image is going.
Glass, bottles and glossy packaging
Glass needs edges. A clear bottle against a pale background is visible mainly through the reflections and refractions around its outline. Backlighting works, but it has to be controlled or it blasts through the liquid and washes out the label.
For a spirits bottle or a fragrance we'll usually light the shape first and the label separately — a narrow strip defining one side of the glass, a soft front fill giving the type enough detail to read. If the liquid is coloured, the light has to show that colour without making it look thin.
Glossy packaging brings its own problem: a big reflection landing straight across the branding. Shift the light or the angle until the highlight falls beside the key text. Often a very small move is enough. There's no universal setup, because shape, finish and label design all change the answer.
Be deliberate about camera position
Camera position decides what the product reflects. If you can see yourself, the tripod or an untidy corner of the room in a metal surface, changing camera height or angle will usually solve it faster than another twenty minutes on the lights.
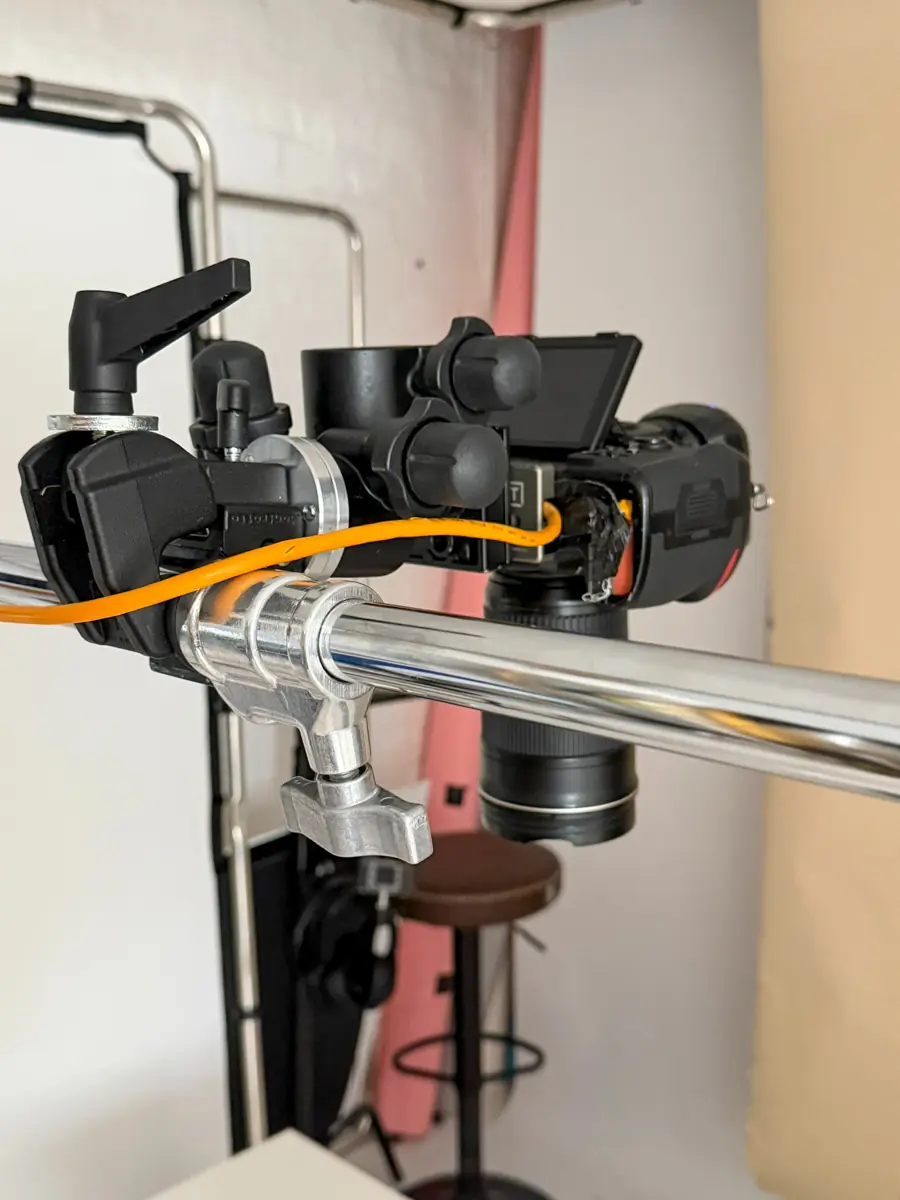
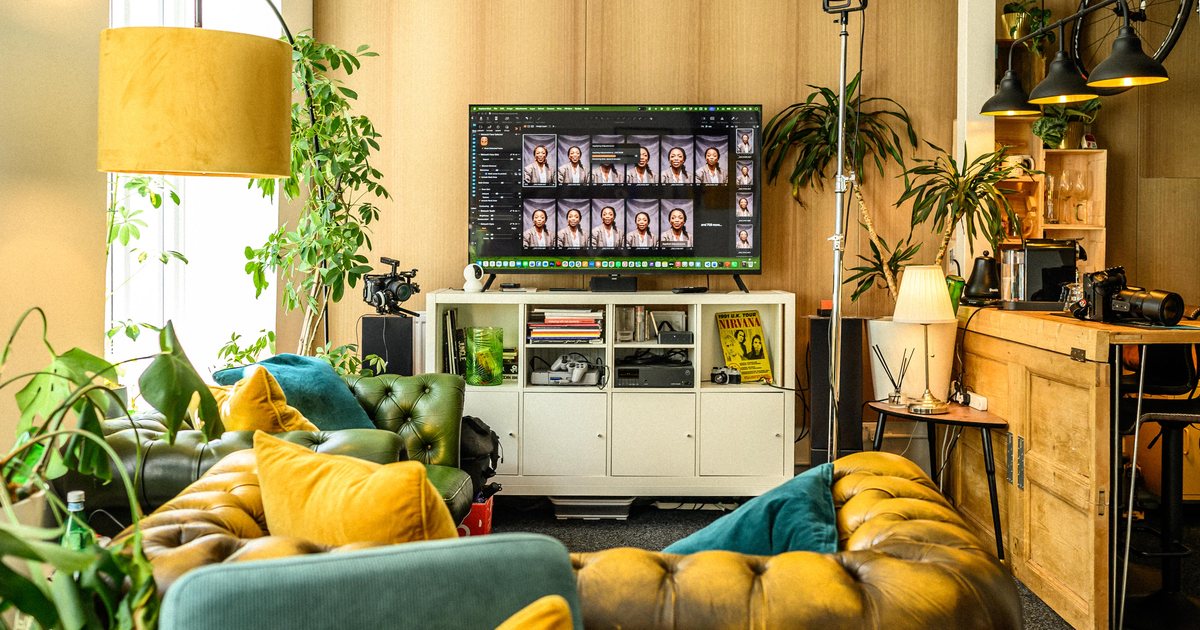
A longer focal length helps, because standing further back makes the camera a smaller part of the reflection. We work tethered wherever it's practical — everything lands on a big screen as we shoot, and it's far easier to catch a stray reflection or a wonky label there than after the set has been packed away.
On some shapes — curved chrome, mirrored finishes — the camera can't be hidden completely. That's where retouching is part of the plan rather than a rescue job: get the shape and the light right in camera, then remove the unavoidable reflection with restraint.
Don't expect a polariser to save you
A polarising filter will reduce some reflections on non-metallic surfaces — certain plastics, varnished wood, glass. It's useful. It is not a magic fix, and it won't take reflections off polished metal in the way people hope.
More to the point, killing every reflection makes a glossy product look oddly dead. Reflections aren't the enemy. Uncontrolled reflections are. You want clean highlights that describe the material, minus the clutter.
Plan the crop and the retouching before you shoot
We always ask where the photographs are going to live. A square listing, a tall social advert and a wide website banner want different compositions, and a reflection or prop that works in one crop can be awkward in another.
We also agree what has to be real in camera and what's sensible to finish afterwards. A speck of dust can be retouched. The shape of a badly lit metallic object can't be rebuilt convincingly. Ten more minutes shaping the light on set nearly always beats an hour in post. Our wider guide on how to do product photography covers the planning side in more depth.
We treat reflective work as a problem-solving job. There's no single lighting diagram that suits every bottle, watch, pan and box. But when the set is controlled and the reflections are intentional, even the most awkward shiny product starts to look like it belongs on the shelf. If you've got something difficult, bring it in — it's usually quicker to test it than to describe it.
Frequently Asked Questions
Why do my shiny products look messy in photos?
Almost always because the reflections are uncontrolled rather than because the lighting is wrong. The product is showing the room. Change what's around it before you change the lights.
Do I need a light tent?
A tent gives you very even, very soft light, which suits some products and flattens others. Once you want shape and edge definition, separate cards and flags give you far more control.
Can reflective products be shot on pure white?
Yes, but the product needs its own contrast or it disappears into the background. Narrow black cards just outside the frame usually do it, and the background gets lit separately.
Will a polarising filter remove reflections from metal?
No. Polarisers help on glass, plastics and varnished surfaces, but polished metal doesn't respond the way people expect. Control the set instead.
How long does a reflective product shoot take?
Longer per item than matte products, particularly for the first setup. Once the set is built, similar items move quickly — which is why grouping products by finish is worth doing before you arrive.
Where is the studio and how do I book?
Dock Street Studio is at Unit 9, 30–38 Dock Street, Leeds LS10 1JF, in central Leeds near Leeds Dock and a short walk from Leeds train station, with parking onsite. Book online, email hello@dockstreetstudioleeds.co.uk, or call 0113 4400102.
Book a product shoot in Leeds
Bring the awkward items — the chrome, the glass, the gloss black packaging — and we'll work out a set that shows them properly. See our product photography service, then book online, email hello@dockstreetstudioleeds.co.uk, or call 0113 4400102.
Written by Mark Wheelwright
Commercial photographer & studio owner, Leeds | ISO Photographic Ltd
Dock Street Studio, Unit 9, 30–38 Dock Street, Leeds LS10 1JF
18 years in business | 900+ projects | 300+ five-star reviews | 1M+ shutter count
dockstreetstudioleeds.co.uk
Shot, written and built by the Dock Street team
Every guide on this blog comes from the team at Dock Street Studio — Mark behind the camera with 18+ years' experience, Nicole on styling and lighting, Beya on video and bookings and Austin keeping the site fast and findable. If you'd rather have us do it than read about it, book a session or explore our photography services in Leeds.