


Good product photography props each do one job. They show scale, explain how something is used, set a mood or add texture, and they never compete with the product for attention. A coin beside a ring, a linen tray under a skincare bottle, a fork resting next to a plated dish: well-chosen props help shoppers understand the product faster. Badly chosen ones just clutter the crop.
We shoot a lot of product work at our studio in Leeds, and the brands who get the most from a session are rarely the ones with the biggest prop cupboard. They are the ones with a small, well-organised kit and a clear idea of what each piece is for. This guide covers what props are actually doing, what to keep for each product category, where to source them, and how to look after them so they last.
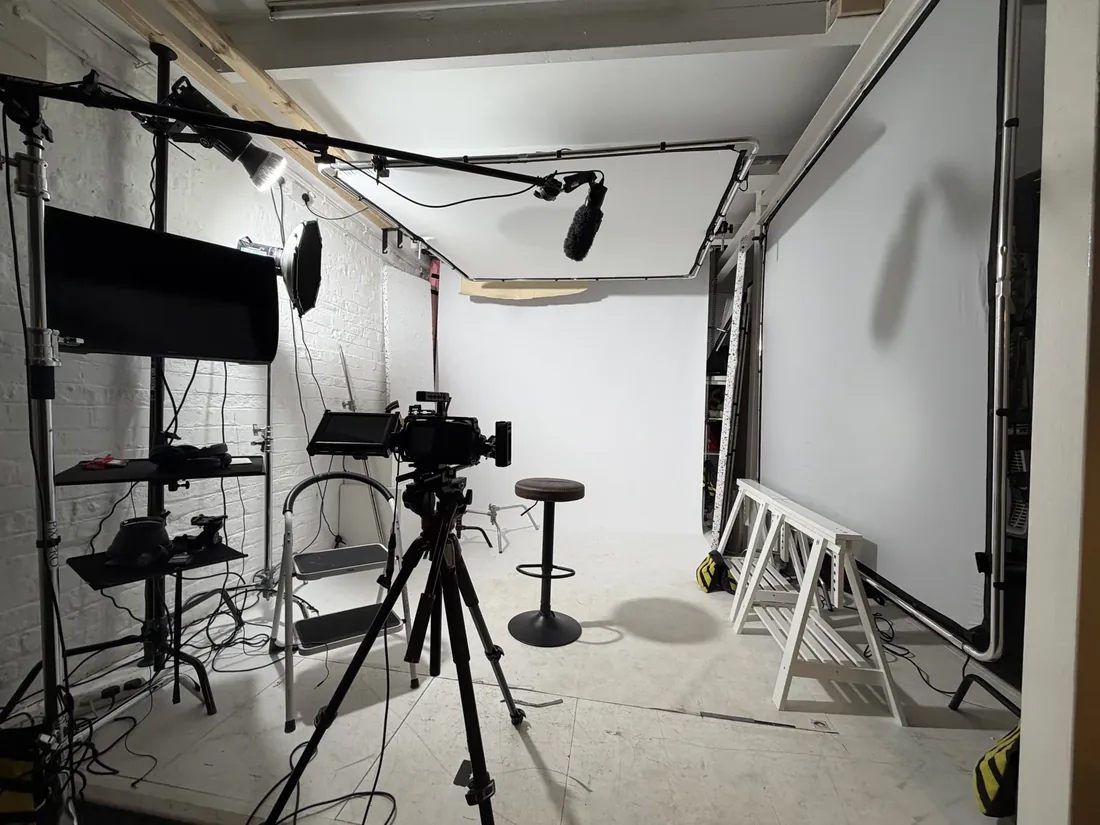
If you would rather skip the sourcing and storage entirely, that is what a studio with the kit already in place is for. You can plan a product shoot with us and we will bring the surfaces, the lighting and the tethered setup.
In this guide
- What product photography props actually do
- A small prop kit for each product category
- Where to source props: buy, hire or make your own
- Styling rules, common mistakes and a pre-shoot checklist
- How we keep prop styling consistent in the studio
- Cleaning and looking after reusable props
- Transporting and storing props between shoots
- Adapting props to different lighting and backgrounds
- Why most advice on props gets the priority backwards
- When hiring a studio beats building the kit
- Sources and further reading
- Frequently asked questions
What product photography props actually do
Every prop in the frame should be doing one of four jobs. If it is not, it comes off the set.
- Scale. A hand, a coin, a pencil or a matchbox tells the shopper how big the product really is. This matters more than almost any other prop decision, because size confusion is one of the main reasons people send things back.
- Context or use. A chopping board under a knife, a mirror behind a lipstick, a desk beside a laptop stand. These show the product being used rather than simply displayed.
- Mood. Dried flowers, linen, warm wood. These give lifestyle and advertising images a feeling, and that is where a little atmosphere earns its place.
- Texture. A slate slab under a candle, a rumpled towel beneath bath products. Texture adds interest without pulling the eye away from what you are selling.
The trick is matching the job to the image. Your main marketplace image, the one on Amazon or your own product page, usually wants very few props or none at all; a clean background does the work. Save props for the secondary lifestyle frames, the scale references and the ad creative, where context and mood help someone decide.
A small prop kit for each product category
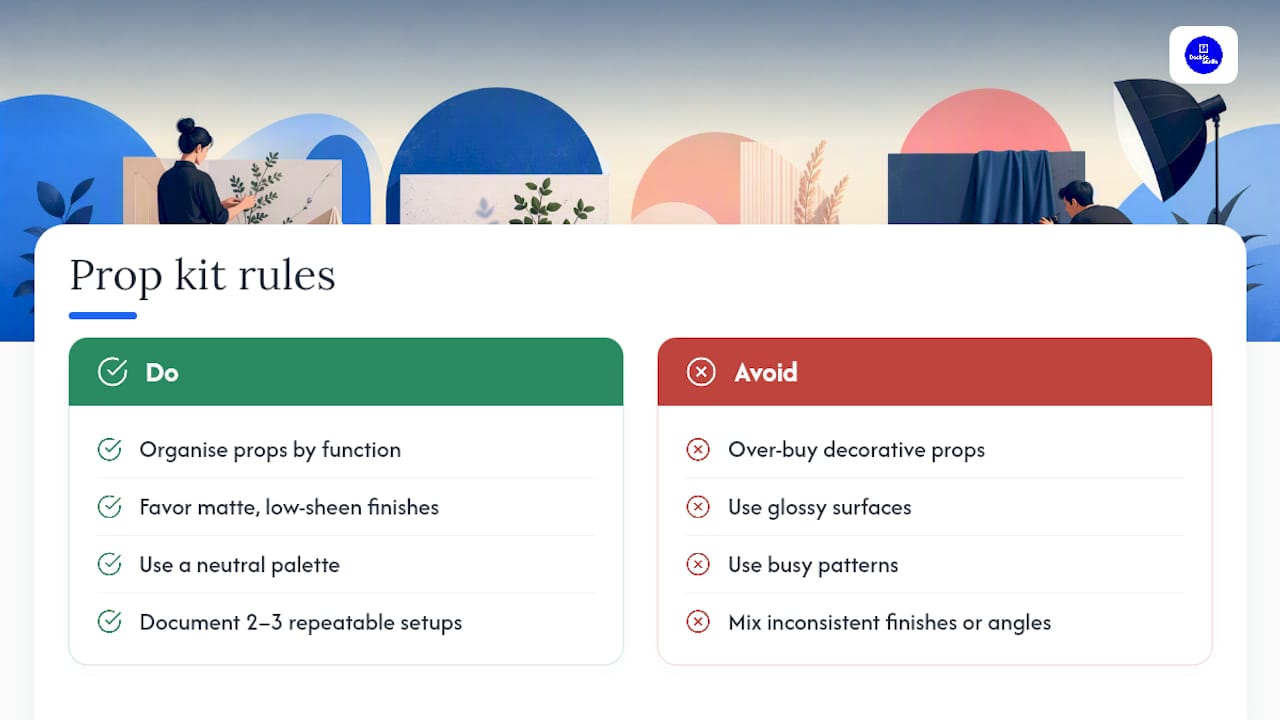
A useful prop library does not need to be large. It needs to be organised by function, with a consistent finish, so your catalogue does not look like eight different photographers shot it. Category-specific and scale props are consistently more useful than decorative ones across ecommerce catalogues, and building around function keeps you from over-buying.
Beauty and skincare: a linen or bamboo tray, a small ceramic dish for texture swatches, a rolled hand towel, a single stem of eucalyptus, a marble slab, a mirror tile, and a dropper or spatula for texture shots. Surface: honed marble or matte white acrylic.
Jewellery: a velvet ring stand, a bust or hand form, a small mirror, a coin for scale, a linen pouch, and a soft brush for dust. Surface: dark slate or brushed linen. Reflective surfaces next to polished metal cause more glare problems than they solve.
Food and drink: cutlery in one matte finish, linen napkins, a wooden board, a small jug, fresh herbs, and a textured ceramic plate. Surface: a painted wood panel or stone-effect board.
Homewares: a folded throw, a stack of books, a small plant, a ceramic vase, and a woven basket. Surface: a neutral rug or painted floor panel.
Electronics: a desk mat, a notebook, an empty coffee cup, a plant, and cable clips. Surface: matte laminate or painted MDF in a warm neutral.
Flat lays: foam board risers, a roll of kraft paper, small dishes for scattered elements, and a few dried botanicals. Surface: painted plywood or textured card in two or three interchangeable tones.
Across all six, favour matte or low-sheen finishes and a neutral palette. Glossy surfaces and busy patterns date quickly and clash with more products. Document two or three repeatable setups per category (same tray, same angle, same combination) so a customer scrolling your range sees one brand rather than a different mood every time.
Where to source props: buy, hire or make your own
The right route depends on how often you will reuse a prop and how much room it takes up.
- Buy anything you will use repeatedly. Small, stackable items such as trays, risers, coins and fabric swatches are cheap enough to own outright. Marketplaces like Etsy cover handmade and vintage pieces; ordinary retailers cover the basics.
- Hire anything bulky, period-specific or one-off. Professional prop hire is often cheaper than buying and storing large or specialised pieces, particularly for editorial shoots that need a look you will never use again.
- Go second-hand for character pieces. Charity shops and vintage dealers are a good source of one-off ceramics, old books and textured fabrics that would look artificial bought new. Leeds is well served here, and a Saturday round the Kirkgate Market end of town tends to turn something up.
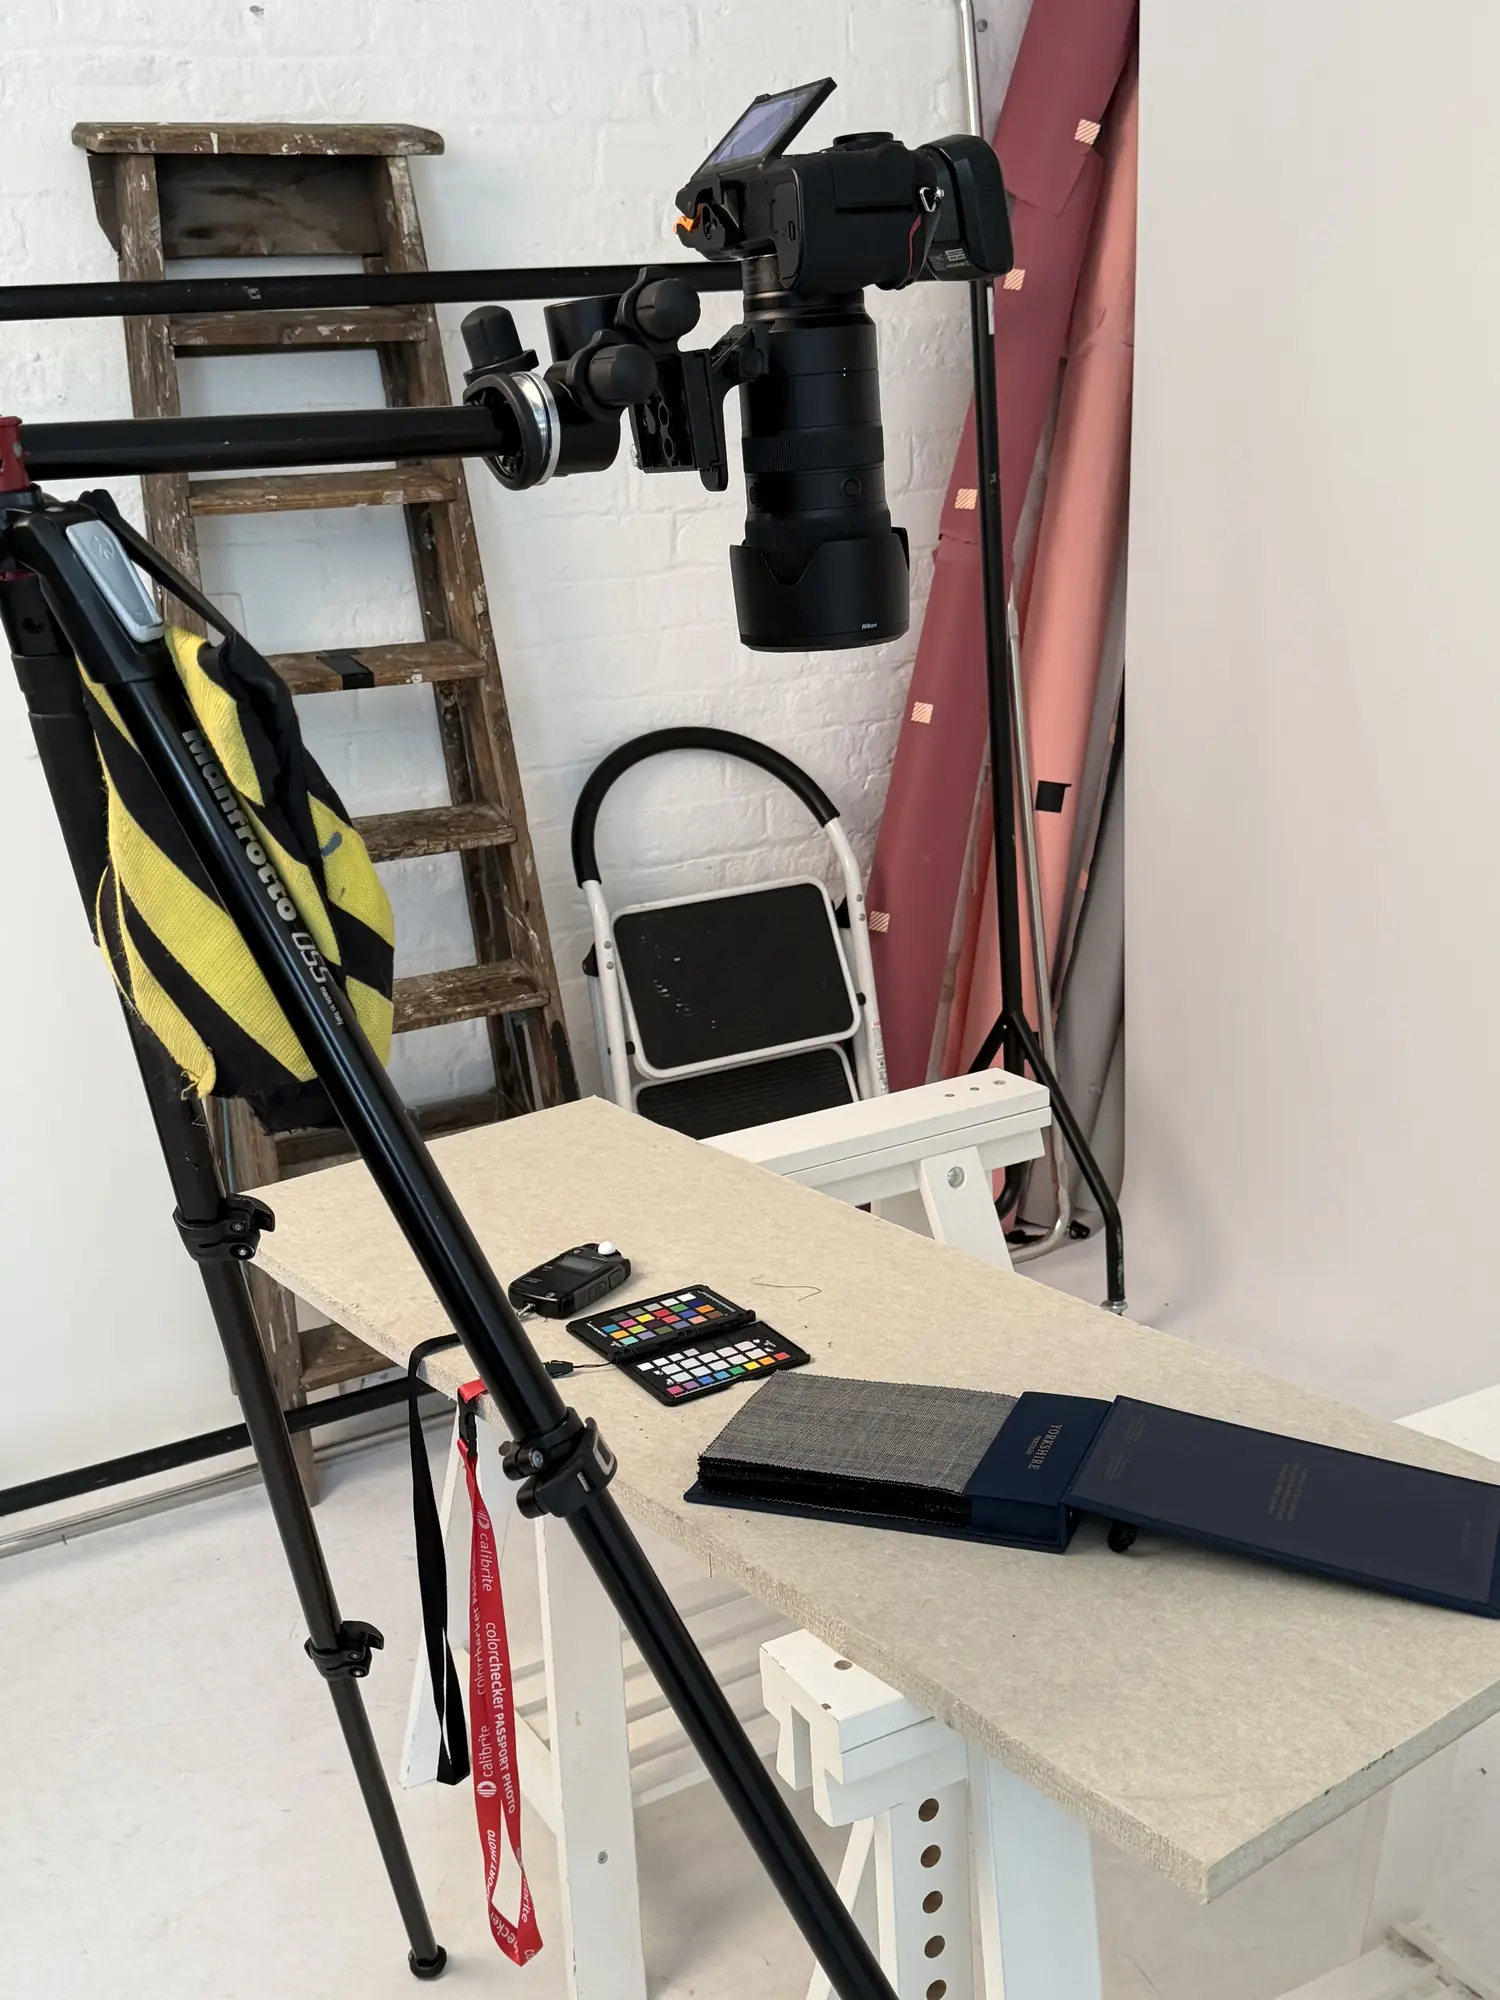
- Make the surfaces yourself. Foam board, painted MDF panels, sample floor tiles and plain fabric backdrops give a professional look for a fraction of the cost of branded backdrop systems, and you can repaint or swap them as your range changes.
Weigh storage cost against hire cost before buying anything oversized. Wipe down anything tactile (trays, dishes, cutlery) between uses, and never shoot a competitor’s branded product as a prop without checking usage rights first.
Styling rules, common mistakes and a pre-shoot checklist
Four rules cover most of what separates a clean commercial shot from a cluttered one: keep the product visually dominant, use one hero prop rather than three competing ones, add no more than two supporting textures, and keep scale honest.
That last one carries real weight. Avoid any prop that implies an accessory, ingredient or feature the product does not include. Misleading imagery is a regulatory issue in the UK, not just a styling slip.
The mistakes we see most often, and how to fix each one:
- Prop clutter. More than two or three props in frame usually means the product has stopped being the focus. First-time sellers over-style far more often than they under-style. When in doubt, take one away.
- Implied extras. A styled bundle that suggests items are included when they are not.
- Wrong-scale props. A prop that is slightly too large or too small skews the shopper’s sense of the product’s real size.
- Reflective surprises. Glossy trays and mirror tiles catch softbox reflections you will not notice until you are reviewing the files.
A short pre-shoot checklist saves far more time than it costs: build a moodboard, write a shot list, note which prop belongs to which shot, record continuity details (prop position, angle) in case of reshoots, and look at early frames as thumbnails on your phone. Many prop-heavy compositions lose the product entirely once they are shrunk to a mobile listing. Check every hero shot at that size before you strike the set.
How we keep prop styling consistent in the studio
We treat prop planning as part of the brief, not something to sort out on the day. A product photography session with us starts with a conversation about where the images will be used, moves into a moodboard and shot list, and only then into pulling props from a kit organised around the four jobs above.
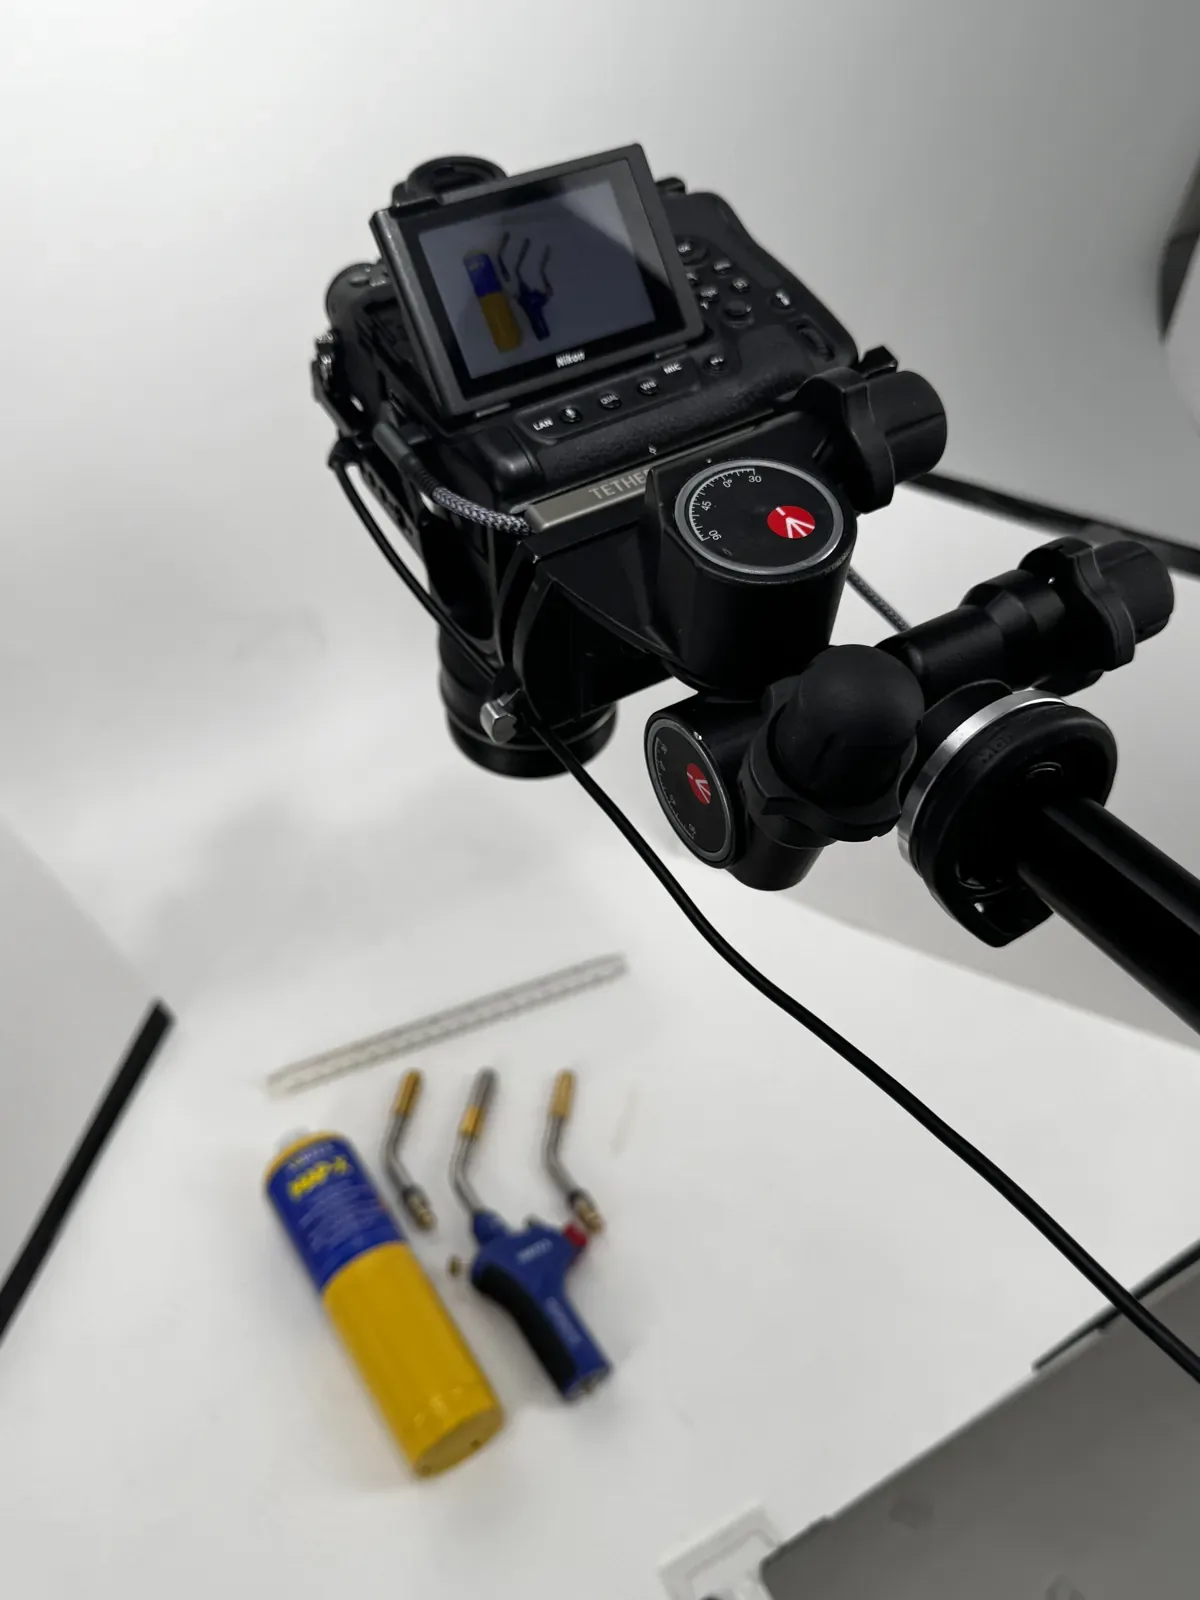
A pre-agreed prop list means less improvising on set, which keeps the day on schedule and the retouching predictable. Because we shoot tethered into Capture One, you see each frame at full size on a calibrated screen as it is taken, so a stray reflection off a glossy tray or a prop that is quietly stealing the shot gets caught while the set is still built. For brands running regular product drops, that consistency matters more than any single hero image.
Cleaning and looking after reusable props
Reusable props last longer and photograph better when you treat them as working kit rather than decoration. Wipe hard surfaces (marble, slate, acrylic risers) with a microfibre cloth and a mild, ammonia-free cleaner after every use. Ammonia and abrasive sprays dull matte finishes over time. Launder fabric props on a gentle cycle and air-dry them, because tumble drying shrinks natural fibres and changes how light falls on them.
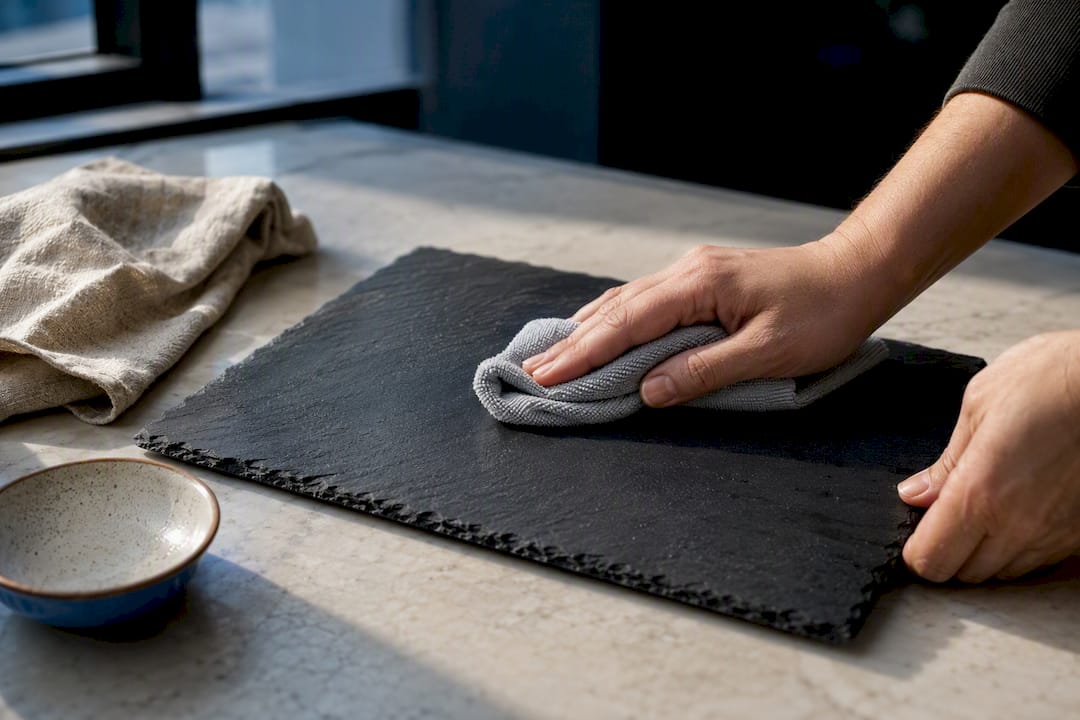
Wooden boards and painted panels need the occasional touch-up rather than a wash. A light sand and a fresh coat of matte paint restores a scuffed panel far more cheaply than replacing it. Check food-styling props for staining or odour before every shoot; anything porous that has touched raw food needs a proper wash, not a wipe.
Inspect props for wear before they go back into rotation. A chipped dish or a frayed linen edge might photograph fine from one angle and ruin the shot from another. Keep a small repair kit (a fine brush and matching paint, a lint roller, glass cleaner) next to your prop storage so minor fixes take minutes rather than becoming a reshoot.
A simple spreadsheet noting which props belong to which category, when they were last cleaned and what condition they are in stops a tired-looking piece slipping into a shoot unnoticed. It also means whoever is styling the set is not guessing what is usable.
Transporting and storing props between shoots
Props that survive more than one shoot need proper transport, not a cardboard box. Wrap fragile items (ceramics, glass, mirror tiles) individually in bubble wrap or fabric pouches, and separate hard surfaces like marble slabs and slate boards with felt or foam so they do not chip against each other on the way over.
Store props by category in labelled, stackable boxes rather than one big bin. A jumbled box costs real time on the day, hunting for the right tray while a client waits, and raises the odds of damage from pieces knocking together. Clear containers work well because you can see what is inside without unpacking everything.
Keep fabric props folded flat or rolled around a tube. Deep creases show under studio light and need steaming out before every use. Anything with natural fibres wants somewhere dry, because damp storage invites mildew, which cannot be photographed around.
Climate matters more than people expect. Wooden boards and painted panels warp or crack with big swings in heat and humidity, so a garage that bakes in summer and sweats in a wet Yorkshire winter is not ideal long-term storage. A dry cupboard at a stable room temperature protects your investment far better, and the props are ready the moment you pull them out.
Adapting props to different lighting and backgrounds
The same prop can look completely different under a softbox, a window or a ring light, and matching its finish to your lighting saves a lot of frustration on set. Matte and low-sheen surfaces are far more forgiving under hard or mixed light because they do not throw back hotspots the way glossy trays and mirror tiles do. If you are working with a single strong source, glossy props need careful angling to keep glare away from the product.
Neutral-toned props (soft greys, warm whites, natural wood) adapt better across background colours than strongly saturated ones. A bold prop colour can clash the moment you switch from a white backdrop to a coloured or textured one. If your catalogue runs across several background treatments, a neutral core kit means you are not buying new props every time the set changes.
Reflective props (mirrors, metallic risers, glass dishes) need the most testing. Under diffused light they can add a pleasant highlight; under direct light they often bounce an unwanted reflection straight into the lens. Check the tethered preview after every light move, not just after placing the prop, because a small shift in the light changes a prop’s behaviour more than moving the prop does.
Texture props (linen, slate, dried botanicals) hold up well across lighting changes because their appeal comes from shadow and grain rather than sheen. That makes them the safest category to build a kit around if you are shooting in variable conditions, a studio one day and a window-lit shop the next.
Why most advice on props gets the priority backwards
Most guides treat props as a styling exercise: pick something pretty, arrange it nicely, shoot. That has the priority backwards. Scale and context props consistently do more for conversion than mood props, yet mood props get most of the attention in styling content because they photograph well on their own.
A small, slightly boring, repeatable kit beats a large, exciting, inconsistent one. Ecommerce sellers do not need fifty props. They need three or four category modules that work every time, documented well enough that anyone on the team can set them up without a creative brief. That consistency is what builds trust across a catalogue, not any single hero shot.
Where we would push back hardest on the usual advice: do not buy for inspiration. Buy for the specific job a shot needs, whether that is showing scale, showing use or setting a mood. If you cannot name the job, leave the prop on the shelf. Build the kit small, test it under real light, and add to it only when a genuine gap shows up on set.
When hiring a studio beats building the kit
Building a prop library makes sense for high-volume sellers shooting the same categories every month. It makes far less sense for a one-off brand launch, a complex set build, or a shoot on a tight deadline where there is no time to source, test and store props yourself.
That is where hiring the studio earns its cost back. Dock Street Studio in central Leeds handles the planning, the space and the equipment, so you are not chasing surfaces, storage or lighting fixes on the day. Every booking starts with a proper brief and shot list, the same discipline covered in our commercial shoot planning guide, so props and setups are agreed before anyone books the diary. The principle that keeps low-budget video looking professionally shot, choosing backdrops that do not distract from the subject, applies just as well to stills.
If your next shoot needs a brand-critical result, a complex set, or simply arrives with no time to build a prop kit from scratch, have a look at our commercial photography service in Leeds and get a plan in place before the day.
Sources and further reading
For deeper reading on prop selection and sourcing, the AcquireConvert guide covers category examples and DIY materials in more depth. House of Props is a practical reference for hire-versus-buy decisions on bulky or period pieces, and the ASA’s guidance on misleading imagery is worth reading before styling any shot that implies included features.
- Product Photography Props (2026 Guide) | AcquireConvert
- Product photography props: what to use for ecommerce photos by category | Shelfgen
- Props for Photography Studio: A Practical Guide | House of Props
- Avoiding misleading imagery in ads | ASA
- The ultimate DIY guide to beautiful product photography | Shopify
More from our blog on product work:
- Product photography for ecommerce sellers
- Product photography that helps products sell
- Best angles for product photography
- Commercial photography for small business
Frequently Asked Questions
What are good props for product photography?
A hand or coin for scale, a linen or wooden surface for texture, and one small ceramic or dried stem for mood will cover most product categories. Keep finishes matte and colours neutral so they work across different products and backgrounds.
Where do photographers get their props?
A mix of buying small reusable pieces, hiring bulky or period items from specialist prop houses, and picking up one-off character pieces from charity and vintage shops. Surfaces are often made in-house from painted MDF or foam board.
Is it better to buy or hire props for a shoot?
Buy anything you will use again and again. Hire anything large, period-specific or only needed once, because storage usually costs more than the hire fee for a single shoot.
How do you keep a product stable when styling with props?
Acrylic risers, foam board wedges and museum putty hold most products steady. Check the frame from the camera position, not from where you are standing, before you commit to the shot.
Do I need props for marketplace listing images?
Usually not. Amazon and similar platforms want a clean product on a plain background for the main image. Save props for secondary lifestyle frames, scale references and advertising.
Where is Dock Street Studio and how do I book a product shoot?
Dock Street Studio is at Unit 9, 30–38 Dock Street, Leeds LS10 1JF, in central Leeds near Leeds Dock and a short walk from Leeds train station, with parking onsite. Book online, email hello@dockstreetstudioleeds.co.uk, or call 0113 4400102.
Book product photography in Leeds
Bring us the products and tell us where the images need to work. We will plan the props, the surfaces and the lighting around that. Book online, email hello@dockstreetstudioleeds.co.uk, or call 0113 4400102.
Written by Mark Wheelwright
Commercial photographer & studio owner, Leeds | ISO Photographic Ltd
Dock Street Studio, Unit 9, 30–38 Dock Street, Leeds LS10 1JF
18+ years’ experience | 900+ projects | 300+ five-star reviews | 1M+ shutter count
dockstreetstudioleeds.co.uk
Shot, written and built by the Dock Street team
Every guide on this blog comes from the team at Dock Street Studio — Mark behind the camera with 18+ years' experience, Nicole on styling and lighting, Beya on video and bookings and Austin keeping the site fast and findable. If you'd rather have us do it than read about it, book a session or explore our photography services in Leeds.