


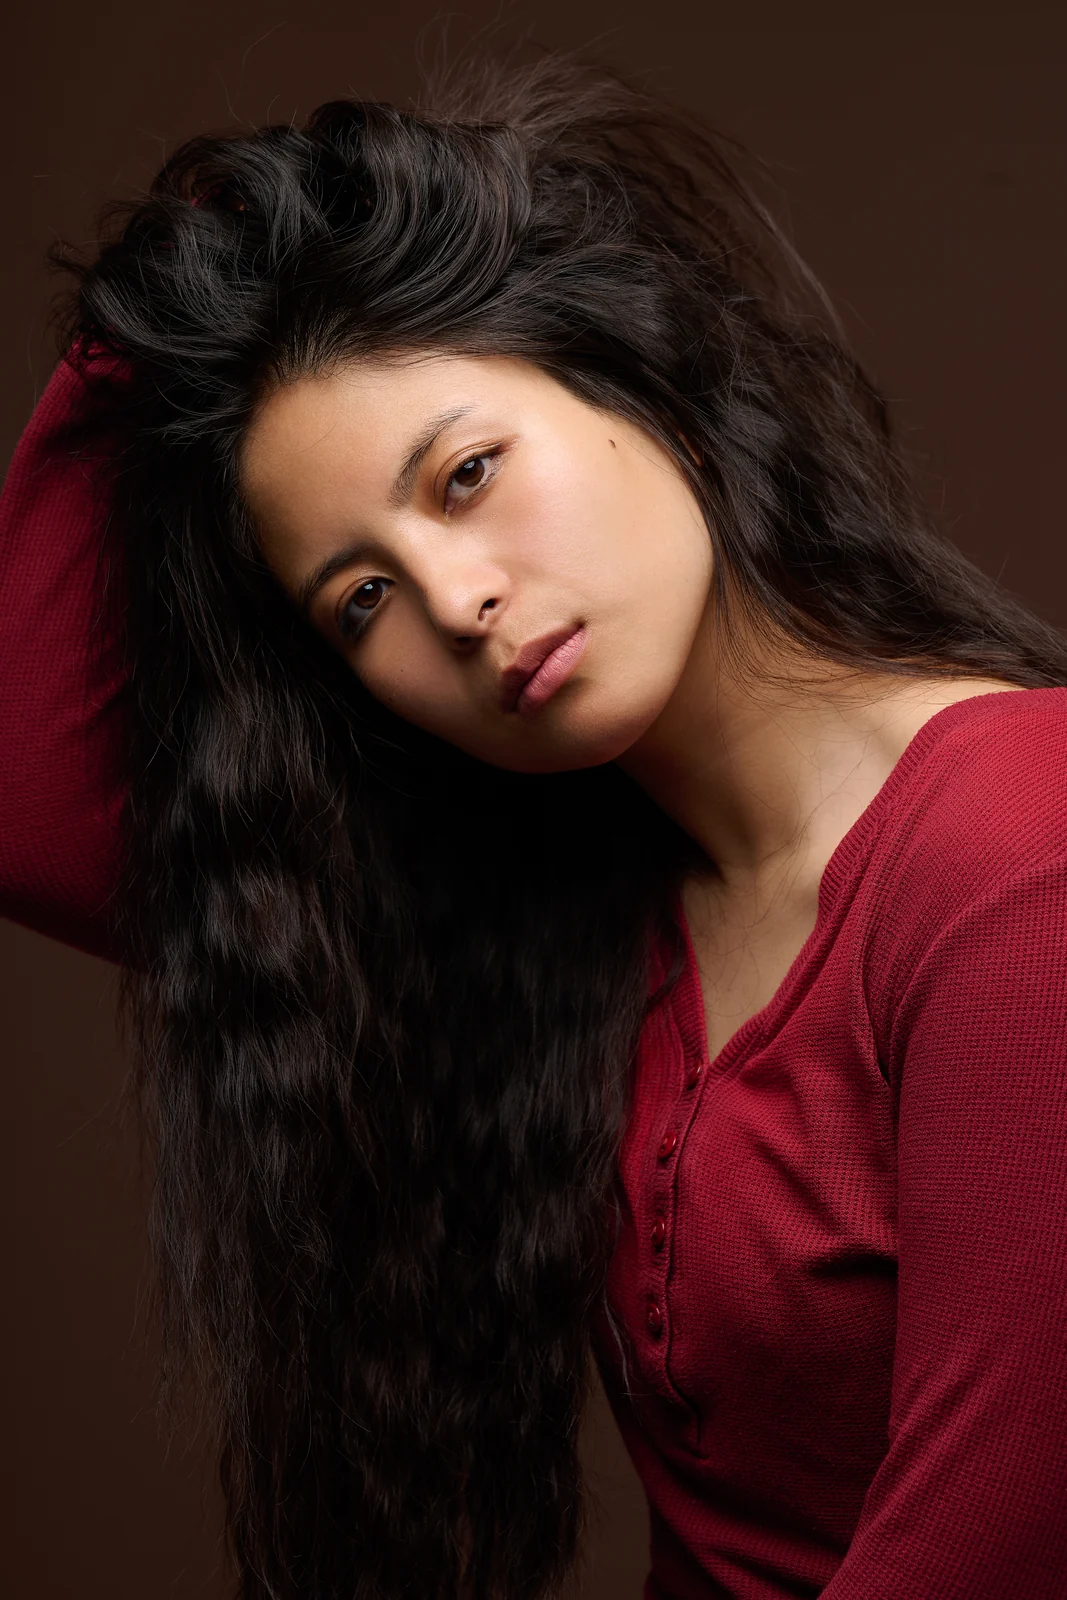
Use a square photo around 800 × 800 pixels for your LinkedIn profile picture, a banner at 1584 × 396 pixels, and a square post image at about 1080 × 1080 pixels. Save everything as PNG or high-quality JPEG, and keep files under 8 MB for profile assets and around 5 MB for posts and ads.
LinkedIn photo size quick reference
Every image slot on LinkedIn has its own pixel dimensions, aspect ratio and file limit, and getting even one wrong means blurry thumbnails or an awkward crop that clips someone’s shoulder out of a banner. This is the list to bookmark.
- Profile photo: 400 × 400 px minimum, 800 × 800 px recommended, 1:1, up to 8 MB. Displayed as a circle.
- Personal banner: 1584 × 396 px, 4:1, up to 8 MB.
- Company Page logo: 400 × 400 px, 1:1.
- Company Page cover: 1128 × 191 px.
- Post image (landscape): 1200 × 627 px, 1.91:1 — the link-preview format.
- Post image (square): 1080 × 1080 px, 1:1 — the safest all-rounder.
- Post image (portrait): 1080 × 1350 px, 4:5 — the most feed space on mobile.
- Single-image ads: 1200 × 628 px or 1200 × 1200 px, up to 5 MB.
These figures come from LinkedIn’s own Help specifications alongside Hootsuite’s 2026 size guide, which both confirm PNG and JPEG as the accepted formats across the board.
Getting your LinkedIn profile picture size right
LinkedIn asks for a minimum of 400 × 400 px, but 800 × 800 px is the sweet spot most sizing guides now settle on. Anything smaller starts to look soft the moment someone views your profile on a high-resolution laptop screen or expands it on mobile. Anything much larger just adds file weight without adding sharpness, because LinkedIn compresses it down anyway.
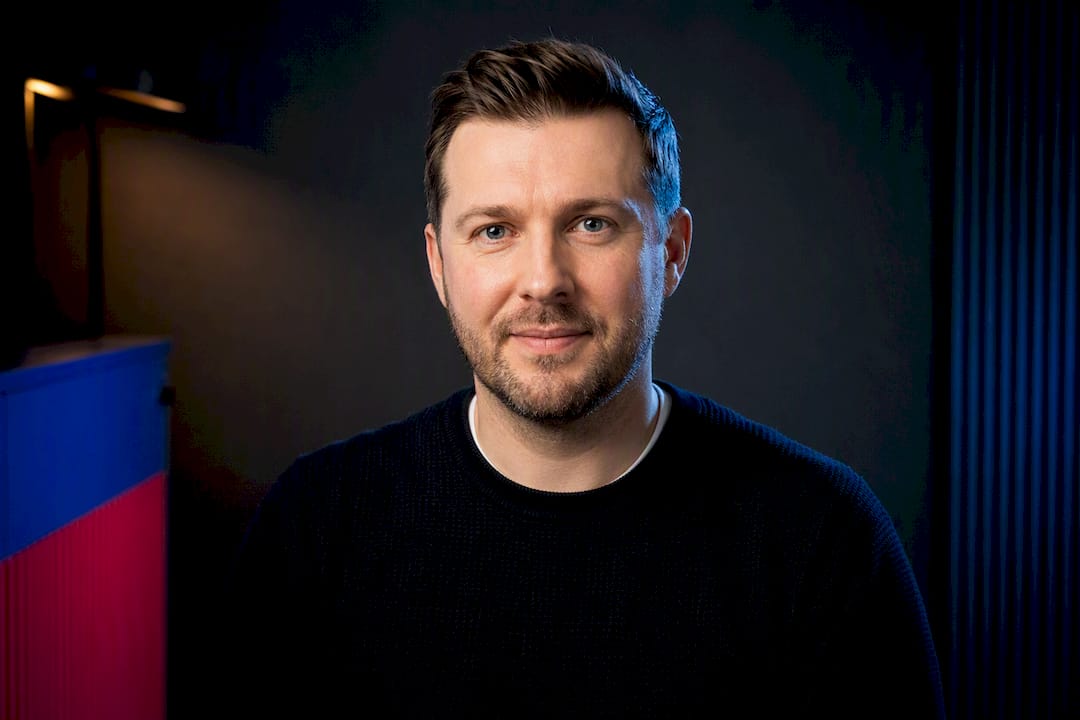
The trickier part is the crop. LinkedIn masks every profile photo into a circle, which means the corners of your square get cut away completely. If your face sits too close to the edge of the frame, you risk losing part of your chin, forehead or an ear in the mask. Leave generous breathing room around the head, and keep the subject centred horizontally and slightly above the middle of the frame.
A short export checklist keeps this simple:
- Crop to a square first, then check the circle — not the other way round.
- Keep eyes, smile and the crown of the head inside the middle 70 % of the circle.
- Export at 800 × 800 px, JPEG quality 85–90 or PNG, and check the file is under 8 MB.
- Look at it at thumbnail size before you upload it.
The quickest way to do that last step is to see the photo at the size LinkedIn actually renders it. We built a free tool for exactly this: drop your current photo into the LinkedIn Fit Check on our headshots page, drag it inside the circle, and see it at the desktop and mobile profile size with a verdict on the resolution. Nothing is uploaded — it runs in your browser.
Pro tip: details that look fine full-screen, like a tight hairline or a cut-off collar, often disappear or look wrong once the image shrinks to how most people will actually see it — as a small circle next to a comment.
If you want the composition side covered too, our piece on what your headshot is really communicating covers the expression and framing choices that make a circular crop work in your favour rather than against it.
Cover and banner images: designing around the safe area
Your personal LinkedIn banner should measure 1584 × 396 px, a 4:1 ratio that spans the full width of your profile. Company Pages use a different cover size, 1128 × 191 px, so don’t reuse one asset across both without resizing it first.
The catch with any banner is the safe area. Your profile photo overlays the bottom-left corner of the banner on desktop, and that same region shifts position on mobile. Anything important placed behind where the photo sits, or right at the edges where different screen widths crop the image, risks disappearing entirely.
Keep this in mind when you design one:
- Leave the bottom-left quarter clear — that’s where the profile circle lands on desktop.
- Keep text and logos in the middle 60 % of the width, away from the edges that get cropped on phones.
- Check it on a phone as well as a laptop before you commit.
- Match the colour temperature of your banner to your headshot so the two read as one image.
Which LinkedIn post image size actually gets seen
Landscape images at 1200 × 627 px, a 1.91:1 ratio, remain the standard choice when you’re sharing a link and want LinkedIn to generate a clean preview card. Square images at 1080 × 1080 px are the most dependable all-rounder: they render consistently across desktop and mobile without cropping surprises, which is why Hootsuite calls square the gold standard for reusable templates.
Portrait images at 1080 × 1350 px, a 4:5 ratio, take up noticeably more vertical space in the mobile feed. That’s a deliberate trade. On a phone screen, where most LinkedIn browsing happens, a taller image occupies more of the visible viewport before someone scrolls past it.
According to Hootsuite’s guide, landscape at 1.91:1 is the format link previews are built around, while square and portrait sizes are the ones worth using when you’re posting a standalone image with no link attached.
A few practical notes for post images:
- Pick one format for a series of posts and stick to it — mixed sizes look untidy on your activity tab.
- Keep faces and product detail away from the outer 10 % of the frame; LinkedIn’s feed crops slightly on some screens.
- Export at 2× if the image contains text, so it stays crisp on high-density phones.
- Stay under 5 MB — larger files are compressed harder, not rejected quietly.
Company Page and ad image specifications
Company Pages run on their own set of dimensions, separate from personal profiles. A company logo should be 400 × 400 px, and the cover image sits at 1128 × 191 px, both accepted as PNG or JPEG under LinkedIn’s Page specifications. Life tab modules and custom sections typically run at 1128 × 376 px, and staying consistent across these assets keeps a Page looking deliberate rather than assembled from mismatched crops.
Ads follow slightly different rules again. Single-image ad creatives generally use 1200 × 628 px in landscape or 1200 × 1200 px square, and MeetEdgar’s 2026 guide notes a common 5 MB ceiling on file size for single-image placements. Carousel and video ad formats carry their own constraints on length and file weight, so check the specific ad type before exporting.
Key specs to hold onto:
- Logo 400 × 400 px · cover 1128 × 191 px · Life tab modules 1128 × 376 px.
- Single-image ads 1200 × 628 px (landscape) or 1200 × 1200 px (square), under 5 MB.
- One set of brand colours and one crop style across all of them.
A simple resize and export workflow you can use today
Getting from a raw photo to a correctly sized LinkedIn asset is a short, repeatable process:
- Start from the highest-resolution original you have — never a screenshot or a WhatsApp forward.
- Crop to the target ratio (1:1 for a profile photo, 4:1 for a banner) before you resize.
- Resize to the target dimensions — 800 × 800 px for the profile, 1584 × 396 px for the banner.
- Export as JPEG at quality 85–90 (or PNG if it contains text or a logo).
- Check the file size, then preview at thumbnail size before uploading.
For quick jobs, online resizers and free desktop editors handle most of this fine. For headshots specifically, where a soft crop or a slightly compressed face is far more noticeable than on a product photo, it’s worth involving someone who does this professionally.
Pro tip: never upscale a small original to hit a larger target size. Stretching a 300 × 300 px photo up to 800 × 800 px doesn’t add detail — it just makes the existing pixels bigger and softer, and it shows immediately at thumbnail size.
Common mistakes worth avoiding: relying on LinkedIn’s automatic crop instead of framing the shot yourself, mixing carousel slide sizes, and exporting at such high resolution that the file breaches the size limit and gets rejected on upload.
How Dock Street Studio prepares headshots for LinkedIn
Every headshot session at Dock Street Studio starts with a short conversation about how the image will actually be used — a LinkedIn profile, a casting portfolio, a company directory. That framing decision happens before a single frame is captured, not after.
On set, we shoot with generous headroom around the face specifically so the circular crop has room to work with, rather than clipping a chin or an ear at the mask edge. Every session includes retouching with a 48-hour turnaround, and files are delivered pre-sized and export-ready for LinkedIn’s exact specifications, so there’s no guesswork left once the images land in your inbox.
What most sizing guides get wrong
Most advice on LinkedIn image dimensions treats every slot as equally important, which misses the point. Get the profile photo and one strong post format right, and the rest is secondary maintenance.
- Profile photo first: 800 × 800 px with your face clear of the circular crop — this is the asset doing the work.
- One strong post format second: master the single size you actually publish in rather than all of them.
- Banner last: it gets a one-second glance before eyes move to your face and headline.
The banner is the asset people neglect most, and it’s also the one doing the least work. Recruiters and prospects glance at it for a second before their eyes move straight to your face and headline. Spend your effort on the profile photo crop instead — that’s the image appearing next to your name in every comment, connection request and search result you’ll ever generate.
The other overlooked issue is treating pixel dimensions as separate from the photograph itself. A technically perfect 800 × 800 px export of a poorly lit, badly framed photo is still a poorly lit, badly framed photo. Correct sizing stops the platform mangling a good image; it cannot rescue a weak one. Get a well-composed photograph first, then apply the dimensions in this guide to protect it.
Book a headshot that’s already sized right
Dock Street Studio removes the sizing guesswork entirely. LinkedIn Express is a 20-minute session in our central Leeds studio for £95, with retouched files exported pre-sized to LinkedIn’s exact specifications within 48 hours — so you’re never left cropping a circle around a chin at 11pm. Longer headshot sessions run to £150 and £200, and team bookings are quoted on headcount.
If you’re in Leeds or West Yorkshire, book LinkedIn Express online, or read more about headshot photography at Dock Street Studio first. Not sure your current photo cuts it? Run it through the LinkedIn Fit Check and see for yourself.
Related reading
- LinkedIn headshots in Leeds: professional and team photography from £95
- Face literacy: what your headshot is really communicating
- What to wear for headshots
Sources
- LinkedIn Help — image specifications for LinkedIn Pages and Career Pages
- Hootsuite — social media image sizes guide, 2026
- MeetEdgar — LinkedIn size guide, 2026
About the author
Mark Wheelwright
Commercial photographer & studio owner | ISO Photographic Ltd, Leeds
Dock Street Studio, Unit 9, 30–38 Dock Street, Leeds LS10 1JF
Mark has 18+ years’ experience photographing brands and businesses across Leeds and West Yorkshire, with more than 900 projects delivered. He runs Dock Street Studio, where clients include Clear Channel, Habitat, Kirkstall Brewery and Paystrax.
900+ projects | 300+ five-star reviews | 1M+ shutter count
dockstreetstudioleeds.co.uk
Shot, written and built by the Dock Street team
Every guide on this blog comes from the team at Dock Street Studio — Mark behind the camera with 18+ years' experience, Nicole on styling and lighting, Beya on video and bookings and Austin keeping the site fast and findable. If you'd rather have us do it than read about it, book a session or explore our photography services in Leeds.