


A moodboard for a photoshoot is a shared visual brief that turns loose inspiration into instructions your photographer can act on. Ten to twenty reference images, each tagged with the job it does — lighting, wardrobe, pose, set — sent as one link at least a week before the shoot. That is the whole thing. Everything below is how to get there without losing an afternoon to Pinterest.
We get sent a lot of boards at the studio. The ones that change the outcome are rarely the prettiest. They are the ones where somebody has already made decisions, so we can spend the booked time shooting rather than working out what “editorial but warm” is supposed to mean.
The short version
- Aim for 10 to 20 references, each tagged with a specific job: lighting, colour, pose, wardrobe, set or detail.
- Collect widely first — 40 or 50 images — then cut hard. The edit is the part that does the work.
- Send one view-only link at least a week ahead, with two or three annotated hero frames and a shot list.
- Pinterest is best for gathering; Milanote or Adobe Express are better for the finished, shareable version.
- On the day, pin one hero image per setup so nobody has to scroll to remember the plan.
What should a photoshoot moodboard actually contain?
A working board covers seven areas: lighting, colour palette, poses and composition, wardrobe and styling, location or set, texture and material detail, and one or two hero images that sum up the whole shoot at a glance.
Each one answers a different question on the day. Lighting references tell us whether you are picturing hard directional shadow or soft window light — a difference of about twenty minutes of rigging, so it is worth being clear. Colour swatches keep wardrobe, backdrop and retouching consistent. Pose references save you trying to describe an angle in words, which almost never works. Location and texture shots flag anything about the space or props that needs sorting before anyone arrives.
- Lighting: direction, hardness, time of day
- Colour: two or three dominant tones plus one accent
- Pose and composition: framing, crop, body angle
- Wardrobe and styling: fabric, silhouette, layering
- Location and set: backdrop, props, spatial constraints
- Texture and detail: skin finish, hair, material close-ups
What job should each reference do?
The most common mistake is collecting pretty pictures without asking what each one is there to prove. Storyflow’s production guides frame this well: every reference should perform a named job, not sit there looking good.
Six jobs cover almost any brief:
- Lighting — modifier, direction and time of day. A gridded softbox at 45 degrees reads nothing like open shade at golden hour.
- Colour and palette — images where wardrobe, backdrop and skin tones already sit together well.
- Composition and framing — negative space, crop point, tight or environmental.
- Pose and expression — hand placement, weight distribution, how relaxed the jaw and shoulders look.
- Styling and wardrobe — fabric weight, layering, how accessories catch light.
- Location and set — wall and floor texture, and how much background is actually in frame.
Three to six references per job is plenty. Beyond that the board becomes another scrolling feed rather than a brief. Label each image with a one or two word tag so nobody on set has to guess why it is there.
Pro tip: write the tag as a decision, not a description. “Soft key, camera left” tells us what to build. “Nice light” tells us nothing.
How do you build a shoot-ready moodboard, step by step?
Less about taste, more about editing discipline. Follow this order and you will land on something a crew can work from.
- Write a one-sentence brief. “Confident, editorial headshots with warm directional light” gives every later choice a filter to pass through.
- Gather widely without editing. Pinterest, film stills, your own past shoots. Storyflow recommends collecting 40 to 50 images before cutting anything — you cannot edit well from a thin pool.
- Tag each image with its job and a short reason. Skip this and the board falls apart. An untagged photo is decoration.
- Cut to 10 to 20 and group by setup. Most guides land on this range because past twenty images a photographer stops reading the board as a brief.
- Annotate the hero images, tying each back to that one-sentence brief. Colour swatches and a running order by setup belong here too, something Milanote’s templates build in by default.
- Share one view-only link with at least a week’s notice. StudioBinder’s guidance is specific on this, and it matches our experience: a week is the difference between planned lighting setups and improvising on arrival.
If the shoot is a bigger production with several setups, deadlines and sign-off stages, our guide to planning campaign photography covers what sits around the board.
Which tools are best for building a moodboard?
Depends on whether you are planning solo, sending a client deliverable, or briefing a full crew.
- Milanote — ready-made photography moodboard templates with drag-and-drop boards that export cleanly for client decks.
- VSCO Canvas — built for photographers, with community image search, AI generation and embedded notes so a crew can comment directly on a reference.
- Pinterest — still the best raw collection tool. Poor for tagging or sending a final brief, unbeatable for the gathering stage.
- Adobe Express — turns a rough board into a tidy one or two-page PDF, useful when a client needs something that reads well printed or emailed.
- Storyflow — pairs a board canvas with shot lists, handy if you want both living in one place.
Free tiers cover most solo projects. Pay when you need private client sharing, higher-resolution exports, or more than one person editing at once. Desktop wins for tagging and editing; your phone is better once you are on set.
What should you actually send your photographer?
A finished board is only useful if it arrives in a form we can act on without chasing you. Send:
- One view-only board link
- A one-paragraph written brief (our brief template is a good starting structure)
- Two or three hero frames that summarise the whole look
- A labelled shot list tied to the board’s setups
- Wardrobe notes covering fabric and colour
- Location or set images if we are shooting somewhere unfamiliar
For client sign-off, export a one or two-page PDF. For the shoot itself, save a single hero image to your phone so you are not hunting through an app between setups. Keep the shared link live for anything still moving. A sensible timeline is collection two to three weeks out, board locked seven to ten days before the shoot.
How we use a moodboard at the studio
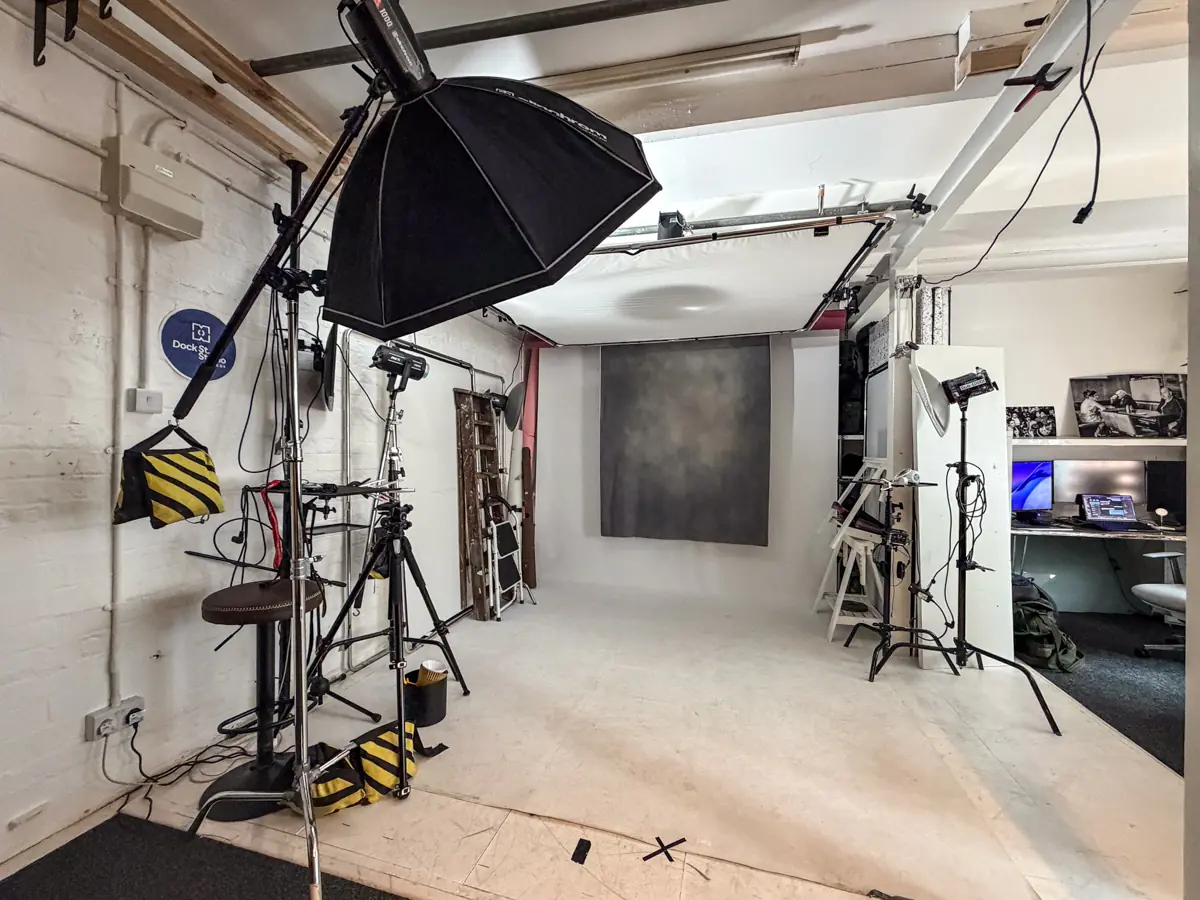
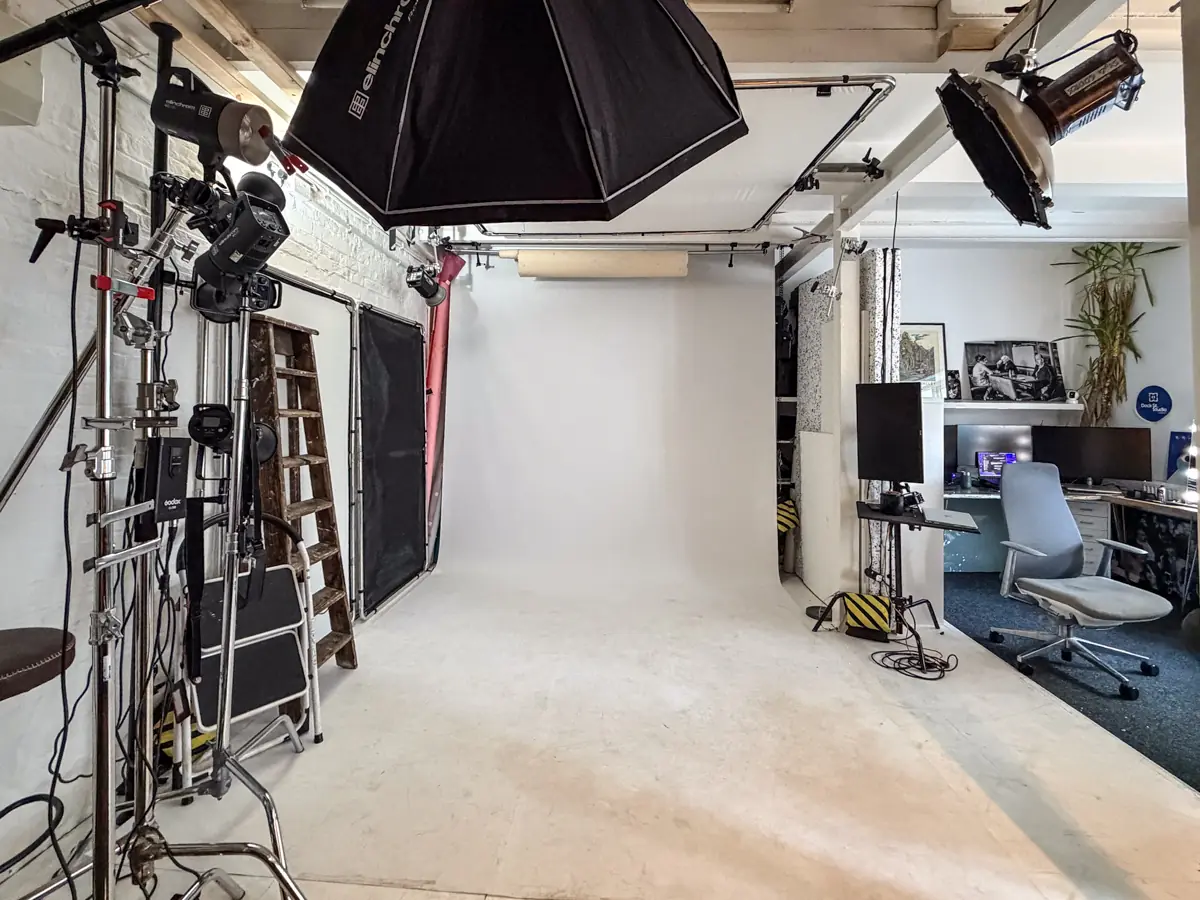
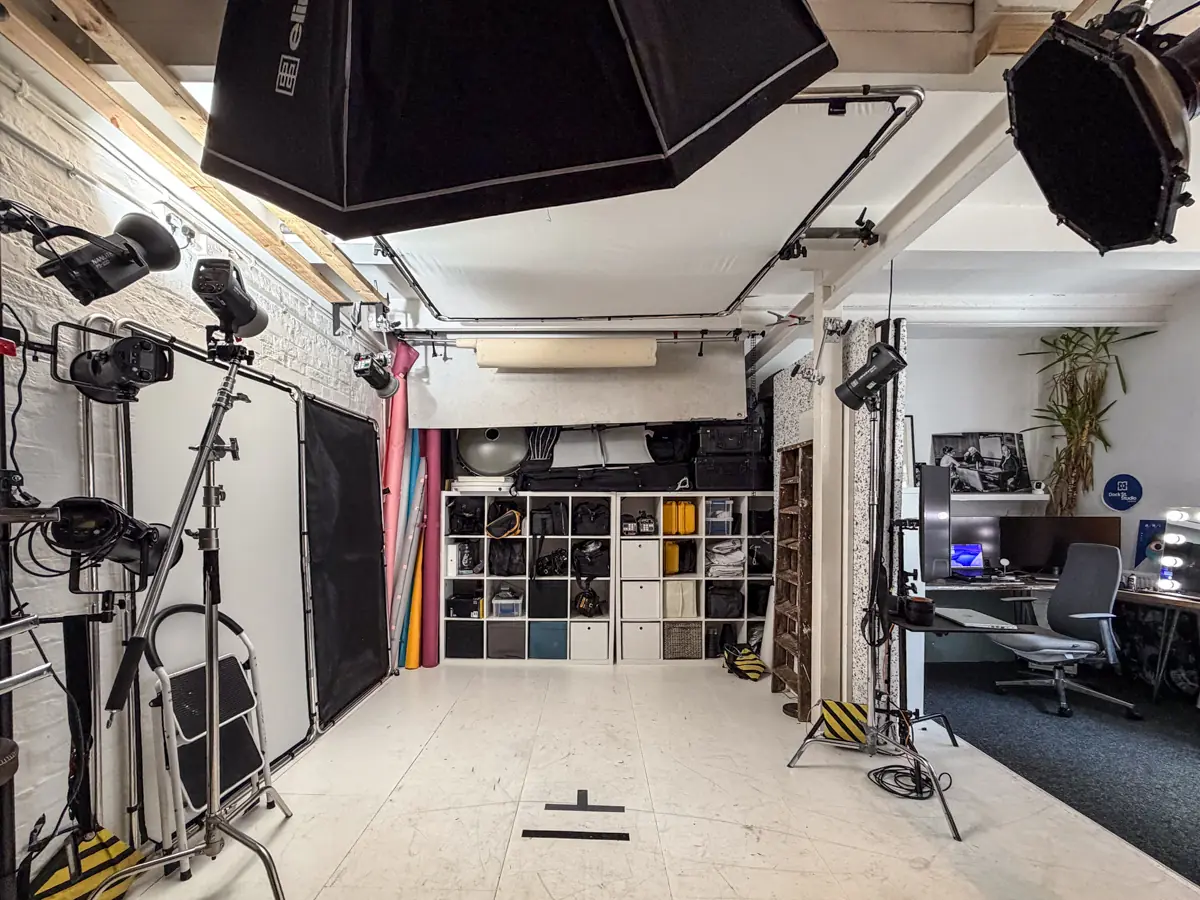
Every commercial and headshot booking at Dock Street Studio starts with whatever references the client has, ideally as one link before they set foot in Leeds. I read it against the brief, flag anything the space cannot physically support, and confirm the lighting setups in advance rather than working them out while the clock runs.
That last point matters more than people expect. A reference shot on a rooftop at golden hour is not going to happen on a cove in LS10 in February, but the quality of light in it usually can be, and it is far better to have that conversation on a Tuesday than at ten past nine on shoot morning.
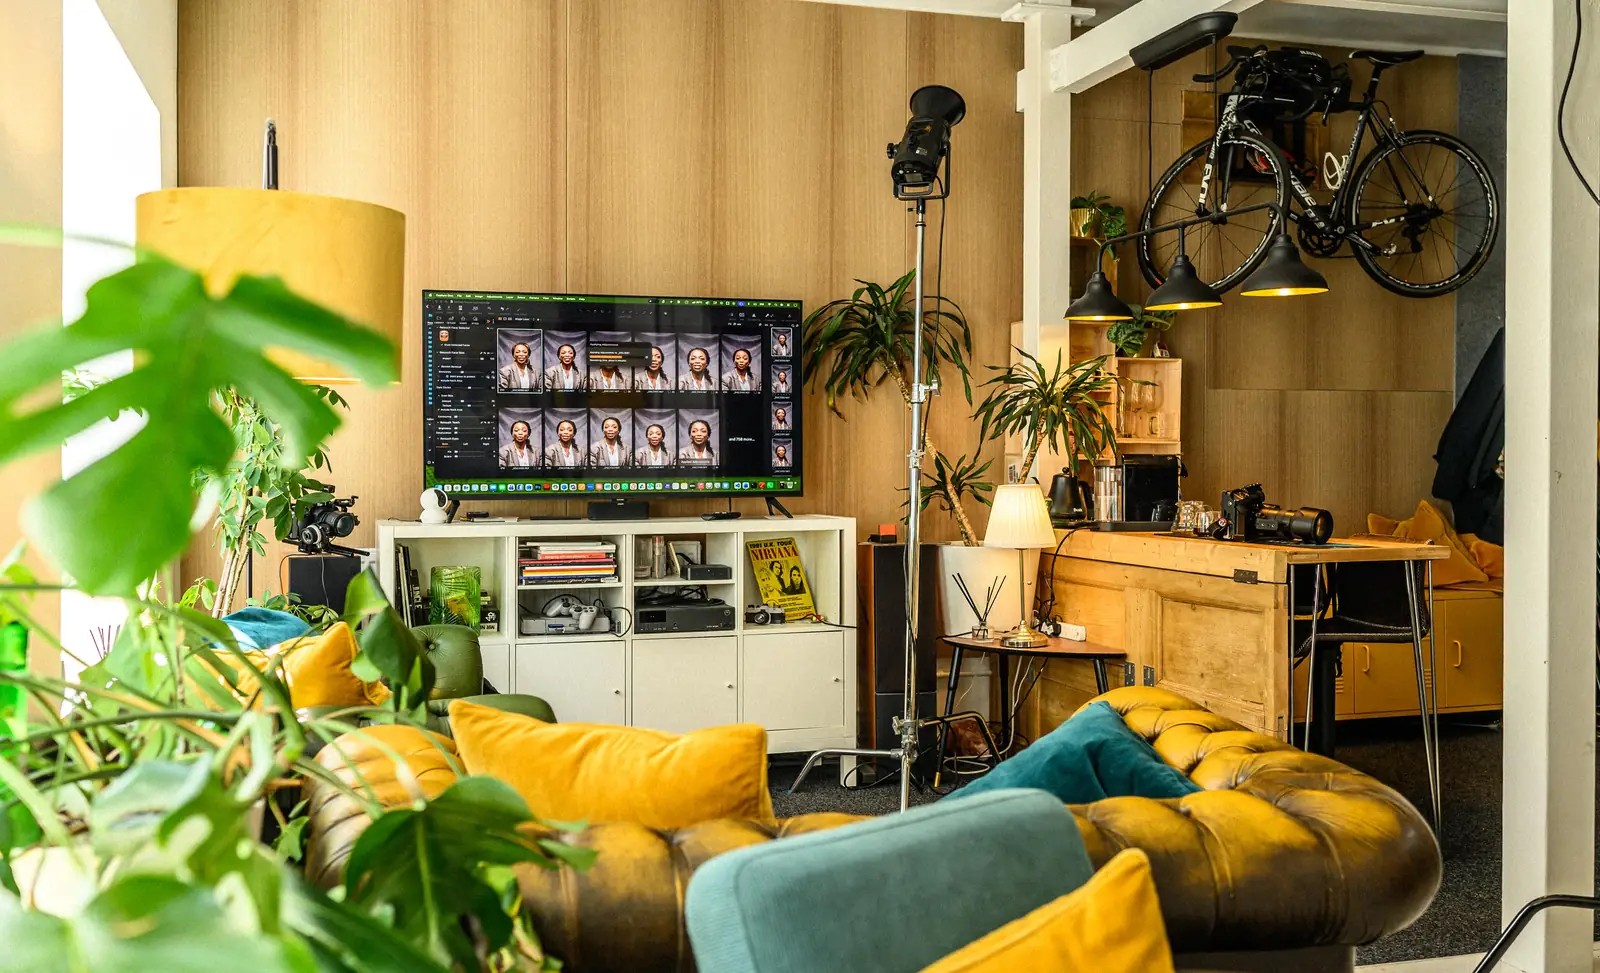
Everything lands on the big screen as we shoot, which is why we shoot tethered. Board on one side, live frames on the other, and the comparison takes seconds instead of a debate. The payoff shows up twice: faster decisions on set, and fewer retouching revisions afterwards, because the brief was agreed before the first frame.
The fastest way to check your board is shoot-ready
- Shared board link, set to view-only
- Two or three hero frames printed or saved for quick reference
- One hero image on your phone for the day itself
- Labelled shot list matched to the board’s setups
- Contact details for everyone on the crew
On the day, pin one hero image per setup. If a disagreement crops up over a pose or a colour, point at the tagged reference rather than arguing from memory. Keep a one-line lighting note beside each setup so a change of plan does not derail the schedule.
Pro tip: if a reference turns out to be unrealistic for the room or the light you have got, do not fight it. Swap in the closest achievable version there and then and note it on the board, so next time you start from what actually worked.
Why most moodboard advice misses the point
Most guidance on building a moodboard for photoshoot planning is about where to find pretty pictures. That is the easy part — Pinterest will hand you more references than you need in ten minutes. The advice that changes outcomes is about subtraction: cutting forty images down to fifteen, and making every survivor justify its place with a tagged job.
Conventional wisdom treats a moodboard as a mood, something atmospheric and open to interpretation. On a paid shoot with a fixed slot, that is a liability. A board with no pose references and no lighting direction still leaves your photographer guessing, just with better wallpaper.
So if you prioritise one thing, make it the edit. Fifteen tagged references beat fifty untagged inspiration shots every time, because nobody is hunting for the decision buried in image thirty-one. Treat the final board as a brief you would hand to someone who has never met you. On a lot of shoots, that is exactly what it is.
Frequently asked questions
What is a photoshoot moodboard?
A shared visual brief that collects reference images for lighting, colour, pose, wardrobe and location, organised so a photographer can plan the shoot from a single source rather than guesswork.
Can you give me an example of a photography moodboard?
A typical board groups references by setup: one cluster showing soft window light and neutral wardrobe tones for portraits, another showing a specific pose and crop for a product shot, each image tagged with the decision it supports.
Can AI create a moodboard?
Tools such as VSCO Canvas use AI generation and community search to speed up gathering references. The tagging and editing that make a board production-ready still need a human making the decisions.
What is the best theme for a photoshoot?
There is no single best theme. The strongest results come from a one-sentence brief that suits the subject and the space, then a board built to support that direction rather than borrowing an unrelated aesthetic wholesale.
How many images should a moodboard have?
Ten to twenty, each tagged with the job it does. Collect forty or fifty first, then cut. Anything past twenty and the board stops being read as a brief.
Where is the studio and how do I book?
Dock Street Studio is at Unit 9, 30–38 Dock Street, Leeds LS10 1JF, a short walk from Leeds train station, with lift access and parking on site. Book online, email hello@dockstreetstudioleeds.co.uk, or call 0113 4400102.
Plan your shoot in Leeds
Send the board over before you book and we will tell you honestly what will translate to the studio and what needs rethinking. Book online, get in touch, email hello@dockstreetstudioleeds.co.uk, or call 0113 4400102. If you are producing the shoot yourself and just need the room, studio hire starts at £125 for two hours, and the content studio covers video and social alongside stills.
Sources
- How To Make A Photography Moodboard — Milanote
- VSCO Canvas — features
- How to Create a Photoshoot Moodboard (Step-by-Step, 2026) | Storyflow
- How to Make a Photography Mood Board — Step by Step
Recommended
- Personal Branding Photography for Creatives
- Product Photoshoot Planning Guide
- Brand Photography Shot List
- How to Plan Campaign Photography
About the author
Mark Wheelwright
Commercial photographer & studio owner | ISO Photographic Ltd, Leeds
Dock Street Studio, Unit 9, 30–38 Dock Street, Leeds LS10 1JF
Mark has 18+ years’ experience photographing brands and businesses across Leeds and West Yorkshire, with 900+ projects delivered. He runs Dock Street Studio, working with clients including Clear Channel, Habitat, Kirkstall Brewery and Paystrax.
900+ projects | 300+ five-star reviews | 1M+ shutter count
dockstreetstudioleeds.co.uk
Shot, written and built by the Dock Street team
Every guide on this blog comes from the team at Dock Street Studio — Mark behind the camera with 18+ years' experience, Nicole on styling and lighting, Beya on video and bookings and Austin keeping the site fast and findable. If you'd rather have us do it than read about it, book a session or explore our photography services in Leeds.