


A reliable livestream studio setup comes down to five things, in this order: a quiet room you can control, clean audio, steady lighting, a camera framed properly, and a computer and internet connection that can encode and upload without breaking a sweat. Get those right, test the whole chain before you go live, and you have a studio — whether that's a spare room at home or a space you hire for the day.
We run a studio in central Leeds where people stream, record podcasts and shoot video most weeks, so this guide leans on what actually goes wrong in practice rather than what looks good on a kit list. We'll go layer by layer, then finish with a checklist you can print and tick off.
Where should you start with a livestream setup?
Start with the room, not the gear. Most streams that fall over are room problems that the kit then gets blamed for. Before you buy anything, stand in the space and listen. Traffic, a boiler, a humming fridge, footsteps in a corridor — a microphone will hear all of it.
The Cinema8 guide to building a video studio suggests avoiding rooms next to corridors or busy streets for exactly that reason. That doesn't mean you need anywhere grand. Shure's UK guidance says a temporary livestream studio can work in a bedroom, dining room or garage, as long as you deal with background noise and moving air. A smaller room with good acoustics can reduce echo, too, and blinds or curtains help tame daylight that shifts during a session.
The rules we give clients are simple:
- Pick the quietest room you can control, not the biggest. Hard, empty rooms bounce sound around.
- Soften it. Rugs, curtains, a sofa or a full bookshelf behind you all soak up reflections.
- Make the background a choice. A tidy shelf or a plain wall beats a view of the kitchen.
- Plan the cable runs before the desk goes in.
It's also worth measuring your desk area and checking where everything sits — monitor, mic, light, notes, a brew, clamp clearance and how far your chair rolls back. It's a dull ten minutes, and it saves you buying a boom arm that won't fit.
What about power and cables?
Streaming kit draws more than people expect once you add lights, a computer, monitors and an audio interface. The HSE's advice for home workers is to keep the area clear of obstructions, spillages and trailing wires, to check plugs and leads by eye, and not to overload extension leads. For anything bigger than a desk setup, the HSE's guidance for entertainment venues says electrical work should be done by competent people, with sufficient power, earthing and suitable RCD protection. If you're planning a permanent studio with several lights, get an electrician to look at the circuit rather than daisy-chaining adaptors.
What equipment does a livestream studio need?
There's no single right kit list. Researchers who surveyed 40 streamers for the ACM found that every setup balances trade-offs between higher and lower fidelity, across everything from audio mixers to lighting and encoding. What there is, though, is a sensible order to spend in.
1. Audio comes first
Viewers will forgive an average picture long before they forgive bad sound. Shure makes the point that great sound depends on removing background noise as much as on microphone quality, and that the closer you are to the mic, the better it sounds — roughly 3 to 6 inches away where you can manage it.
AVIXA's equipment guide suggests a USB microphone, or a dynamic or condenser mic with a mixer or audio interface. Our rule of thumb:
- One presenter, simple setup: a USB mic on a boom arm, close to your mouth and just out of frame.
- Two or more voices, or music: separate mics into an interface or mixer, so you can balance each one.
- Always: wear headphones, so you hear what the audience hears and don't get echo from speakers.
2. Lighting does more than a new camera
Good light improves perceived quality more than any camera upgrade. One home-studio guide recommends either facing a consistent window light or placing a key light behind the camera. The catch with windows, in Yorkshire especially, is that the light can go from bright to grey in the time it takes to make a coffee. A lamp you control is the lower-risk option. Don't mix warm bulbs with cool daylight on your face, and mark your light positions with tape so you can repeat the setup next time.
3. Camera and framing
AVIXA notes that a webcam is often suitable for a home office or studio; autofocus, smooth video, sensor quality and where you put it matter more than the badge. If you step up to a mirrorless or DSLR body, you'll need the right cables or a capture device to get a clean feed into the computer.
Running more than one camera? Wowza advises using cameras of the same type with remotely configurable settings, so the picture doesn't jump in colour every time you cut between them. Height and distance matter as much as the model: a lens at eye level, a little further back than feels natural, is a good starting point.
4. Computer and encoding
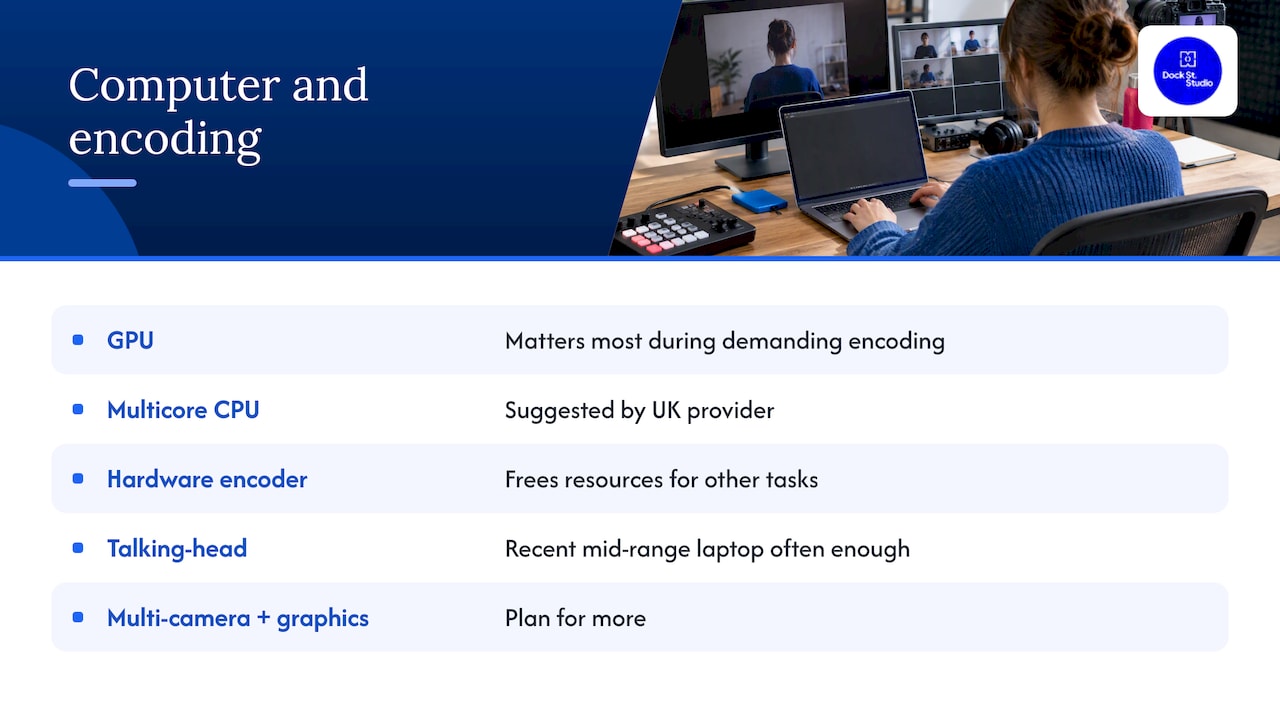
Your computer has to run the software, take in video and encode the stream all at once. SCAN's UK streaming guide lists the core parts as computer, software, stream deck, capture card, microphone, camera and lighting, and another UK provider suggests looking for a GPU with an NVENC encoder and a multicore processor. If the machine is already stretched, a hardware encoder can free up system resources while you stream. For a single talking head, a recent mid-range laptop is usually enough. Multi-camera shows with graphics need more.
Quick reference: the minimum that works
| Layer | Minimum that works | Upgrade when |
|---|---|---|
| Room | Quiet, soft furnishings, tidy background | You hear echo or outside noise on playback |
| Audio | USB mic on a boom arm, headphones | You have several voices or need level control |
| Lighting | One controllable key light, curtains for daylight | Your face changes colour or brightness mid-stream |
| Camera | A good webcam, well positioned | You want more depth, or several angles |
| Computer | Recent laptop or desktop, wired connection | Dropped frames show up in your tests |
| Network | Ethernet, with a fallback ready | The stream stutters at busy times |
Which software and how much upload speed do you need?
Most people start with free software such as OBS, which handles scenes, overlays and bitrate settings. Paid tools can give you more control or streaming to multiple platforms at once, which is worth it if you need to reach YouTube, LinkedIn and Facebook from one feed.
For bandwidth, YouTube's guidance is that your total upload should cover your stream bitrate, a backup encoder if you use one, plus a recommended 20% buffer. As a worked example: a 6 Mbps stream with a backup at the same rate is 12 Mbps, so you'd want about 14.4 Mbps of upload you can rely on. Run the speed test at the time of day you'll actually be live, not at 7am on a quiet Sunday.
A few habits protect the connection:
- Use an Ethernet cable rather than Wi-Fi.
- Close heavy applications and spare browser tabs.
- Keep a phone hotspot ready as a fallback.
- Ask everyone else on the network to hold off on big downloads.
How do you test a livestream before going live?
Test it twice: once recorded, once live but private. That's the order a UK training module on OBS recommends — a local recording test, then a private stream — and it's how we work too.
- Set up your scenes. Add the camera, microphone and any graphics, and name each scene clearly.
- Match resolution, frame rate and bitrate to your upload speed and platform.
- Record 5 to 10 minutes locally. Play it back and look for dropped frames, audio drifting out of sync, pixelation and stutter.
- Run a private or unlisted stream. Watch the stats panel for CPU use, dropped and skipped frames, and render time.
- Ease the load if it wobbles. Drop the bitrate, resolution or frame rate, or switch encoder.
- Watch the playback on a phone and a laptop, not just the machine that made it.
A proper test run reveals audio and video input errors while there's still time to fix them, and it gets you used to troubleshooting before it counts. If you want to look back over your test recording properly, these screen recording integration tips are handy for checking what your capture really looks like.
What goes on a pre-live checklist?
Print this and tick it off every time. It feels like overkill until the day it saves you.
Two hours before
- Set up encoders at least 2 hours before the event, as YouTube advises.
- Check the lights are on their tape marks and the background is tidy.
- Test every microphone with headphones on.
- Close unrelated applications and plug in the Ethernet cable.
- Phones on silent, and tell the house or office you're about to go live.
Fifteen minutes before
- Start the encoder at least 15 minutes before the scheduled start.
- Check the stream on the channel and watch pages, and on a phone.
- Make sure the local recording file is growing.
- Keep an ear and an eye on audio and picture quality.
Fallbacks
- A hotspot, a spare microphone and a spare cable.
- A holding scene or pre-recorded clip you can switch to if something drops.
If you haven't yet decided whether your event should be a stream at all, our webinar or livestream guide is worth ten minutes before you spend on kit.
Should you build a livestream studio or hire one?
Neither is automatically better. We see the same pattern most weeks: people spend on a camera, then find the room is the real problem — an echoey spare room, a window that changes the light halfway through, a single socket doing the work of six.
Build at home if you stream every day and want everything left set up. Hire if you stream occasionally, need a polished backdrop, or simply can't risk a noisy neighbour or a flaky connection on the day. A one-off launch, a panel, a product demo or a client webinar is often a better use of budget in a ready-made space than a permanent corner at home.
That's what our podcast and livestream studio in Leeds is for: a controlled, private room with the lighting and backdrops already sorted, where we agree the brief and running order with you before you arrive so the time is spent streaming, not troubleshooting. If you'd rather bring your own crew and kit, photography studio hire in Leeds starts from £125.
Whichever studio you look at — ours included — ask these before you book:
- Is the internet wired, and what upload speed can you rely on?
- How quiet is the space, and is there traffic or footfall nearby?
- Which lights and backdrops are included?
- Can you get in early to run your tests?
- Can you add a photographer, runner or crew if you need one?
Frequently Asked Questions
What do I need for a basic livestream studio setup?
A quiet room, a microphone close to the speaker, a light you can control, a decent camera or webcam, a computer that can encode video, streaming software and a stable wired connection. Spend in roughly that order — room and audio first.
How much upload speed does a livestream need?
YouTube's guidance is that your upload should cover your stream bitrate, any backup encoder and a 20% buffer on top. Test it at the time of day you plan to go live, and use Ethernet where you can.
How early should I set up before going live?
Set encoders up at least 2 hours before and start them at least 15 minutes before the scheduled start, as YouTube recommends. That leaves time to check sound, picture and the mobile view without a panic.
Can I set up a livestream studio in a spare room?
Yes. A bedroom, dining room or garage can work if you control the noise, soften the echo and manage the daylight. Keep cables tidy and don't overload extension leads.
Is it better to hire a studio or build my own?
Build your own if you stream often and want a permanent setup. Hire if you stream occasionally, want a professional backdrop and lighting, or can't risk noise and connection problems on the day.
Where is the studio?
Dock Street Studio is at Unit 9, 30–38 Dock Street, Leeds LS10 1JF — central Leeds, near Leeds Dock. There's parking onsite, and it's a short walk from Leeds train station.
Sources
- Managing home workers’ health and safety, HSE
- Electrical safety at places of entertainment, HSE GS50
- Streaming tips, YouTube Help
- The Design Space of Livestreaming Equipment Setups, ACM
- Guide to Live Streaming Equipment, AVIXA
- Essential Tips for Live Streaming, Shure UK
- Setting up your streaming corner at home, Crave Magazine
- Best Streaming Setup for Small Rooms UK, SetupHQ
- Module 2: Installing and Configuring OBS, TrainingStation
- Best Streaming Setup, SCAN UK
- Tips for building a studio for your video series, Cinema8
- Live Streaming Equipment Setup, Wowza
- How to Make Your Own Video Studio for Live Streaming
- How to Live Stream According to a Specialist, Riverside
- Reliable Home Studio Setup for Calls and Streaming
- Screen Recording Integration Tips, Kudoflix
Book the livestream studio in Leeds
If you'd rather arrive, plug in and go live, tell us your format, platform and running order and we'll have the room ready for you. Book online, email mark@isophotographic.org, or call 0113 4400102.
Written by Mark Wheelwright
Commercial photographer & studio owner, Leeds | ISO Photographic Ltd
Dock Street Studio, Unit 9, 30–38 Dock Street, Leeds LS10 1JF
18+ years' experience | 900+ projects | 300+ five-star reviews | 1M+ shutter count
dockstreetstudioleeds.co.uk
Shot, written and built by the Dock Street team
Every guide on this blog comes from the team at Dock Street Studio — Mark behind the camera with 18+ years' experience, Nicole on styling and lighting, Beya on video and bookings and Austin keeping the site fast and findable. If you'd rather have us do it than read about it, book a session or explore our photography services in Leeds.