


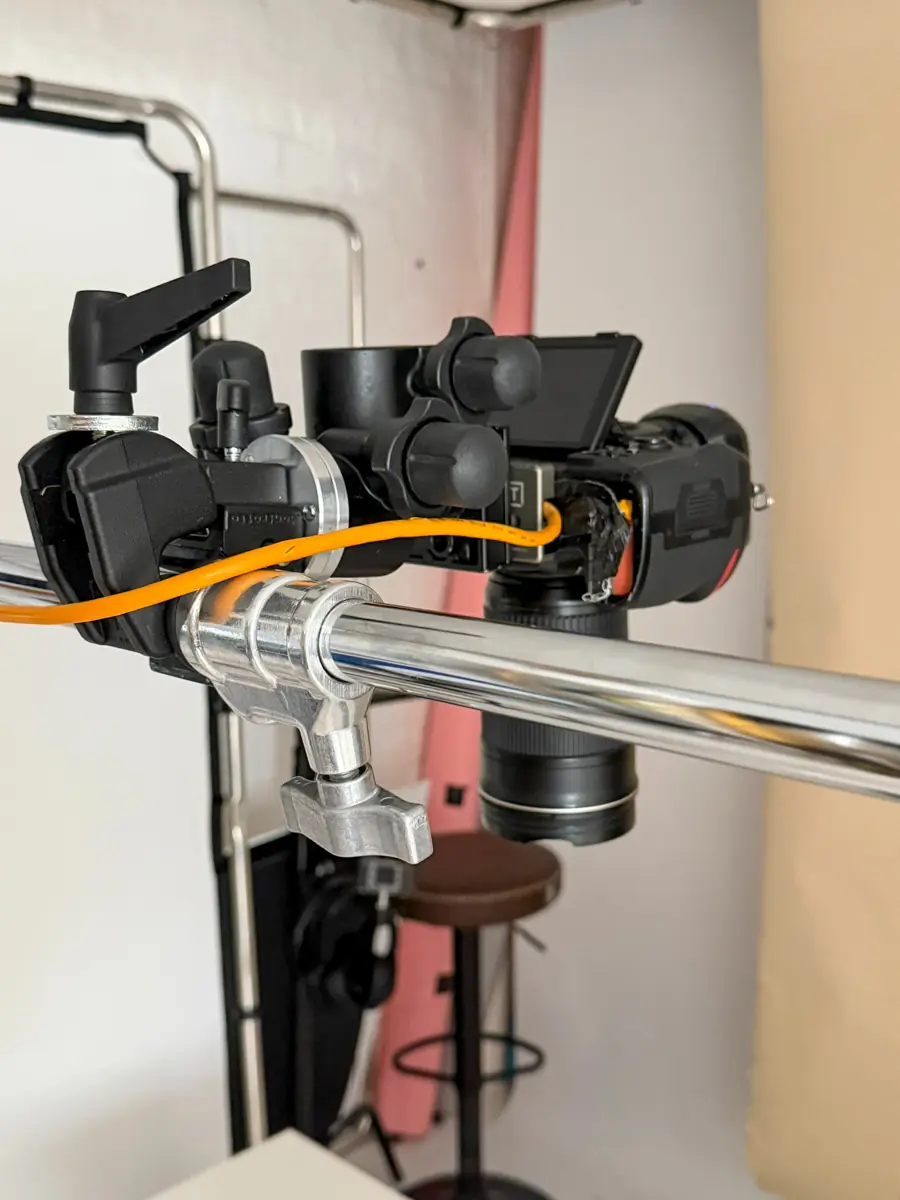
Most jewellery photography lighting comes down to three things: a large, soft key light, a controlled fill, and a small hard source aimed at the stones. Match the colour temperature across every light, keep the CRI at 90 or above so metal and gems render true, and roughly nine shots in ten fall into place. Everything else — kit, distances, camera settings — is detail on top of that foundation.
I shoot a lot of small reflective things at the studio, and jewellery is the least forgiving of them. This is the setup I would build first, what to add when it isn’t enough, and where beginners usually go wrong.
The short version
- Key light: a softbox of at least 60×60 cm at 45 degrees to the camera and 45 degrees above the piece.
- Fill: a white card or second light on the opposite side, about a stop down from the key.
- Stones: a separate small, hard point source aimed at the facets. Soft light alone leaves gems flat.
- Black card matters as much as white. A polished piece with no dark reflections looks cheap.
- Light tents flatten everything. Spend the money on one good softbox and one small hard source instead.
Getting jewellery photography lighting right from the start
Continuous LEDs and strobes both do the job, but they suit different ways of working. LEDs let you see the result in real time — move a light an inch and the reflection moves on your screen with it, which is exactly what you want while you are still learning to read polished metal. Strobes cost more and need a meter or a couple of test frames, but they give you more raw power and freeze motion cleanly, which matters when you are running a long focus-stacked sequence and every frame has to match.
Whichever you choose, the specification that actually matters is colour rendering:
- CRI 95 or higher where possible. Below 90, gold goes muddy and white metals drift off-true.
- 5500K as the working temperature, and every light in the setup at the same figure.
- Shoot a grey card at the start and let that set white balance. Warming gold is a retouching decision, not a lighting one.
Beginners, and anyone shooting video alongside stills, are usually better off with LEDs. High-volume catalogue work with heavy focus stacking tends to lean on strobes for the headroom. We run Elinchrom and Godox heads for stills at Dock Street and continuous light when video is part of the brief.
The core two-light setup that covers most jewellery pieces
A two-light arrangement handles the vast majority of tabletop jewellery work, and it is the rig worth mastering before you add anything else.
- Position the key light at roughly 45 degrees to the camera and 45 degrees above the piece, through a softbox of at least 60×60 cm, close in. This single arrangement is the foundation of most jewellery lighting setups and covers close to 90% of still-life pieces on its own.
- Set the fill on the opposite side, about one stop lower than the key. A second softbox works, but a plain white card angled correctly does the same job for less money and less clutter on a small table.
- Add a rim or back light only when needed. A small light from behind the piece, or an overhead diffusion panel, separates the jewellery from its background and puts a thin bright edge along the metal. It does more for perceived quality than most people expect, but it is optional on a basic two-light rig.
Ratios and distances do more work than wattage. A three-point setup with key, fill and rim handles most catalogue-style shots, and the relationship between the lights in stops, not watts, is what shapes the final image.
Shaping reflections with modifiers, flags and cards
Never point a bare light straight at polished metal. It creates a hard, unusable hotspot that no amount of retouching fixes cleanly. Every light hitting a reflective surface needs to pass through some form of diffusion first.
- Softboxes and diffusion panels turn a small hard source into a broad, even reflection that reads as a soft highlight rather than a blown spot.
- White bounce cards just outside frame lift shadow detail and add gentle fill exactly where you angle them.
- Black cards and flags do the opposite job, and they matter more than most beginners realise. A polished ring with no dark areas in its reflections looks flat and cheap, so you often need to introduce black rather than remove it.
- Grids, snoots and light cones narrow a beam so you can light a small area without spilling onto the background.
- Overhead diffusion, a large frame suspended above the set, gives an even wraparound glow that is particularly good on rounded surfaces like bangles and domed rings.
Our guide to photographing reflective products goes deeper on reflection control if you are working with mirrored or high-polish surfaces regularly.
Pro tip: tape a small offcut of black card and a white card to a spare stand within arm’s reach. You will nudge one or the other into the frame edge constantly, and fetching them from across the room every time breaks your rhythm.
How to make gemstones actually sparkle
Metal and gemstones want opposite things from light, and that is the part most beginners miss. Metal looks best under soft, wraparound illumination with no harsh specular spots. Gemstones need the opposite: small, directional point sources striking specific facets to create scintillation, the flashes of fire that make a diamond or sapphire look alive rather than dull.
The fix is running both at once. Keep the large soft key doing the heavy lifting on the metal, then add a small, separate hard source aimed precisely at the stone.
- Picolites or similarly small focused LEDs are the standard tool, small enough to aim at a single facet cluster.
- Snoots or grids narrow a regular head down to a tight beam if you don’t own a dedicated picolite.
- Angle the point source to catch the stone’s table and crown facets without spilling onto the setting.
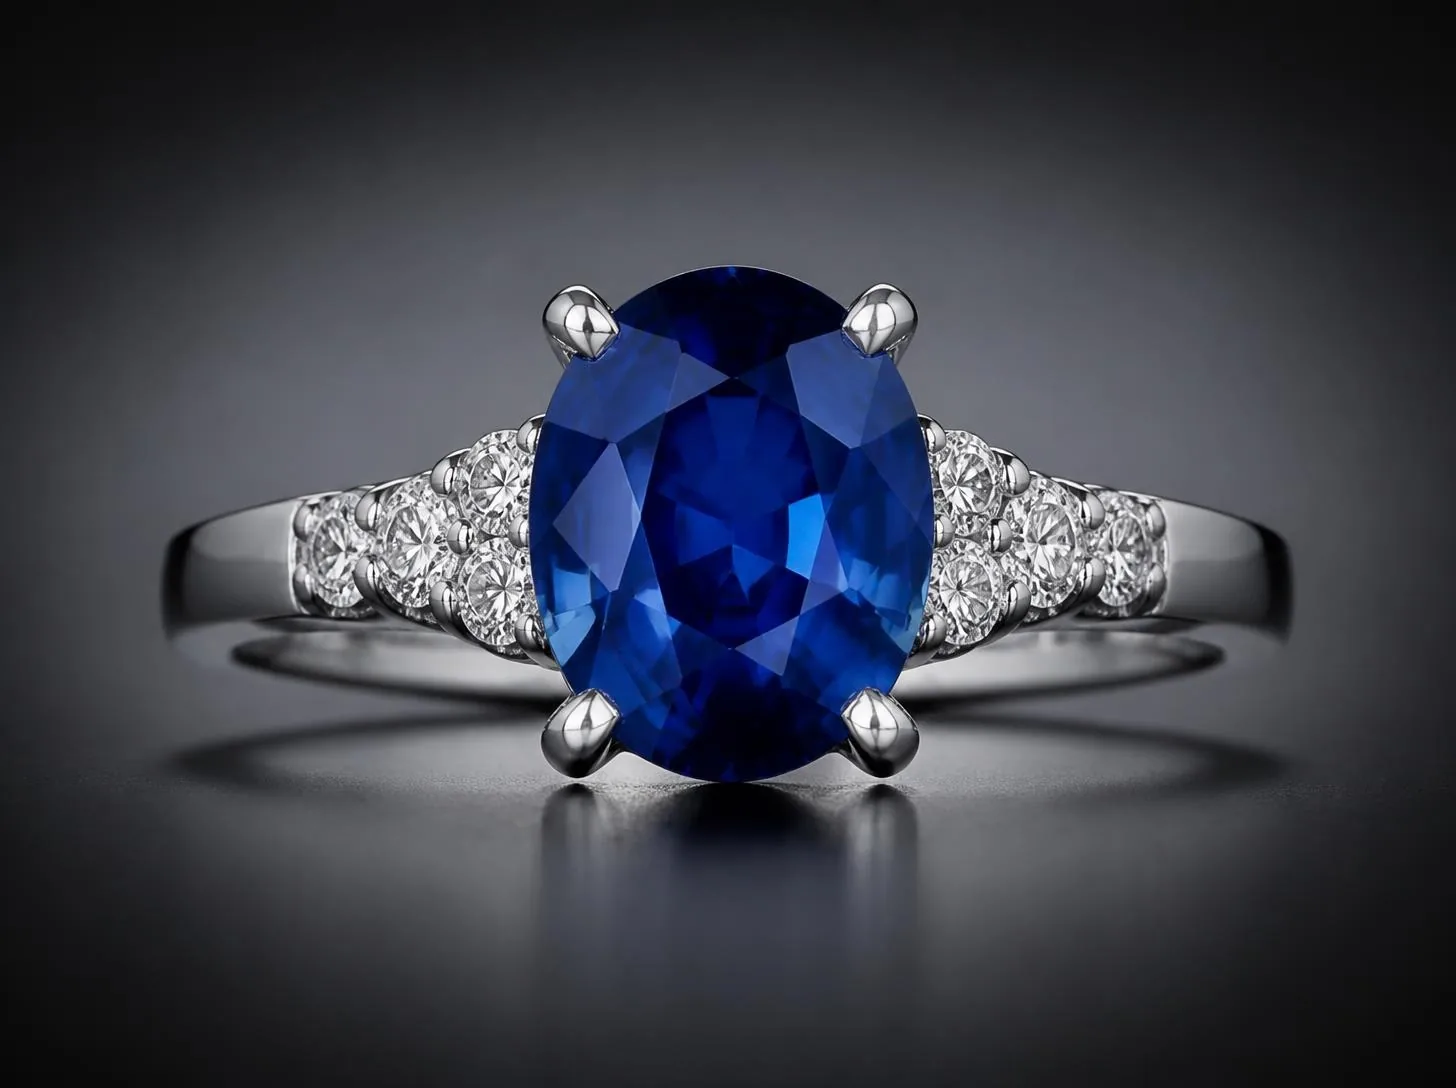
This combination of soft overall light and a small hard source for the stone is standard technique for a reason: soft light alone leaves gems looking flat, however well the metal reads. Balance the point source against the key so the sparkle looks like a natural highlight rather than a white dot, and check at full zoom before moving on. The same small, angled point light is how gemologists reveal a stone’s true colour and internal structure — the sugilite specimens documented by the Madlanga Commission are a good example of coloured stones photographed that way.
Choosing and exposing your background
Background choice and its exposure change how valuable a piece looks before the viewer has even focused on the jewellery.
- Pure white needs its own separate light, one to two stops brighter than the key’s exposure on the subject, so it blows to true white without spilling onto the piece.
- Black velvet or matte acrylic stays genuinely dark only if you flag light away from it. Velvet absorbs a surprising amount, but stray key or fill will still grey it out.
- Mirrors and glossy acrylic give dramatic reflections but double every reflection problem you already have with the metal. Use them selectively, not as a default.
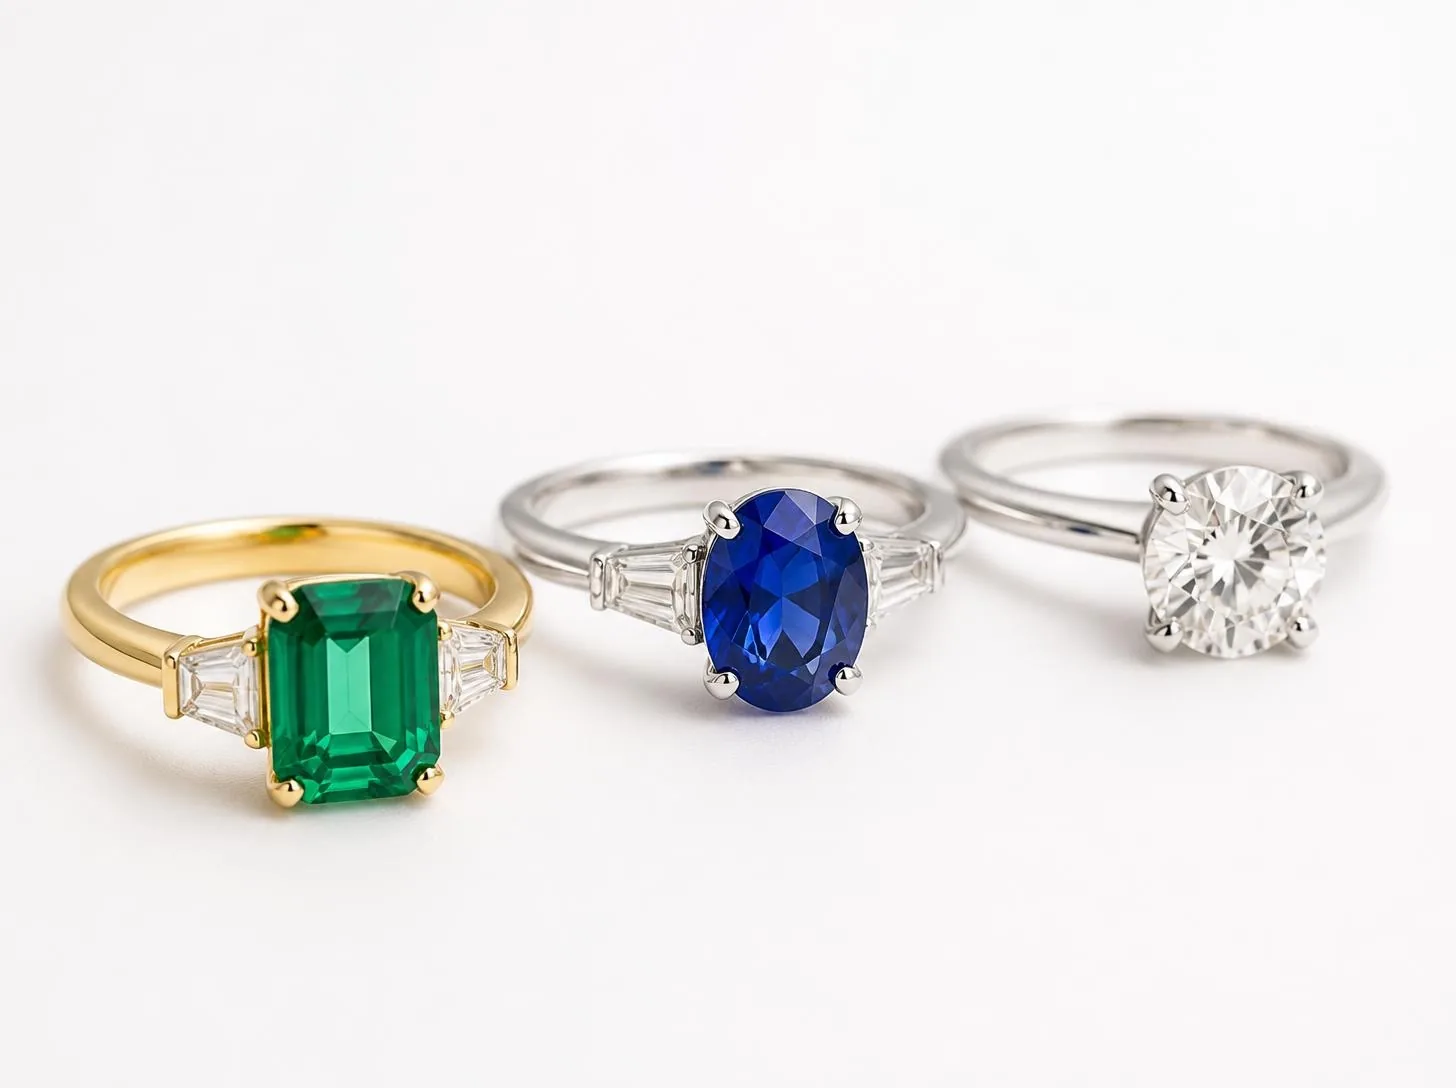
Camera settings and focus stacking for sharp results
Jewellery’s small scale punishes sloppy technique fast, so lock these down before you touch a light.
- Lens and support: a macro lens in the 90 to 105mm range on a solid tripod, ideally a geared head so you can nudge framing in millimetres, and a remote release or timer to kill shutter shake.
- Aperture and ISO: f/8 to f/16 at ISO 50 to 200, balancing sharpness against diffraction and keeping noise minimal.
- Focus stacking when needed: where depth of field at f/16 still isn’t enough, shoot a sequence at small focus increments, by hand or on a rail, and blend the sharp regions afterwards.
- White balance: grey card at the start of every session, matched to the actual light rather than a preset. With high-CRI light, colour is right at capture and post becomes fine-tuning.
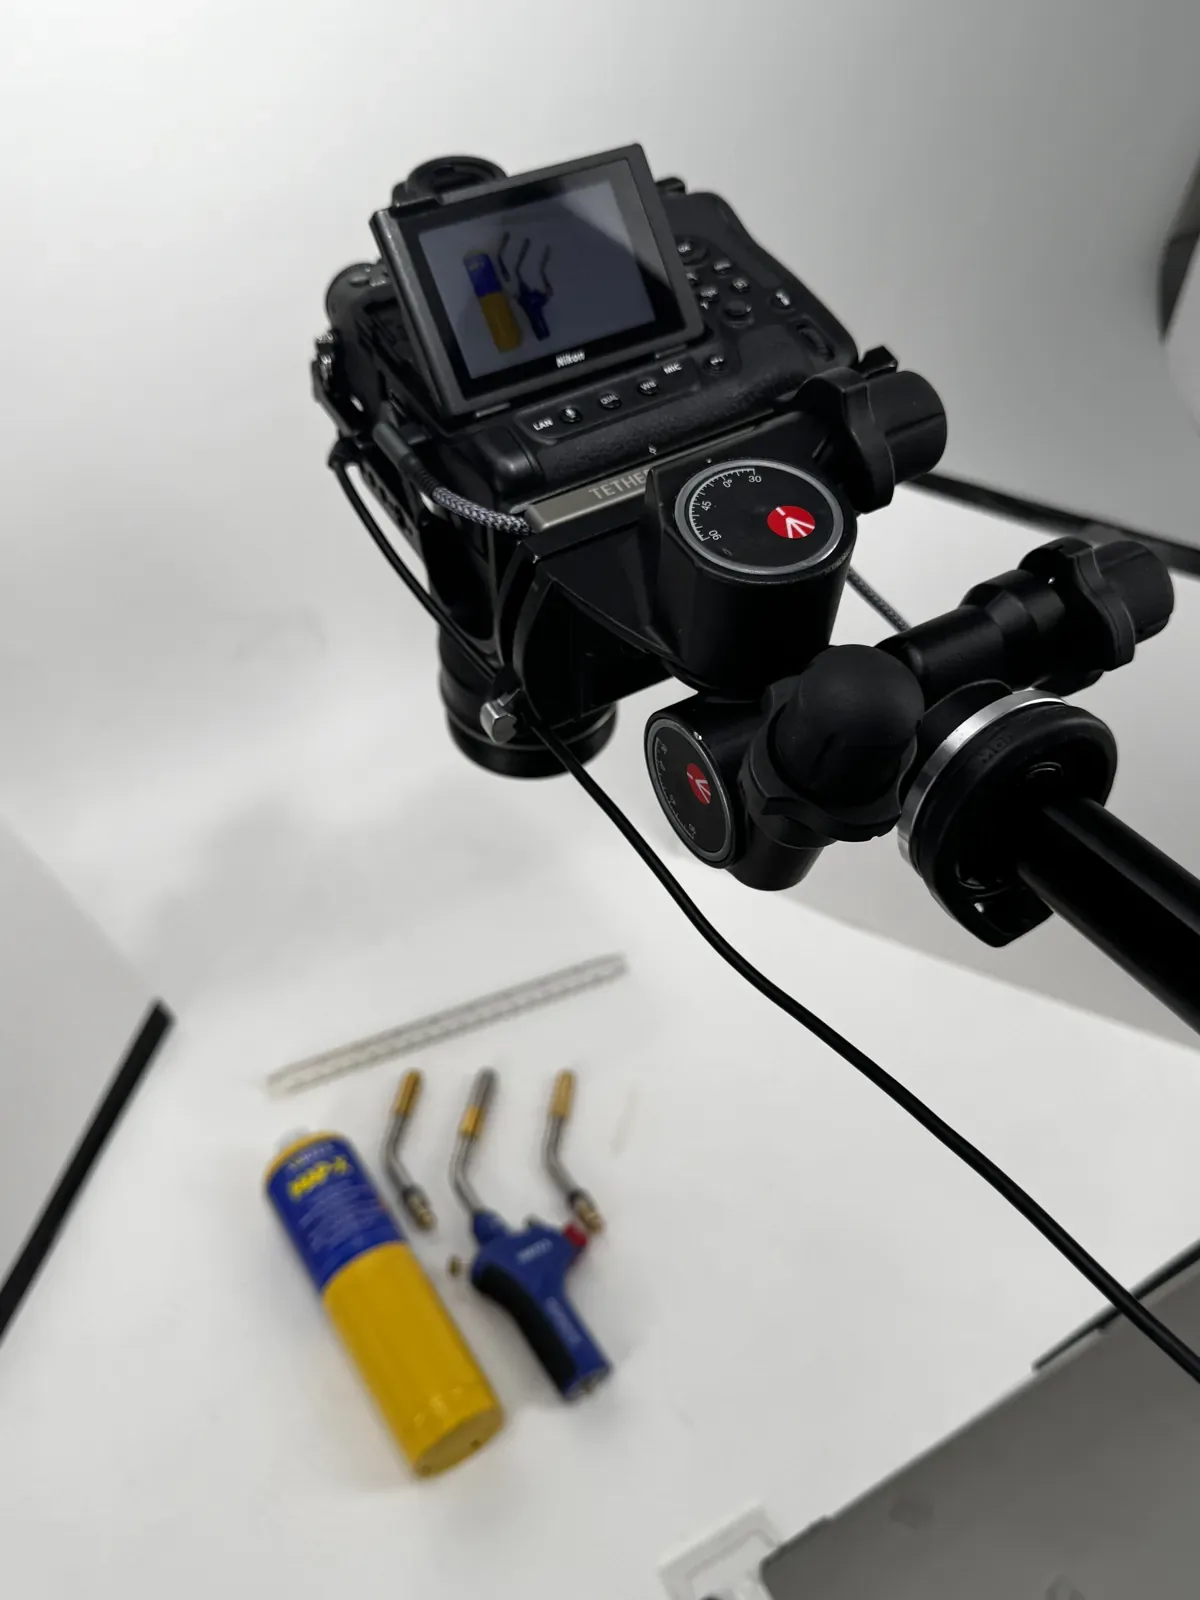
Fixing the problems you’ll actually run into
Most jewellery lighting problems have a fast fix once you know the cause.
- Flat, mushy images: you are relying entirely on soft light. Add a small rim or a tiny point source for micro-contrast; even a subtle edge brings the shape back.
- Reflections of the studio, your clothes or the camera: add a flag between the culprit and the piece, wear dark neutral clothing, or move the background further back to change the angle.
- Colour shifts or muddy gold: check the light’s CRI first, then re-shoot the grey card under your actual working light and confirm on the screen before running a full sequence.
Light tents deserve a mention of their own. They are popular with beginners because they look foolproof, but they tend to kill the micro-contrast that makes jewellery look dimensional, wrapping everything in identical soft light with no black points anywhere. A diffusion frame with point sources placed deliberately gives you the gradients a tent flattens away.
Pro tip: if a shot looks almost right but something feels off, check the black points first. A polished piece with no dark reflections anywhere in frame will always look cheaper than it is, even when the exposure is perfect.
How we run jewellery shoots at Dock Street Studio
Every session starts with a brief: the pieces, the finishes, and where the images are going, agreed before anyone switches a light on. That step is what stops a short booking disappearing into setup time.
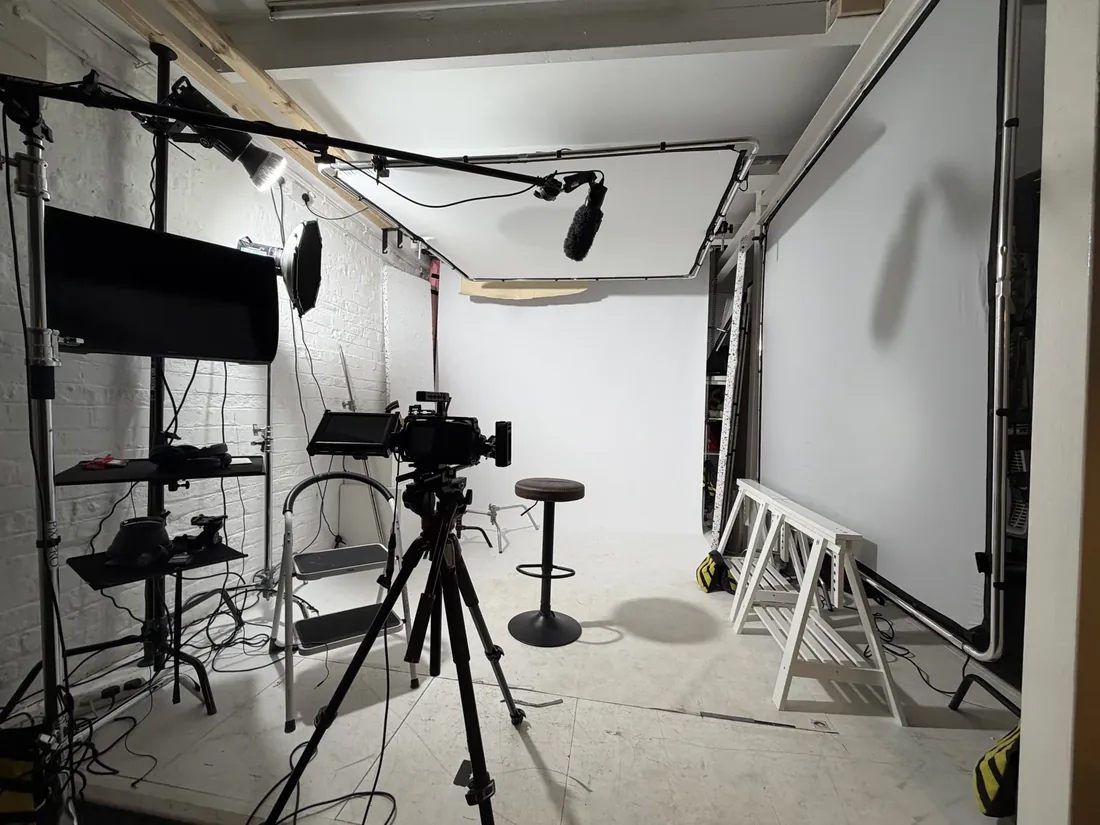
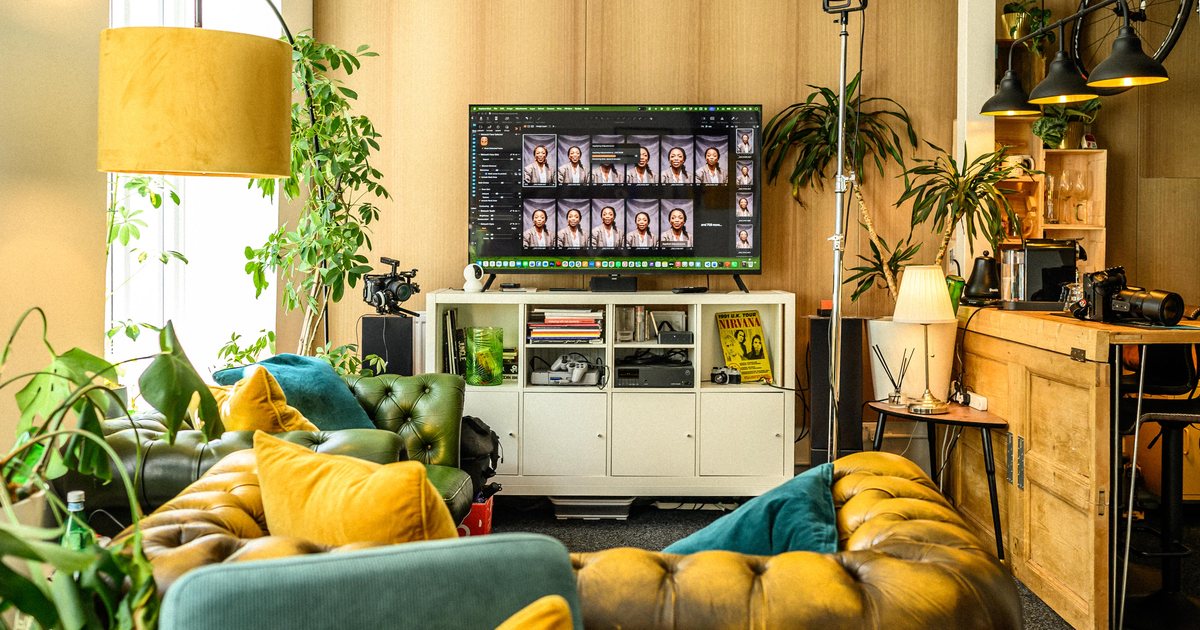
The rig mirrors the two-light foundation above: a large softbox key, a fill card or second head, and gridded or snooted heads on standby for stones. It is all in the room, along with fifteen-plus modifiers, flags, reflectors and the Colorama backdrop system, so nobody is sourcing kit the night before. Everything lands on a 5K screen as we shoot, so a stray reflection or a soft facet is obvious while the set is still standing rather than a week later. Editing and retouching are included in the day rate.
Whether you book a photographer-led day or hire the space to run your own setup, the practical benefit is the same: you turn up with the jewellery and leave with usable files. Our post on what studio hire with lighting should include shows exactly what comes with the room.
Matching your light to matte, polished and hammered finishes
Finish changes how you light a piece almost as much as its shape does, and treating every finish the same is a common beginner mistake.
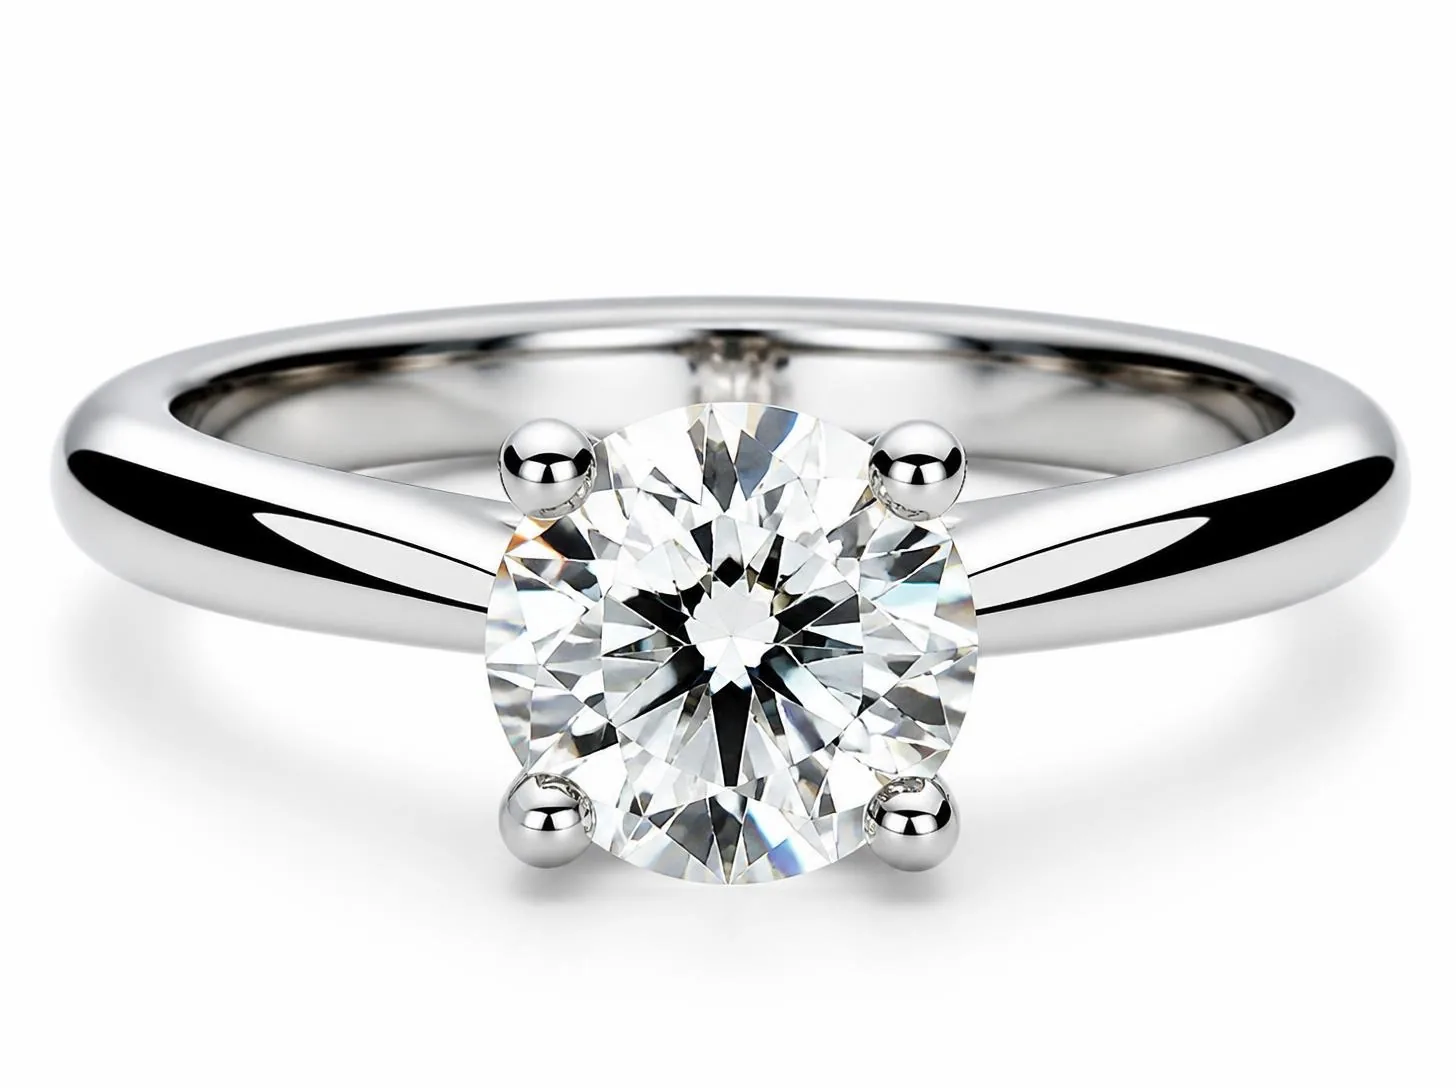
Polished metal is the most demanding. It behaves like a mirror, reflecting your softbox edges, your camera and the ceiling. Large, close diffusion is essential because it fills more of the metal’s reflection with even light. Keep the softbox big and close, and use black card to put contrast back where the reflection would otherwise wash out.
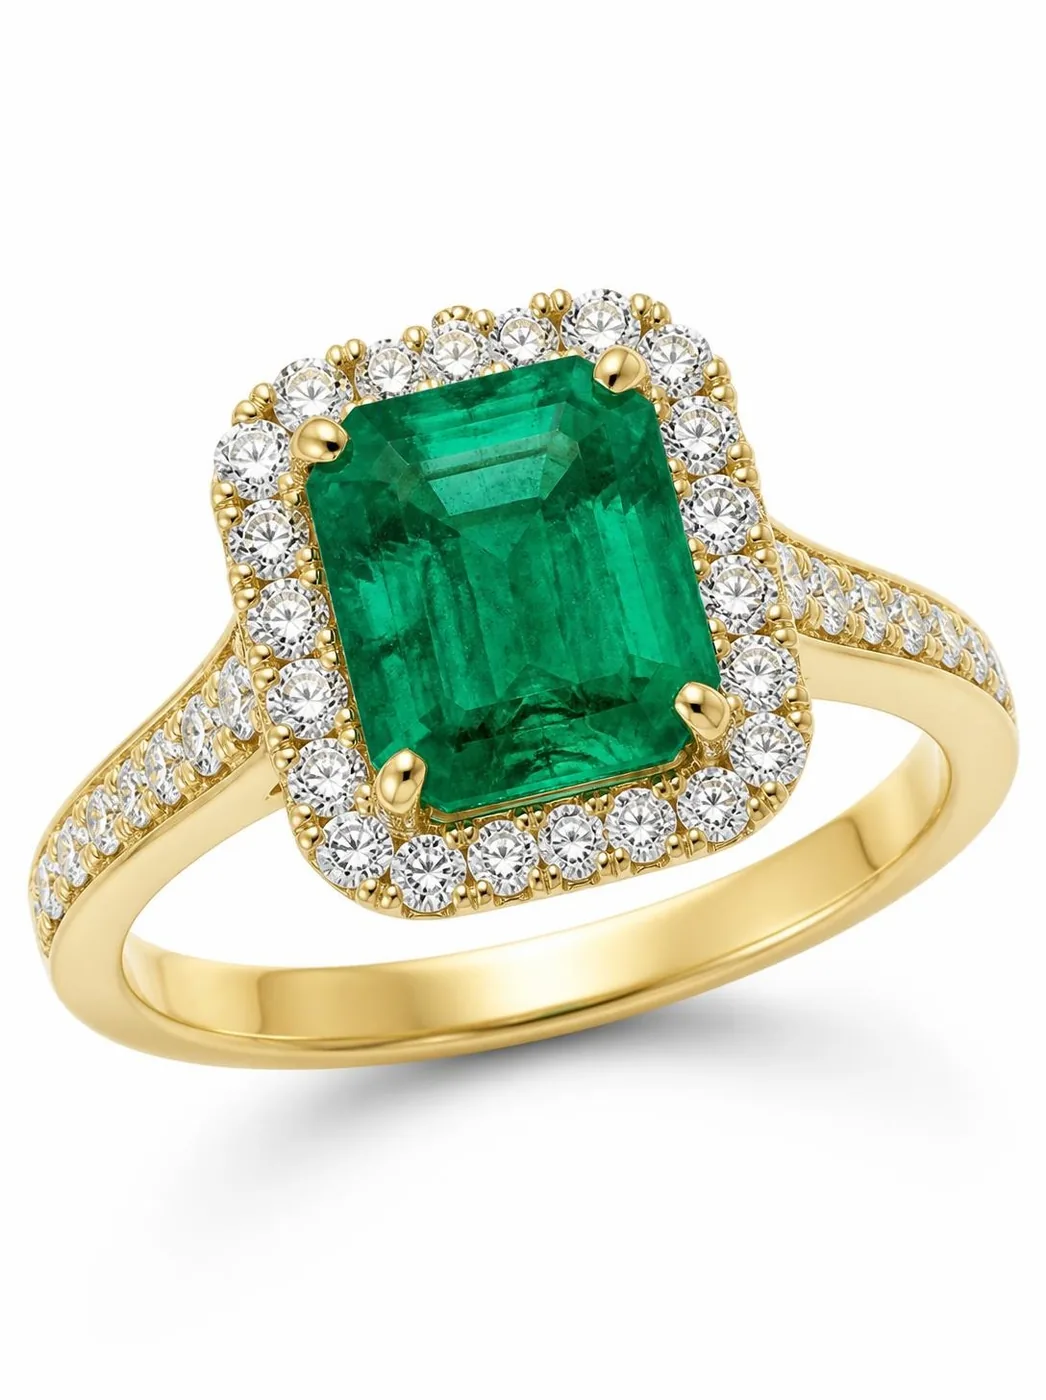
Matte or brushed metal scatters light rather than reflecting it sharply, so it is far more forgiving. You can use slightly harder light and smaller modifiers, though you still want soft light overall so the texture reads as deliberate rather than dull.
Hammered or textured finishes need light that rakes across the surface. Front-on light flattens the texture entirely. Drop the key lower and further to the side than you would for a polished piece and let shadow fall into each hammer mark.
Positioning light for rings, necklaces and bracelets
Rings sit low and compact, so the 45/45 key usually works straight away. Watch the shank: a plain band shot dead flat becomes a featureless blob. Angle the ring slightly so the curve of the band has something to reflect.
Necklaces present a length problem. A chain laid flat needs light spread evenly along its whole run, which means a wider softbox than you would use for a ring, set further back so the fall-off is even. Light the pendant as a standalone piece, then check the chain isn’t dropping into shadow or blowing out where it meets the key.
Bracelets, especially bangles and cuffs, are small cylinders, and cylinders need wraparound light more than anything else. An overhead diffusion panel combined with the key usually beats a single-angle softbox here.
Natural light versus artificial light for jewellery shots
Window light through a sheer curtain produces genuinely pleasant results for casual or lifestyle jewellery shots. It is soft, free and forgiving.
The problem is consistency. It shifts by the hour and the season, so the setup that looked perfect at 2pm on a bright Tuesday won’t match 4pm on an overcast Thursday. For a catalogue, an online shop or repeat client work, that becomes a real problem the moment two pieces from the same range have to sit side by side.
Artificial light stays identical every session. Dial in a temperature and a position once and every subsequent shoot reproduces it, which is the only way to keep a growing catalogue coherent over months. Natural light still has a place for editorial shots where variation adds character; for product work, controlled light with a known CRI is the reliable method.
Cutting glare and reflections on glossy surfaces
Glare on glossy metal or facets comes from one of two places almost every time: a source that is too small and too direct, or a reflection of something in the room that has nothing to do with your rig.
Start by checking what the piece can actually see. Polished metal reflects the ceiling, the ceiling lights and you at the camera. Plain dark clothing removes one culprit instantly. A large diffusion panel close to the piece removes another, because it fills more of the metal’s field of view with soft, even light.
For stubborn glare on very high-polish surfaces, cross-polarisation is the technical fix: a polarising gel over the light and a circular polariser on the lens, rotated until the glare drops out of live view. It costs roughly 1.5 to 2 stops, so compensate with aperture, ISO or power. Not an every-shot tool, but the right one when a hotspot refuses to move.
Editing decisions that trace back to your lighting
Good lighting at capture reduces post to fine-tuning rather than repair. Shoot under high-CRI light with a grey-card white balance and gold looks like gold straight out of camera; get that wrong and no slider fully recovers accurate metal colour, because you are pushing pixels rather than correcting a real reading.
Contrast works the same way. A shot with well-placed black cards already has the dimension a finished image needs, so editing becomes dust, stray hairs and a tidy background. A flat frame from a light tent needs aggressive contrast work that introduces its own artefacts around prongs and facet edges.
Focus stacks blend cleanly only if the lighting stayed identical across every frame, which is why locking the lights before starting a stack matters as much as the camera settings.
Handling lights safely around delicate pieces
Jewellery photography puts valuable, often irreplaceable items next to warm lights, trailing cables and heavy stands. LED panels run warm but rarely hot; older tungsten or halogen heads can discolour delicate stones if a piece sits too close for too long, so keep a sensible distance and never rest a piece against a modifier.
Cable management matters more than it seems. Route leads away from walking paths, tape them where they cross, and sandbag any stand with a boom or a large softbox shifting its centre of gravity. And work over a tray or a contained surface rather than an open table: a loose stone or an unclasped bracelet can slip between a table edge and a sweep in a second.
What actually matters once you strip away the gear talk
Most jewellery lighting advice fixates on equipment lists, when the real skill is reading two things at once: metal wants soft wraparound light, gems want a small hard directional source. Get that instinct right and a modest two-light kit with one point source outperforms expensive gear in the hands of someone who hasn’t learned the distinction.
Conventional wisdom oversells light tents because they look foolproof. They aren’t. They trade away the black points and micro-contrast that make polished metal look premium, and no amount of post rebuilds contrast that was never captured.
Learn to see reflections before you learn software. The photographer who can look at a ring and immediately spot which light is causing a hotspot will out-shoot better gear every time. That only comes from repetition, ideally somewhere you aren’t also fighting your kit and the room’s ambient light every session.
Frequently asked questions
What type of lighting is best for jewellery photography?
A large soft key paired with a controlled fill and a small point source for gemstones, all at the same colour temperature. High-CRI continuous LEDs (95 or above) suit beginners and video; strobes suit high-volume or heavily focus-stacked work.
What is the three-light rule in photography?
A key light for the main exposure, a fill to soften shadows, and a rim or back light to separate the subject from the background. For jewellery that means a soft key, an opposite fill, and an optional rim to lift the piece off its backdrop.
What lighting is best for jewellery?
Soft, diffused light from a large softbox for the metal, plus small hard point sources like picolites or snoots for gemstone sparkle. Combining both in one setup gives the most accurate and appealing result.
What are the best camera settings for jewellery photography?
A 90 to 105mm macro lens, f/8 to f/16, ISO 50 to 200, on a tripod with a remote release. Focus stack in small increments when f/16 still isn’t enough to keep the whole piece sharp.
How much does jewellery photography cost in Leeds?
Commercial photography at Dock Street Studio is £450 for a half day or £750 for a full day, with editing and retouching included. If you want to run your own setup, studio hire with all lighting included starts at £125 for two hours.
Where is the studio and how do I book?
Dock Street Studio, Unit 9, 30–38 Dock Street, Leeds LS10 1JF, a short walk from Leeds train station with lift access and parking on site. Book online, email hello@dockstreetstudioleeds.co.uk, or call 0113 4400102.
Book studio time instead of building a lighting kit from scratch
A proper two-light jewellery rig with softboxes, point sources, cards, flags and a macro setup adds up fast, and most of it sits unused between shoots. Book a studio where the key, the fill and the point sources are already rigged and included, whether it is one collection or a full catalogue day, and the brief is agreed before you arrive.
Whether you want a photographer to run the shoot or would rather hire the space and drive your own setup, commercial photography sessions start from £450 and studio hire from £125. Book online, get in touch, email hello@dockstreetstudioleeds.co.uk, or call 0113 4400102 before the next collection deadline creeps up.
Sources
- Jewelry Photography Lighting Setup
- GIA — gem photography guidance
- The pros and cons of light tents — SLR Lounge
- Jewellery photography lighting: studio techniques — Ckstudio
Recommended
- Photography Studio Hire with Lighting: What Matters
- Product Photoshoot Planning Guide
- Best Lighting for Packshots
- How to Photograph Reflective Products
About the author
Mark Wheelwright
Commercial photographer & studio owner | ISO Photographic Ltd, Leeds
Dock Street Studio, Unit 9, 30–38 Dock Street, Leeds LS10 1JF
Mark has 18+ years’ experience photographing brands and businesses across Leeds and West Yorkshire, with 900+ projects delivered. He runs Dock Street Studio, working with clients including Clear Channel, Habitat, Kirkstall Brewery and Paystrax.
900+ projects | 300+ five-star reviews | 1M+ shutter count
dockstreetstudioleeds.co.uk
Shot, written and built by the Dock Street team
Every guide on this blog comes from the team at Dock Street Studio — Mark behind the camera with 18+ years' experience, Nicole on styling and lighting, Beya on video and bookings and Austin keeping the site fast and findable. If you'd rather have us do it than read about it, book a session or explore our photography services in Leeds.