


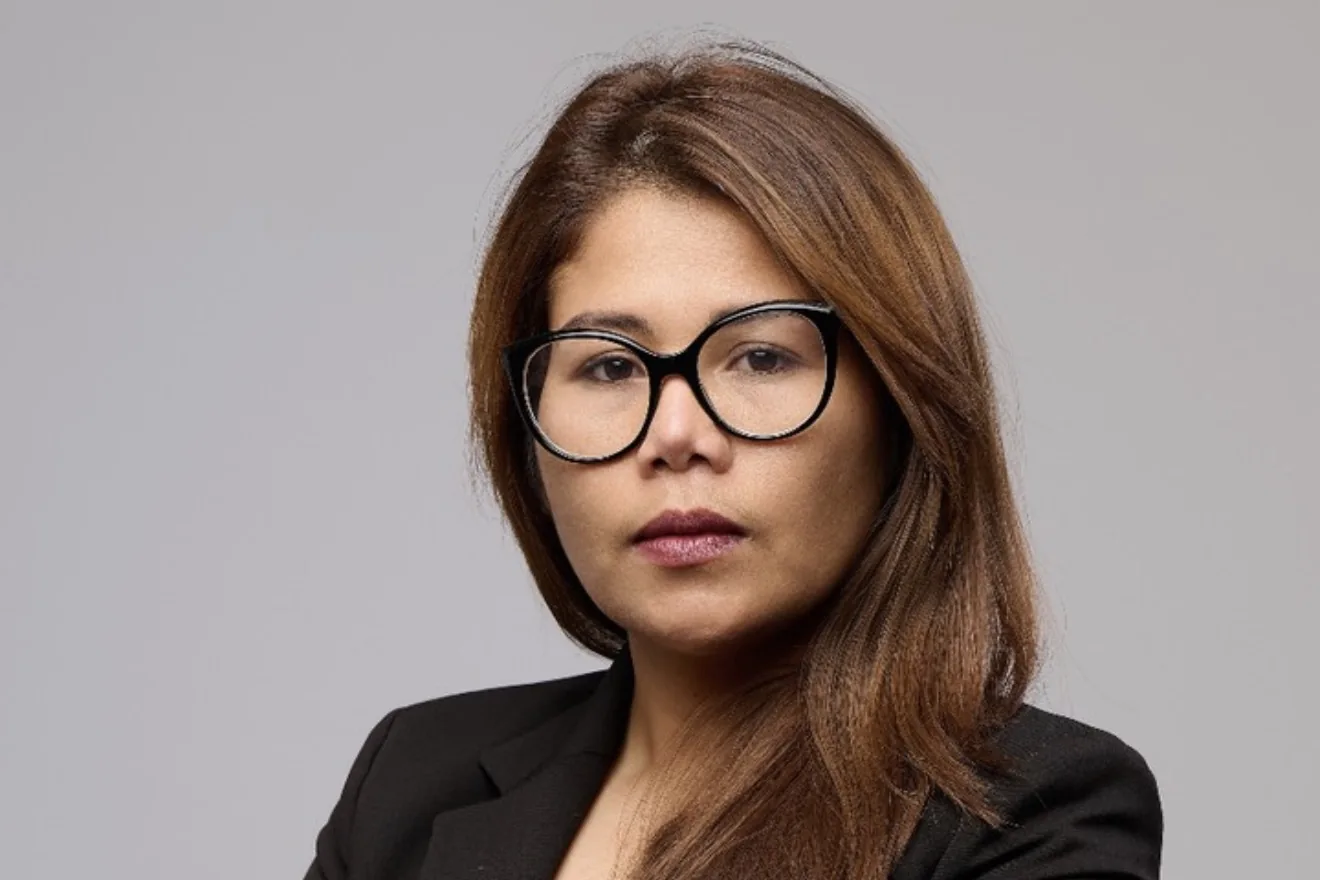
If you wear glasses every day, wear them for your headshot. That is the short version, and it holds for nearly everyone who asks us. Headshots with glasses only look difficult from the outside — glare is a matter of where the light sits, and it gets sorted in the first few frames rather than in the edit afterwards.
The exceptions are narrow. Heavily tinted lenses, mirrored lenses, and transitions that darken under studio lights all cause real problems, and we will talk about those below. Everything else is solvable on the day.

Why headshots with glasses work better when you actually wear them
Your headshot exists so people recognise you. If you wear glasses to work, on calls and walking into meetings, a photograph without them shows a version of you nobody will meet. That gap costs you a little of the trust the picture was meant to build.
There is a practical side too. People who wear glasses daily and take them off for a camera tend to squint slightly, or focus oddly, and the expression goes with it. Keeping them on usually gives a more relaxed result simply because you are not fighting your own eyesight.
Glasses are not compulsory, mind. Skip them if you only use reading glasses occasionally, if you normally wear contacts and glasses are not part of how you appear in public, or if every pair you own is scratched and there is no time to sort it.
How we control glare in the studio
Glare follows one rule: light bounces off a lens at the same angle it arrives. Point a light straight at your face and it reflects straight back down the lens. Move it off that line and the reflection goes somewhere the camera never sees. That is the whole trick, which is why a studio that shoots portraits regularly rarely struggles with it.
In practice we work through four adjustments, usually within the first minute or two:
- Raise or angle the key light above eye level, so the reflection lands on the frame or below the lens.
- Use a larger, softer source. Broad light wraps around the lens instead of leaving one hard hotspot. Window light often shows fewer reflections than a small direct flash for the same reason.
- Change the camera height slightly, which alters the angle between light, lens and glasses without you moving at all.
- Ask for a small tilt of the chin or head — a few degrees is usually enough, and it reads as natural in the final frame.
Moving lights off-axis and making small pose tweaks comes long before anyone opens retouching software. We do occasionally clean up a stray glint, but a lens retouched heavily looks worse than the reflection did, so it stays a last resort.
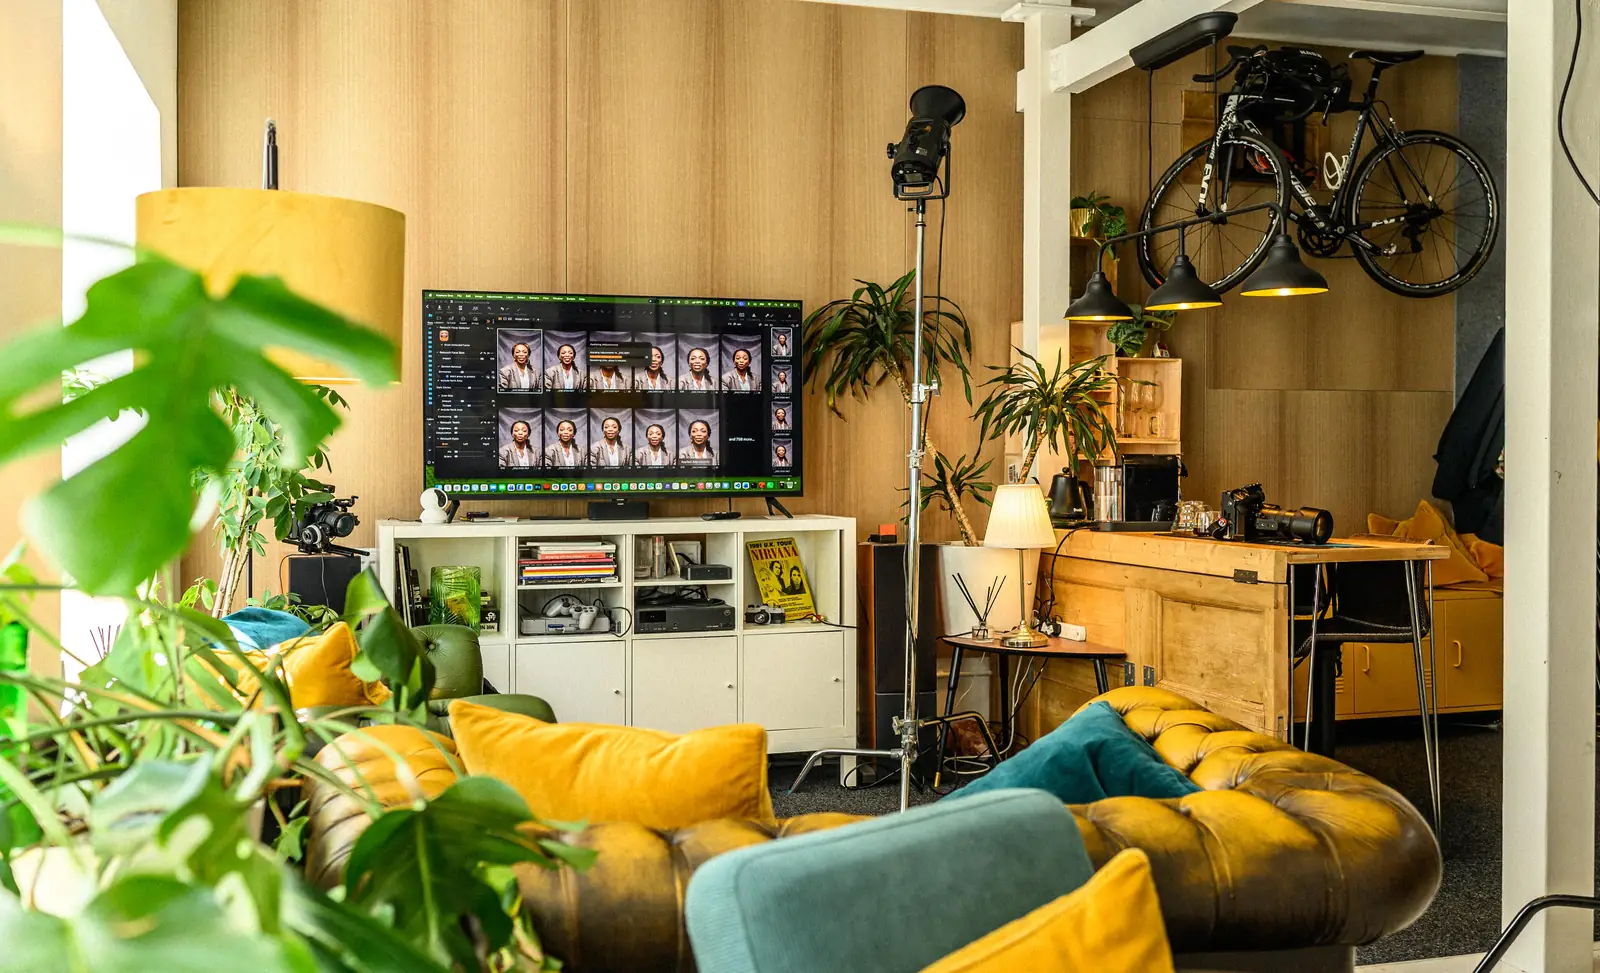
Worth asking any photographer you book: can I see a frame on screen with my glasses on before we shoot the full set? We shoot tethered into Capture One so the answer here is yes by default, and you can see for yourself rather than taking our word for it. Our headshot session guide walks through how the rest of the session runs.
Which frames and lenses photograph well
If you own more than one pair, some are easier to light than others.
- Thin to mid-weight frames sit better than very heavy or oversized ones, which cast shadows across the eyes.
- Rimless and half-rim frames give reflections less surface to catch.
- Bold frames are absolutely fine if they are genuinely what you wear. A headshot in glasses you never put on defeats the point.
- Anti-reflective coatings cut surface glare noticeably. Worth asking your optician about if you are due new lenses anyway, though not worth rushing for one shoot.
- Photochromic or transition lenses are the genuine problem case. They darken under studio lights much as they would in sunlight, and you end up shaded in every frame. Tinted and mirrored lenses do the same.
If you wear transitions, bring a clear-lens backup — the same frame if you have it, or your previous prescription pair. It takes a moment to pack and it can rescue a whole session.
What to bring and how to prepare
Most glasses trouble traces back to preparation rather than lighting. Cleaning lenses just before the session and having bent frames straightened at an optician fixes more than any clever light position can afterwards. A smudge photographs at full resolution, and a crooked hinge reads clearly in a still.
- Clean lenses and frames properly, and bring a microfibre cloth for a last check on the day
- Bring two or three pairs if you have them, including a clear-lens spare if any are transitions
- See an optician beforehand if your frames sit loose or crooked
- Tell us at the start if reflections have spoiled a previous shoot for you — it is far easier to plan around than to discover halfway through
The wider preparation — wardrobe, grooming, what to bring — is covered in our guide to preparing for headshots.
If you cannot decide, shoot both
When you are genuinely torn, stop deciding in advance. We shoot the main set with your glasses on, then a handful without, and you compare properly afterwards. Having both versions gives you options across different platforms without the pressure of getting it right before the camera comes out.
When you review them, judge on three things: whether it looks like the person people actually meet, whether the eye contact reads as warm rather than braced, and whether your eyes stay clear at small sizes. A frame can look excellent full screen and lose everything as a profile picture the size of a fingernail.
One thing we would steer you away from is shooting with the lenses popped out. It looks artificial once you know to spot it. Our piece on choosing headshots that work harder covers how to pick between sets properly.
Frequently Asked Questions
Should I wear my glasses in my headshot?
If you wear them daily, yes. They are part of how people recognise you, and glare is a lighting problem we solve with angle and position rather than a reason to take them off.
Which lenses cause problems under studio lights?
Photochromic or transition lenses darken under studio lighting and shade your eyes. Heavily tinted and mirrored lenses do the same. Bring a clear-lens backup if any of your frames are transitions.
Do you retouch reflections out afterwards?
Rarely, and only for the odd stubborn glint. We fix reflections while you are still in front of the camera, because a heavily retouched lens looks worse than the reflection did.
Can we shoot with and without glasses?
Yes, and it is worth doing if you are undecided. We shoot the main set with your glasses on, then a handful without, so you can compare properly rather than guessing in advance.
Should I bring more than one pair?
Two or three if you own them: your everyday frames, something lighter or rimless, and a clear-lens spare. Clean them before you set off and bring a cloth for the day.
Where is the studio and how do I book?
Dock Street Studio is at Unit 9, 30–38 Dock Street, Leeds LS10 1JF, near Leeds Dock and a short walk from the train station, with parking onsite. Book online, email mark@isophotographic.org, or call 0113 4400102.
Book a headshot session in Leeds
Bring the glasses you actually wear, bring a spare if you have one, and leave the light angles to us. Our headshot photography sessions start at £95 for the LinkedIn Express, £150 for the Quick-Fire Spotlight and £200 for the In-Depth Portrait, with editing included. Actors can find the casting-specific options on our actor headshots page, and there is more about how we work across commercial and portrait sessions at Dock Street Studio.
Book online, email mark@isophotographic.org, or call 0113 4400102.
Sources and further reading
ProHeadshots covers frame and lens practicalities in depth, Photography Shark goes further into the lighting mechanics, Capturely explains anti-reflective coatings and transitions, and The Studio Pod looks at shoot-day workflow. Actors weighing up headshot style for casting may also find Ocean Theatre Co.'s guidance useful.
- ProHeadshots on wearing glasses in your headshot
- Photography Shark on glare and frames
- Capturely on glare-free headshot tips
- The Studio Pod on headshots with glasses
Related reading
- Face Literacy: What Your Headshot Is Really Communicating
- How to Prepare for Actor Headshots
- How to Choose Headshots That Work Harder
- What Good Portraits Actually Need
Written by Mark Wheelwright
Commercial photographer & studio owner, Leeds | ISO Photographic Ltd
Dock Street Studio, Unit 9, 30–38 Dock Street, Leeds LS10 1JF
18+ years’ experience | 900+ projects | 300+ five-star reviews | 1M+ shutter count
dockstreetstudioleeds.co.uk
Shot, written and built by the Dock Street team
Every guide on this blog comes from the team at Dock Street Studio — Mark behind the camera with 18+ years' experience, Nicole on styling and lighting, Beya on video and bookings and Austin keeping the site fast and findable. If you'd rather have us do it than read about it, book a session or explore our photography services in Leeds.